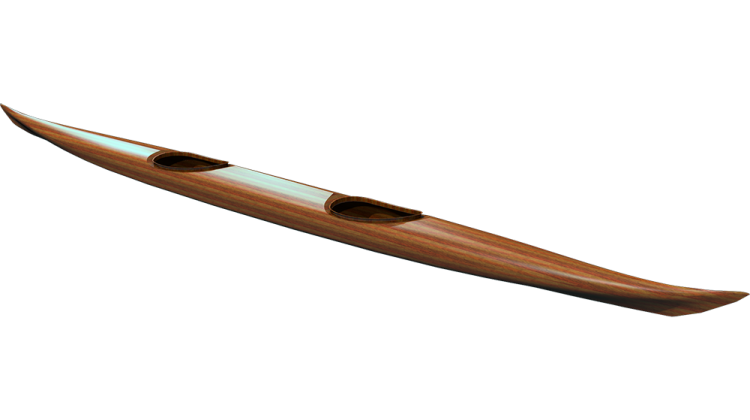
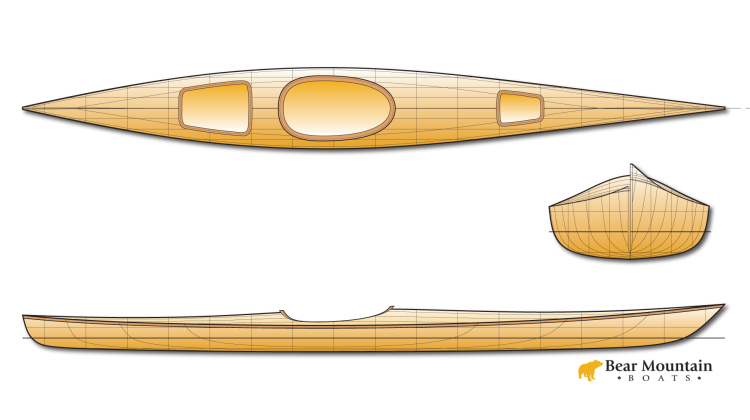
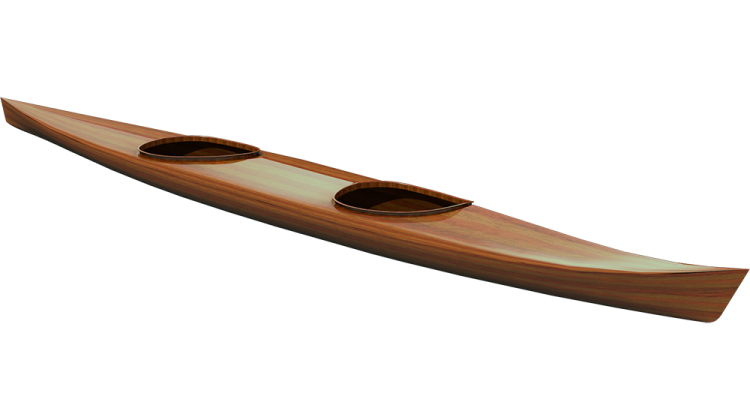
In this episode after messing up some strips in the previous episode, I redo milling the strips for the body of the kayak. I cut down a 2x12 into 3/4" blanks and then rip those blanks into 3/16" strips. In the middle I take a break and talk about my table saw setup.
Tools:
- Magswitch Feather Board: http://amzn.to/2Gnke1e
- Shop Fox Power Stock Feeder: http://amzn.to/2DLO5C3
- Delta Unifence: http://amzn.to/2DFSDqd
- Delta Unisaw: http://amzn.to/2GjYfbb
- Ridgid Flip Top Work Stands: http://amzn.to/2Ebns7d
- 3M Hearing Protection: http://amzn.to/2DAXmJz
[Music]
so I need to reset from yesterday's
mess-ups cutting the strips so I do have
some good wood upstairs in the Attic
that I'll pull down and use instead I'll
probably just at some point set up the
camera and let it run so I'm not
distracted by having a teak keep the
camera going but I also do want to spend
a little time talking about how my table
saw set up how that whole system works
so you have an idea what I'm doing and
how I go about it
[Music]
[Music]
[Music]
so I've got the blanks all cut now and
the redo for the body of the boat
figure this is a good time to talk about
my sauce setup and so here on the infeed
side I'm just using my to my sawhorses
here as in feed tables problem with our
stuff doesn't fly it on very well so
what I do is take some wax paper put it
down on the surface where I need the
material the slide and use masking tape
hold that down and same at the other end
so that makes things slide a lot more
easily very little friction sometimes
when I've got doing a lot of strips and
I get a big pile of boards to go through
I'll have four or saw horses in here
just more support and it can keep the
ends from flapping a little bit but - it
seems to do it just fine
so I bring the boards in here and then
they move over to the table saw the
table saw I have is a delta you know saw
I got it 1995-96 time frame something
like that I used to have a 52 inch
extension out here great for cutting
plywood
I don't cut plywood all that often so I
got rid of that and I cut down the the
fence rail here from 52 down to now it's
30 inches this is still in the way all
the time I wouldn't mind having it
shorter just I don't have a lot of shop
space it would be nice if this was out
of the way sometimes getting
the shop but every once in a while I do
want to like cut aboard a piece of
plywood in half and so having something
that comes out to two feet kind of frame
is good when I had the original table
extension I didn't have this cast iron
wing so I found one on eBay and put it
you know made it so I had all cast iron
top saying I use for the strip's is this
power stock feeder power stock feeders
kind of a luxury you can cut perfectly
good strips without it table saw is a
risky tool in the shop people cut their
fingers off you could get a soft stop or
something to prevent that but with the
power stock feeder my hands are never
going near the spinning blade and it
feels pretty safe and it also makes for
very uniform cuts on the strips I like
the way it just pushes them through at a
uniform speed I can adjust the speed
here by swapping out various gears right
now I have it a fastest speed possible
big gear off the motor small gear to the
wheels and so that's shoots the material
through pretty quick for Western
redcedar with a thin curved blade it
cuts it like butter I you know I can run
at full speed when I'm cutting harder
woods or using a thicker curved blade
that's removing more wood at a time I'll
put the slower gear set on there I've
drilled and tapped several places to
mount the base of the power stock
theater so just drilled in the cast iron
and tapped those holes so I can bolt
down the foot of the feeder and have a
good secure mounting spot the feeders a
pain when I'm not actually using it
because this foot is here I can't slide
the the fence past that and so I I have
a maximum cut of about two inches when I
have the fence in this configuration you
know three inches
something like that when I have the
fence up right and speaking of the fence
this is a old delta y una fence
like I say you can put in tore
orientations down like this with the low
fence or up and it's got on the ruler
here it's got crosshairs for either
orientation and I like I said the low
fence is great when I'm cutting thin
strips because I can have the power
stock meter overhanging the edge of the
fence and that way I'm getting traction
on both sides of the strip as it goes
through the blade and that pulls the
strip through nicely the blade I'm using
on my table saw are these seven 1/4 inch
24 tooth I get these at the Home Center
for around ten dollars they're really
decent blades but what's most important
to me is you get a very thin curve you
can see there it's very thin so I don't
waste a lot of wood on it and you know
it doesn't put a lot of drag on the saw
it it really works well and it makes it
amazingly clean cut I'm not that worried
about having a super smooth cut the
whole edge of you know the whole face of
the strip eventually is going to get
sanded down and planed and fared up the
so the surface left by the saw will not
be the final surface of the boat and
that it makes a great cut and so on the
saw I have a zero tolerance insert so
basically there's no space on either
side of the blade that way the strip's
don't get jammed down go end up down the
slot there and I also made this little
riding knife here out of some carbon
fiber and that helps as the strips go
through here
it helps keep them in line and if the
next strip doesn't get pushed against
the trailing edge of the blade so that
can end up scarring up the side hand
feeding situations it could result in
kickback if the board hit the trailing
edge of the saw blade so with this
little riving knife in there
it keeps the board and the strip
separated and especially with the power
stock feeder which is pushing pressure
down right there one of the wheels is
right here and make sure it doesn't
start pinching that right there I could
probably use a longer riving knife this
is what I ended up with just so I
laminated up some carbon fiber because
that's the technology I have and same
thickness of the blade really works
great
the tool I really like is this magnetic
feather board it's you put the board up
you're gonna cut push the feather board
against it turn these knobs and this
lock down it just helps to have one more
thing helping keeping the board under
control up tight against the fence this
works great as you cut the board thinner
you just release it and then move the
feather board in closer and lock it in
again and so you're not having to
unclamp and re clamp a traditional
feather board it's a really handy device
I have several magnetic feather boards
this is one of the first ones like that
I got it's useful it has a little hold
down which is good the unlocking
mechanism is not the best and it doesn't
have quite the features of this one and
I know I use this still sometimes but I
like the mag switch one better I also
have another mag switch one here this
one this is useful because it's got
feather boards on both sides so in some
situations I need to be pushing on the
other side the downside of this is when
as you're moving along that's working
great holding down just fine but then
you get to where the t-square goes and
it's not quite as secure
because it's not as much magnetic
material there these magic switches are
one reason I really appreciate a cast
iron table some of the newer easier to
move saws have aluminum or some other
tabletop and you know they work great
but I gotta say these mag switches are
really cool
I've got dust collection hooked up right
now my dust collection is just a movable
hose I was using the plain move that
down to the saw when I need it and then
on the outfeed I've got a series of
tables here these were IKEA butcher
block table tops on some Home Depot tool
cases on wheels these all roll around
and then I have these little flip top
work supports the skinny strips coming
out here they all want to fall down when
they as a gravity pulls them off the
edge of the table and so this gives them
a wide place to hit and keeps them up
off the table until they're across and
so by having this wide space here I can
set up my strips as I'm cutting them lay
them flat in order and it keeps
everything organized and I have room at
the end for storage of the strips that
are cut and then going further along you
see my dust collector this one Ida dust
collector has smarts where it's supposed
to regulate the amount of power it's
putting into the fan motor so if I'm get
a wide open pipe it's pulling more air
through but if I end up with a small
intake pipe it's not overworking the
motor at least that's what it's supposed
to do so that's the basic layout of my
shop for cutting strips so in feed table
through the saw then lay things out in
the
outfeed table and keeps everything
organized as I'm working and I moved
into this house it didn't have a shop so
I had this garage built basically it's
40 foot long which that dimension was
determined by I make 20 foot boats
sometimes so I wanted to be able to saw
strips that were 20 feet long
approximately as a point of fact the the
40 foot shop actually is a few inches
shorter so when I'm actually cutting 20
foot strips
I got open the garage doors or the door
at the other end of the shop to let the
strips out but with 16 footers like
these I have plenty of room it works
great and you know it's nice to be able
to have a heated space all year round
where I can cut strips when I need to
all my tools are on wheels because these
kayaks take up a lot of space and so
once I get done with cutting the strips
I move the tools around and set up for
being in boat building mode enough for
the shop tour let's get back to cutting
strips
[Music]
[Music]
so here I've successfully ripped all the
blanks into individual strips and so you
can see the indication of the original
board here so these blanks for 3/4 inch
blanks and then those were ripped into
strips and there's my original
guidelines to make sure everything's in
order
and it came out pretty well I think this
is going to be nice
I had one mistake where I tried pushing
the strip through the soft the power
feed wasn't generating enough power so I
tried pushing and I ended up cracking
the strip but it was the last strip and
near the end of the last strip chances
are very good I'll be able to situate
that break off the boat someplace so off
do you have that strip run off the end
of the boat or off the cross the center
line and so that break will not appear
on the boat anywhere here's the break I
have some tape on it to mark where it is
I also tried super gluing it back
together which as a last resort if for
some reason this strip has to be on the
boat which I can't imagine why that
would be I can very likely just super
glue it back together and it would be
virtually invisible we'll see what
happens I don't think it'll be a problem
but I'm happy with how these came out
they look good I think we've got some
nice grain going on here
we've got more than enough strips so
I've got nine and a half inches of width
times six so that's a lot of surface
area that I can cover should be in good
shape you know it should be able to get
the whole top side of the boat out of
this and have stuff left over and
chances are that break that I had won't
even be on strips that I use now that I
have all the material cut I should be
able to just go ahead and start setting
up the forearm so I've got the forms
already cut from a previous build so
it'll just be a matter of stringing them
on the strong back but I'll show you my
operations for that getting
everything Trude up and nice until then
if you're interested in seeing more
videos please hit subscribe if you like
this one
hit like I'd appreciate it if you share
this with your friends so they can see
what's going on and I really appreciate
your support on patreon so until then
thanks for watching and happy paddling
you