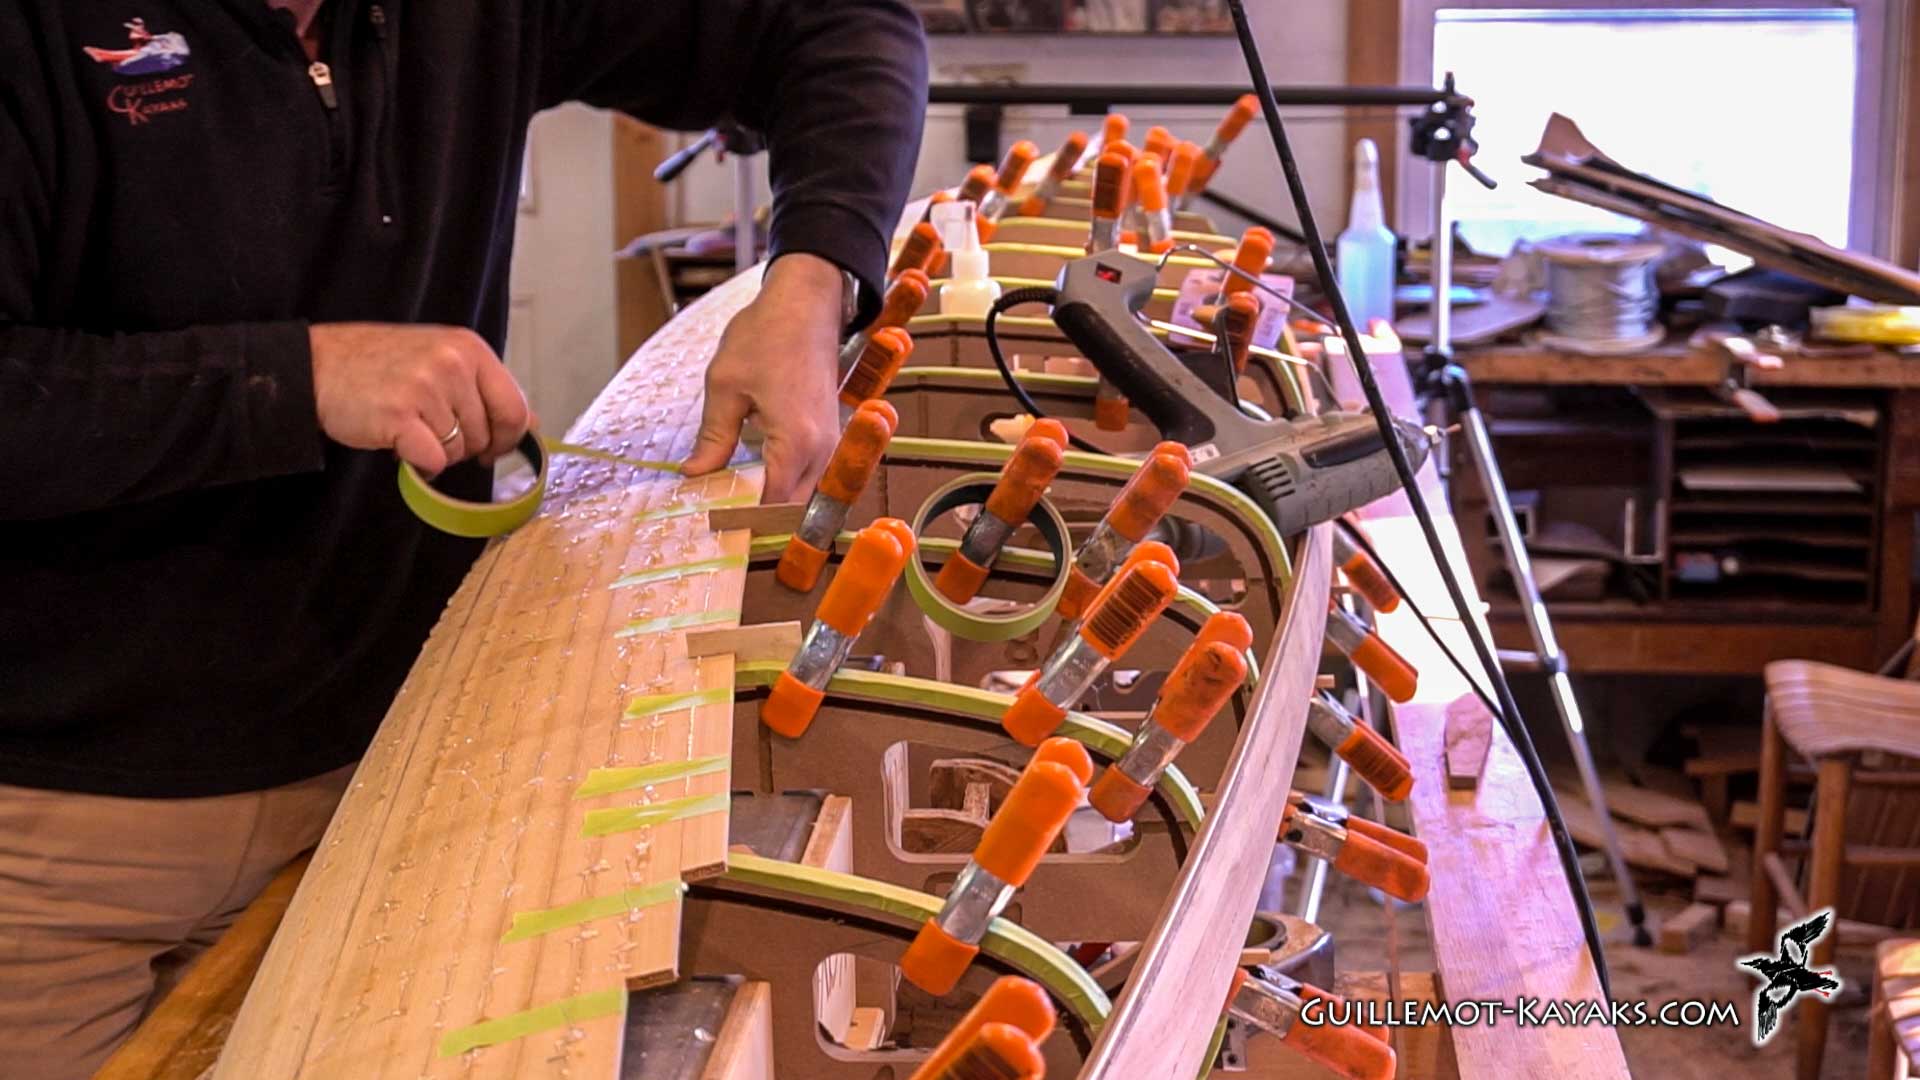
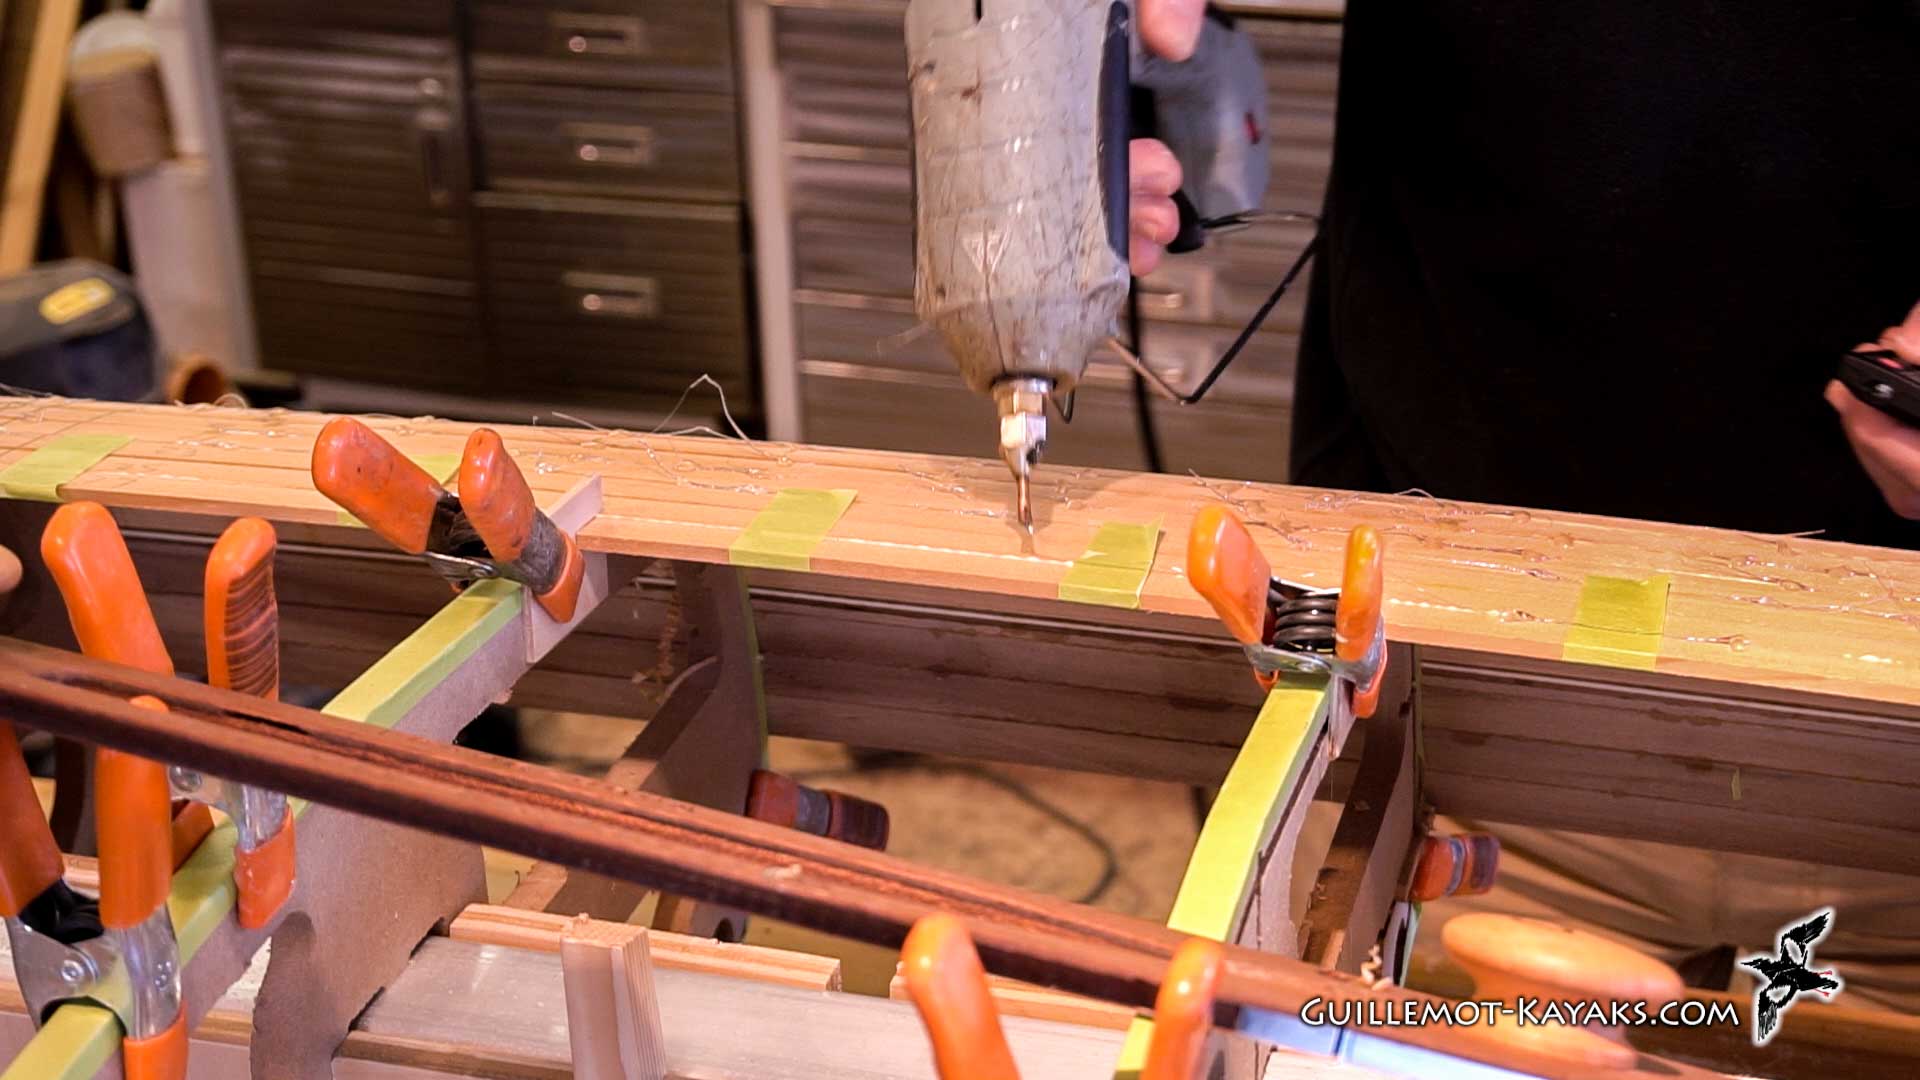
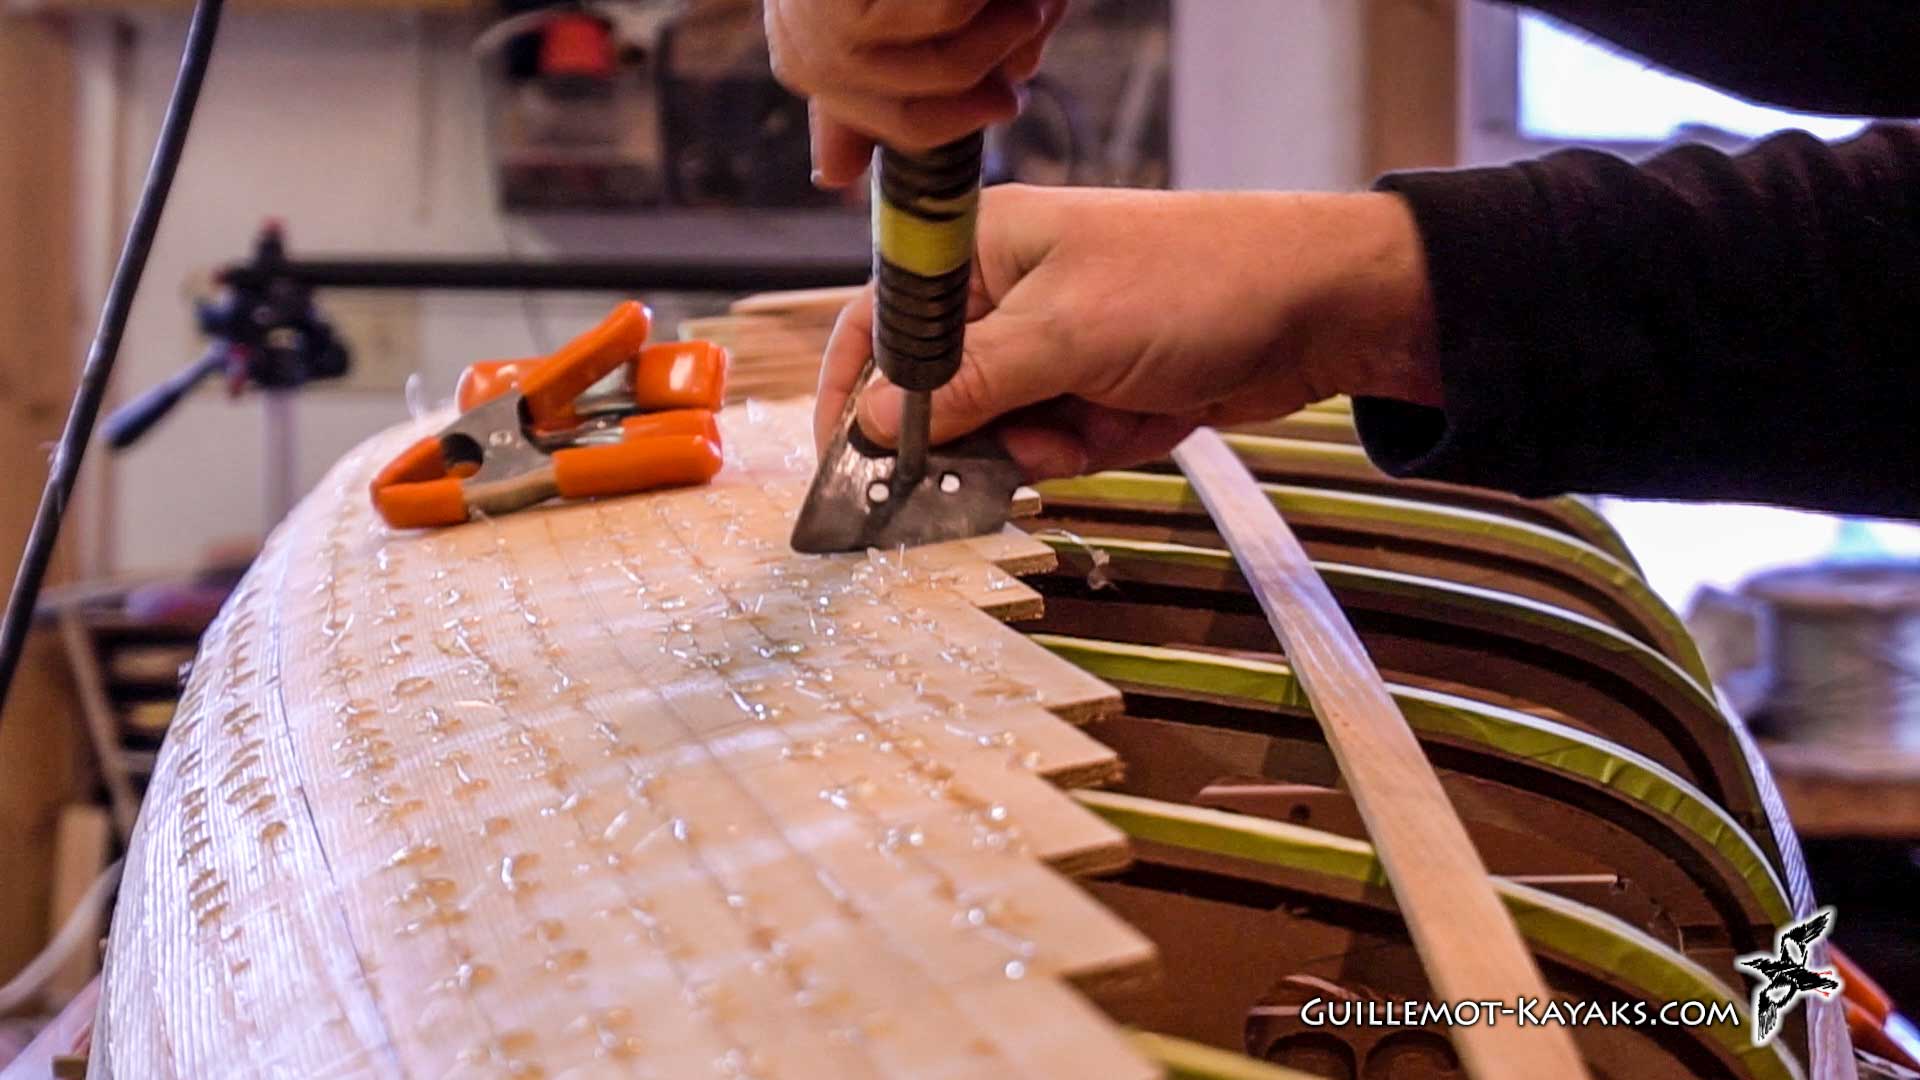
Hand beveling the chine strip and then filling in the bottom..
Music: "All Good In The Wood" by Audionautix is licensed under a Creative Commons Attribution license (https://creativecommons.org/licenses/by/4.0/) Artist: http://audionautix.com/
hello welcome to the Guillemot kayaks
workshop I'm Nick Schade, today we will be
working on throwing up this waterline
edge that we just cut yesterday today
we'll make it nice and straight the
tools I'll use are some rabbit planes
I like these side rabbit planes this is
one from Veritas and this is an old
stanley 79 and then we'll fine-tune the
angle of the bevel with the Robo-bevel
and if we get that all accomplished I'll
put some accent stripes on so I hope you
enjoy this and if you have any questions
post them in the comments yesterday we
cut this waterline with the saw and
today we want to get it straight and
level we were using this pencil line
here as our guide do not get focused on
that pencil line what we're trying to do
now is get this line this edge straight
and the pencil line is no longer gospel
that was a guide for our sawing so what
we're gonna do now is just eyeball down
it make sure everything looks straight
if it looks straight it is straight the
tool I use is one of these side rabbet
planes what I can do is trim right up to
the edge because the plane blade comes
right to the edge here and so as I go
past the form's I'm not going to cut
into the forms and the forms aren't
going to get in the way so I set this
fence up at such a distance that I can
trim right past the forms and keep on
going and what we're looking for here is
to trim off the high spots we want to be
very intentional with what we're cutting
the only reason to put the plane to the
surface is to remove material there is
no way to make a low spot more straight
by planing the low spot we want to hit
the high spots first and shave those off
and get them down even with the low
spots so every time we're putting this
plane to the material we know why we're
cutting right there and what we're
trying to accomplish right there so find
a high spot first and we're just going
to shave down the high spot
so we first want to identify the high
spots looks like there's a high spot
right here and take the tool start at
the center of the highest spot and then
shave it down if the tools having
trouble cutting against the grain this
tool has blades on going both directions
so if it's having trouble cutting this
cutting this way will switch and end up
using this blade and cut that way
our first goal here is to get the line
straight we're not going to worry about
elevation and how close to the actual
water line marks these are yet first we
just want to make a good straight line
we can shift that line after it's made
but if this if the pencil line is
approximately where we're trying to get
to I'm not going to worry about the
pencil line until I've got everything
straight if at that point we're still
high above that line then I'll worry
about moving it down to the line so
we're just looking for high spots and
we're going to shave those down when
you're identified a high spot start in
the middle of it
shave down the middle of it and then
take slightly longer strokes as you go
so when you cut off the high spot you
end up making a little flat spot on top
that's a little bit wider and each time
you cut down you make that high spot the
you make the top of that high spot a
little bit wider and a little bit wider
so you want to increase the length of
your strokes with each pass
get your eyeball down on it and look
what's going on like I said with the saw
yesterday we're not just the power
source for this tool it's not just a
matter of moving it it's putting it
where you need it and cutting off what
needs to be removed behind the high area
shave down the top now this is cutting a
little rough I'm going to switch
directions
see how the fence lets me get ready pass
that form and continue that slice you
can see the shave spot get wider and
wider with each pass
as you start to get rid of the obvious
little spots that are high you end up
going with longer passes in a longer
area to bring the generally higher
regions down to be even with the
generally lower regions
I'm holding this rabbit plane at about
90 degrees to the existing strip when I
come back with the Robo bevel and I'll
end up beveling it relative to the form
above it here I want to under bevel so I
don't over bevel so either 90 degrees to
the existing strip or more towards
horizontal so one thing nice about these
side rabbit planes is the face of the
whole tool is parallel to the cut plane
you're creating so it's easy to keep
track of exactly what angle you're at
when you're done with one spot move on
I'll find the next high spot deal with
that
it's easy to get enamored by the
beautiful curl that's coming off the
tool and just want to keep on doing it
these it's really great when you've got
a sharp tool and it creates these
beautiful curls and it's so much fun
that you just want to keep on doing it
but again we want to be intentional with
what we're doing and only hit the spots
that need to be hit so concentrate on
the high spots and don't pass over the
low spots until you've brought the high
spots down to their level
we have here the place where we broke
the top half of the strip off and it was
glued down to the inner stem so it left
a little residue behind I didn't want to
cut into the inner stem so we got close
and now we want to get rid of that
excess material there
and now we want to straighten that out
it's got a little rise at the end so try
and identify word rises up and then just
shave off the top
and as you shave it down you'll end up
moving the tool farther back to blend it
in
if I were to try and plane this edge
with a standard plane running it along
the top it'll cut fine here but then I
hit get to the forum and to go past the
forum I want to go like this but the
edge of the blade is inset from the edge
of the plane so as I go past the top of
the forum I end up not actually shaving
away the edge of the strip so what I
want is a plane where the blade goes all
the way to the edge of the tool so
that's a rabbet plane so here plane goes
all the way out to the edge so with this
I can run right on past that and it'll
continue to cut but it's a little bit
awkward to hold this because I get to
hear the planes cutting just fine then I
get to the forum and so now I got to
move around and what I tend to end up
doing when I have a tool like this is
because it's a little bit harder to get
around the forum I spend most of my
effort in between the forums and as a
result I get a little bit of a scallop
as I go by each forum just because I
don't like using this tool past the
forum it's an unconscious thing it's not
like I'm saying this plane sucks I don't
want to go around here it's just that
it's so much easier to do it here and
harder to do it here that unconsciously
I just put less effort into this area
these little shoulder planes are
designed to trim along the edge of
something and basically they're designed
for making rabbits wider so rabbits a
slot in the wood and the let's say
you're fitting a shelf and the shelf
material doesn't fit into the slot you
made in the support you can use the side
rabbet plane like this to widen that
slot so in our case that I have a fence
here
and that helps me move right past that
forum without slowing down and so the
the presence of the forum doesn't affect
my work I can continue to go by all the
way down the length without worrying
about where the forms are because this
fence helps me just get past that area
once it looks like I have this line
straight I can start thinking about
adjusting the height right now it looks
like it's very even with the bottom of
these marks right here
I'll put this end it's a little bit
higher here actually you could bring it
down a little bit all the way along
right here it looks like the edge is a
little bit higher than the marked edge
of the bottom of this slot just barely
lit up like the pencil lines are
actually pretty accurate there to move
this whole line down an even amount we
want to cut it the same number of times
with the plane the full length of the
boat so we're going to essentially start
at one end and run the plane all the way
down to the other end with really
straight grain what we'd end up with is
one 15 foot long curl all the way down
the full length of the boat the grain
here is a little squirrelly so I won't
hope for that
so we're getting some pretty long curls
here but I can do it again
just want to make sure we're not
screwing anything up and I have this
down to the level I want and looks all
nice and straight it's time to fine-tune
the bevel and we'll use the Robo level
for that we theoretically could have
done all this adjustment with the Robo
bevel you know if that's all you have
it's going to work fine
the downside of using it is since we're
removing a lot of material we have this
tight little gullet there which collects
chips and so you got to keep cleaning
those out you know it'll work great but
you got to just deal with that where the
side bevel plane I was using has plenty
of room for the chips to exit and I can
get those long curls like this and you
know it doesn't Jam up this amount of
material in here would make a mess and
we'd have to clean that out
so when we have the bevel adjusted right
we can go over to the other side
[Music]
[Applause]
[Music]
so I've got both sides Trude up now they
look really good
my plan is to put some accents in there
so what I'm thinking is at a dark strip
really narrow then a really narrow
bright white strip and then another dark
strip so the first dark strip will set
off the edge of this darker body would
then the light strip will be a really
bright line and then followed by another
dark strip so I'm outlining that bright
line with dark and that by putting dark
on both sides of the bright line it
makes a bright line look even brighter
and by having a strip set off the dark
edge here my actual plan with this boat
is I'm going to put some stain on it and
so I'd like to have a really defined
dark edge that will help me mask off the
stain for the topside of the boat I'm
not going to stay in the bottom side I'm
just going to stay in the topside and by
having a bit of a dark edge there I can
have the edge of the stain happen within
that dark pinstripe it's hard to mask
the stain off because it wants to bleed
in under the masking tape and by putting
a dark line there I can have that
bleeding happen in the already dark
material and so oh if it's a little bit
fuzzy along there it'll happen in the
dark material and then I will have a
bright sharp line between that dark
material and the light pinstripe and so
it'll just make that transition look
sharper this bundle I have three
different shades of Western redcedar
that were the drops from some previous
project and so I'm just seeing I'm
liking this dark stuff I think it might
have a nice contrast their problem is
it's not quite long enough so what I'm
going to do is I think I've got four
pieces here I can but join them
someplace in the middle the thin stripe
like this you're really not going to see
that joint
these are looks like they're about 3/8
wide I'd like them narrower than that
I'd like them like 1/8 or maybe even
1/16 and so I can rip these down into
thinner strips use those above and below
the Pinstripe I think I'd probably like
the one closest to the body would here
be like an eight and then the one above
it be maybe a sixteenth so and have the
Pinstripe about a sixteenth all cells
and that should make a nice really fine
crisp looking line so I think I'll pull
some out of here rip those up let's see
what we've got for the pinstriping
material so this is some Alaskan yellow
cedar it's really nice stuff and that
would provide a really great contrast
with the western red cedar again I can
rip this into narrower strips and have
something I think will look really sharp
so these are plenty long and I've fed on
these and won't need to but join these
together but I need to pull a couple out
here and rip them rip them down into
1/16
[Music]
here's what I'm fixin to do get this
eighth inch thick piece of western red
cedar and I just cut and I lay on top of
that the sixteenth inch thick piece of
Alaskan yellow cedar then on top of that
I want another piece of eighth inch
thick western red cedar and then I will
switch to the lighter color bottom wood
so I'm thinking that's going to look
pretty sharp get a nice contrast between
the dark and the light and it will
highlight that overall change from
darker material to lighter material so I
think it will look pretty awesome my
plan for gluing this in place is to
sandwich it all together all at once so
lay of B to glue down play the first
strip later beyond glue on top of that
the second strip buta glue on top of
that the third strip and then cinch it
all down with masking tape to clamp it
tight and get a nice straight crisp line
these western red cedar pieces aren't
quite long enough so I'm just going to
scarf them together and simple way to
make a scarf let's just bundle them
together like this and then
so now we can take put them together
like that and that will disappear
completely sixteenth inch material I can
just lay them on top of each other get
them lined up and then cut them that way
those will put together just fine nobody
will see that so I'm just gonna quickly
apply some glue to the seam here
I now got the accent strips on both
sides and I think it's going to look
awesome and it's time for lunch
so when lunch is over these will be dry
can strip the tape off and we can keep
on going
[Music]
so I had an excellent lunch came back
and peel the tape off and then came by
with a little hot melt glue to tack down
some of the strips where they'd popped
off the forms I hadn't put hot melt glue
down for a couple strips now just
because my schedules worked out that I
didn't need to but now just want to tack
things down before I go on to the next
section and so now we are switching over
from the body wood to the bottom wood
and I had it all arranged in the stack
so it's just pulling up the next one off
the stack but first thing that's going
to have to happen is we're going to have
to bevel this to get a tight fit on the
next strip so it's rubble bevel time
[Music]
[Applause]
so it just grabbed the next strip this
is a light colored bottom wood and I had
it in the bin under the last strip here
so it's just taking one more strip off
the top of the bin and now this gets
placed up on top of the AK Center to a
dry fit and I'm going to give it a
little bit more bevel up at this end
looks great down through here because
you lose a little bevel in there it
looks good down at this end a little bit
of work there alright so a little bit of
touch up so if at the end here the Robo
bevel has trouble getting in there and
it doesn't have anything to register
against and I want to give it a little
bit more of a angle and here so I'm just
going to use my side rabbet playing here
that's better
some old glue that one
well I made good progress today I got
those accent strips and I think those
are going to look awesome I only got one
strip on after that I was hoping to get
a little bit more but filled up a memory
card on the camera so decided to take a
break there's some other stuff I need to
do so tomorrow we'll continue adding
strips on this one side working up the
side until I get to the chine at the
chine we'll do a process similar to what
we did with the water line where we over
strip and then cut it back and so we'll
see how far we get tomorrow if we get as
far as getting all those strips on up to
that shine line if your interest is to
see please subscribe if you haven't done
it already hit like give me a thumbs up
if you're impatient to see what's
happening next go over to my patreon
site and give me a little bit of support
I post all these videos there a couple
days before they're released to the
general public so again if you're
impatient go check that out so until
next time thanks for watching and happy
paddling

