Nick Schade embarks on a new project commissioned to build a Petrel strip. Unlike previous extensive documentation, he plans a more overview-style approach. He selects Western Red Cedar, avoiding book-matching to create random-colored strips. Experimenting with 3/16-inch Cove and bead sets, he meticulously checks strip thickness before adding the bead. His detailed explanations demonstrate a passion for craftsmanship and experimentation in boat building.
Tools:
- 3/16" cove bit: https://amzn.to/2PPrXKU
- 3/16" bead bit: https://amzn.to/2YWQm5d
Hey, welcome back to the Guillemot Kayaks workshop. I'm Nick Schade, and I'm starting on a new project. I got commissioned to build a Petrel strip build, and I'm about to get started. I don't plan to document this quite as extensively as I did the micro Bootlegger sport. I think I pretty well covered most of the steps in that project. But I'm going to be doing a few different things with this project than I did with the last project and the previous Petrel play. I'll try and cover those things as I get to them and just show you the process in more of an overview manner throughout the build.
The first thing I need to do is select my wood. I've got some really nice western red cedar here, but it happens to be stuff that doesn't work for a book match, and the customer doesn't want book-matched. He's looking for what I call random colored strips. So I have a couple of boards here, and actually, this board here is what I had cut for the micro Bootlegger sport. But if you remember back then, I screwed up one of the strips; I was trying for book matching, and I turned the blank 90 degrees one time and ended up with a strip that wasn't quite right. As a consequence, I could not use that for book match, but there's plenty of really good lumber here; the strips are all cut, they're just about ready to go.
So I originally cut this into eight blanks, and each of those blanks produced six strips. So I have about six times eight, which is 48. So I've got 48 times 17 equals about 800 lineal feet of strips, 816 lineal feet. The Petrel requires about 900 lineal feet of strips. I'd like to have a little bit more; I'll shoot for about a thousand. So over here, I have another bundle of strips, there's about twenty-four strips here, and they are 16 feet long. So 24 times 16 equals 384. That gets me to about 1200 lineal feet of strips, so should be plenty.
And it's really nice stuff. I don't want a book match, and I don't want to end up having it look like I started the book match and then just screwed it up. So to avoid that, I'm gonna mix both bundles of these strips together and then flip some of them in friend. That way, the strips that are from the same board get a little bit more randomized. So by shuffling them together and flipping them in Firenze some of them in friend, I'll have a more random pile, and so I won't have accidental book matches or I shouldn't have quite as many accidental, you know, I might have a couple of Jason strips that it's obviously came together, but that'll look fine.
It's only if I have a whole series like four or five strips that are matching together, then all of a sudden, I've got one that's a little off; it'll make it look like I made a mistake. Whereas by having them more randomized, I won't have that issue. The other thing I'm going to experiment with is in the last build, I use square-edged strips for the past two builds. This time I'm going to use cove and bead, and I'm using 3/16 strips here. These are all cut to 3/16. And what I normally do with 3/16 is I use my quarter-inch diameter Cove and bead bits. In this case, I scrounged around and found online some bits that will work for 3/16 Cove and bead. Usually, I think the quarter-inch works pretty well for Cove and bead strips on the 3/16 strips because it lets them move together pretty well, and where sometimes a deep Cove and bead can lock things in and have them have a hard time conforming.
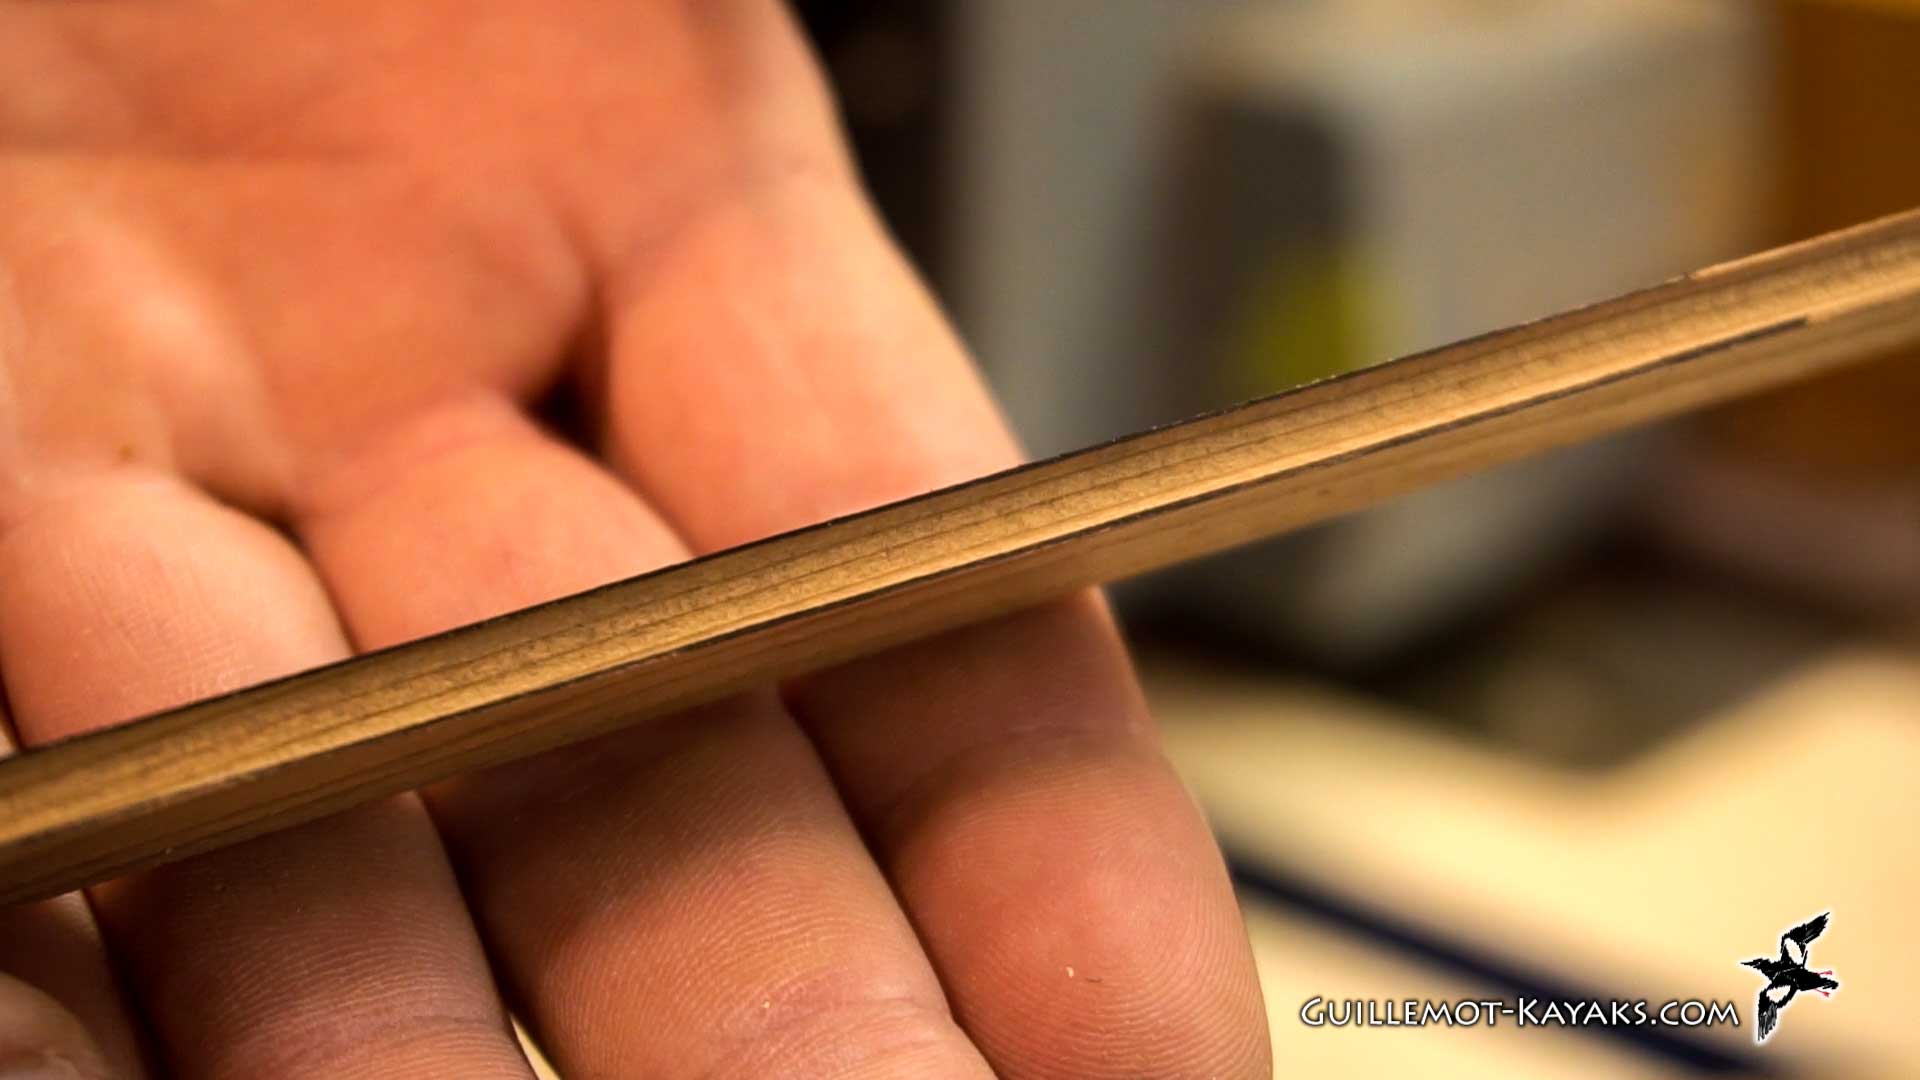
But I want to do the science; I have not used the 3/16 inch Cove and bead set on 3/16 strips before, so I'm sure it will work. I'm just trying to find out if it's a benefit as opposed to using my standard quarter-inch Cove and bead. So that's my plan. My first thing I want to do is just check the thickness of these strips, see how consistent they are, make sure they're really good 3/16. And if I need to, I can come back and mill them all to a more uniform thickness by running them through the plane.
So with the strips all the thickness, I'm ready to put the bead on. Here's your standard bead set, quarter-inch diameter. On those, these fit together beautifully like that. And here we have a 3/16 inch strip, about 3/16 right there. These are quarter, so if I set this down in here, obviously, the thickness of this is a little bit wider than the thickness of the strip, and that tends to work out pretty well. The cove and bead let the strips rotate relative to each other, so if there's a little curvature around the boat, it works out fine. There can be a little bit of a step from one to the next as that strip sort of rotates around that larger diameter. Not a problem. I think it works out well. That's my standard way of doing it when I use bead strips with the 3/16 inch thick strips.
But I figured let's do a little experiment and see what it looks like when I use an actual 3/16 radius. So I found a little bullnose bit here, which is 3/16, so the radius is three thirty-seconds times two 3/16. And here I have a multi-fluting bit, so this should be pretty much an exact match with the strip. And if I purchase the right thing here, so here we have a bunch of three-sixteenths stacked one on top of each other. This is... I don't need this bearing on here; this just happens to be the bit I found where it makes a three-sixteenths Cove. So we're gonna go with this.
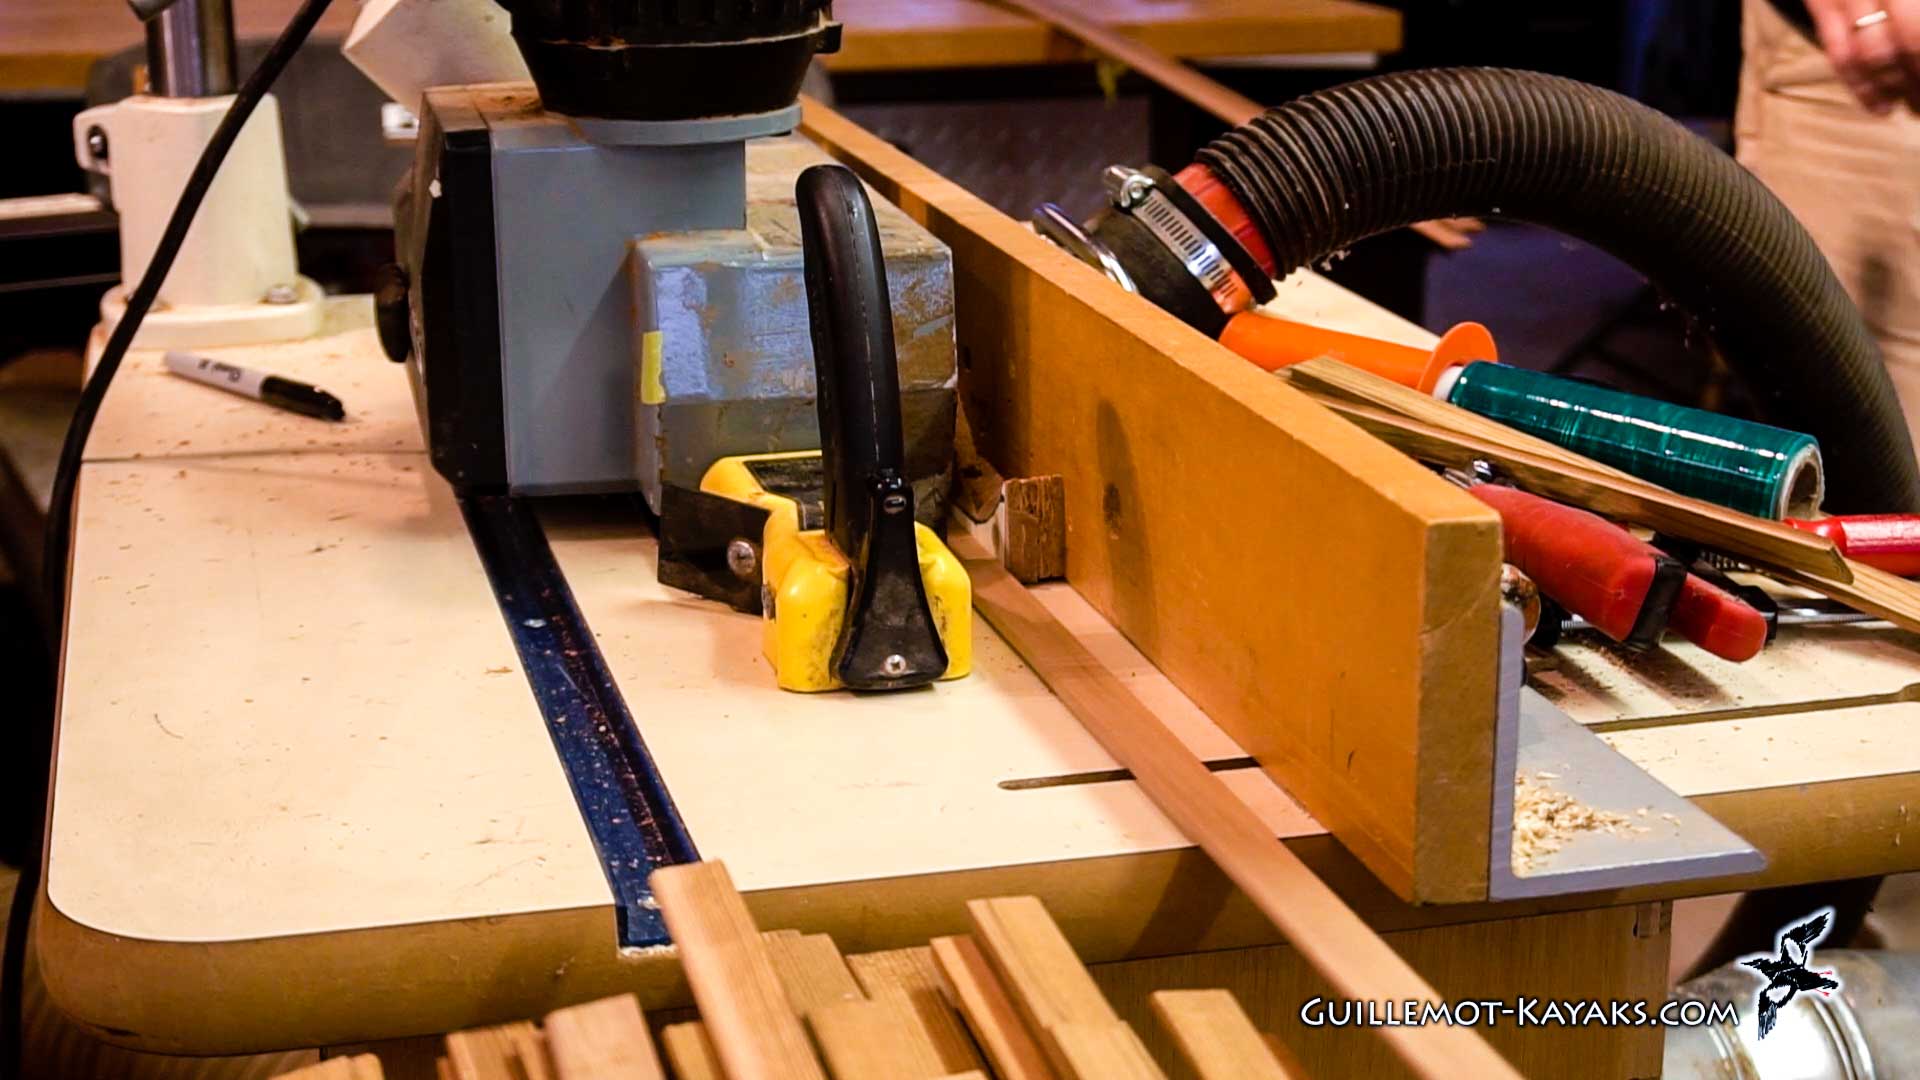
Just choose one of these and use this. The downside of the smaller diameter of both of these relative to these is the cut through the strip will end up pulling out a little bit at a steeper angle. So it might tend to chip out a little bit more just the diameter. This makes it so it's going to be coming out at a different angle, but I think it'll be fine. So I'm going to set up; I will cut the bead first because the cove is a little bit more delicate, and I want to handle those strips as little as possible. So this will be a quick cut through there on my router, and we'll see how it goes.
So I wanted setup so it's centered so this black spot is in the center up and down. And you see I'm not getting the cutting in that I was getting right here. So I'm not cutting into the bottom of it at all, and I get at the center this was too deep because I'm starting to take away the width. So I like leaving a little bit of black right in the middle, and it means that I can see where that it's centered. It also means that I'm not wasting any width of the wood,
and it's a really flat section there anyways, so it's not like it's gonna be a big gap inside.
Basically, it'll be just enough room to have a little bit of glue in there, and it should be perfect just like that. So now I'm going to set up the power stock feeder and run some more test strips just to make sure that the presence of the power stock feeder does not screw up the centering of this system. Now looks about perfect, leaving a little bit of black right in the middle and nice and even on both sides.
So that's all the beads cut. One thing that should be pretty clear is, since I don't have to keep the strips in order, I can just feed them through a lot quicker and just make a pile over there, make a pile over here, feed them through, and I'm just pulling whatever's on the top. And I'm looking for a random pattern of the strips, and this will sort of guarantee that it's random because I'm just pulling random strips as I go here. Doing this without book matching obviously saves time, and I think you'll find the finished product still looks great.
Let's the beads all cut. I now need to cut the coves, so I want to end up with the cove and the bead referencing the same face of the strip. That way, there's no irregularities if the strip has a little bit of irregularity in thickness. I don't want the cove and bead doing this relative to each other; I want them to maintain the same height. So right now, the strip went through like this, bead on this side, and I want to cut the cove on this side. Now if I just flip the strip over, now I'm referencing off the other face of the strip.
So the easiest way to deal with that is to just take and turn this whole router table around so the fence is now on this side. The potential issue with that is that's making the spinning of the router go opposite to the direction of the feed. Not a big deal, but it could affect the quality of the cut. The other way to do it is just to take this whole stack of strips, flip them in friend, and then run it through the same setup. So it's still cutting on this side, but now everything's flipped in Firenze. So we'll see how it goes.
I think what I'm gonna do is, instead of flipping this around, I'm gonna flip all the strips around. I have this set up here with the power feed in such a way that it's feeding this way, and it'll be a little bit easier. So I'm just gonna take the bundle of strips, pick them up, take them outside, turn around, and walk back in and put the strips back down, and that should end up flipping them in Firenze. I'm just going to quickly bundle them together with a little stretch wrap so it's a little bit easier to handle.
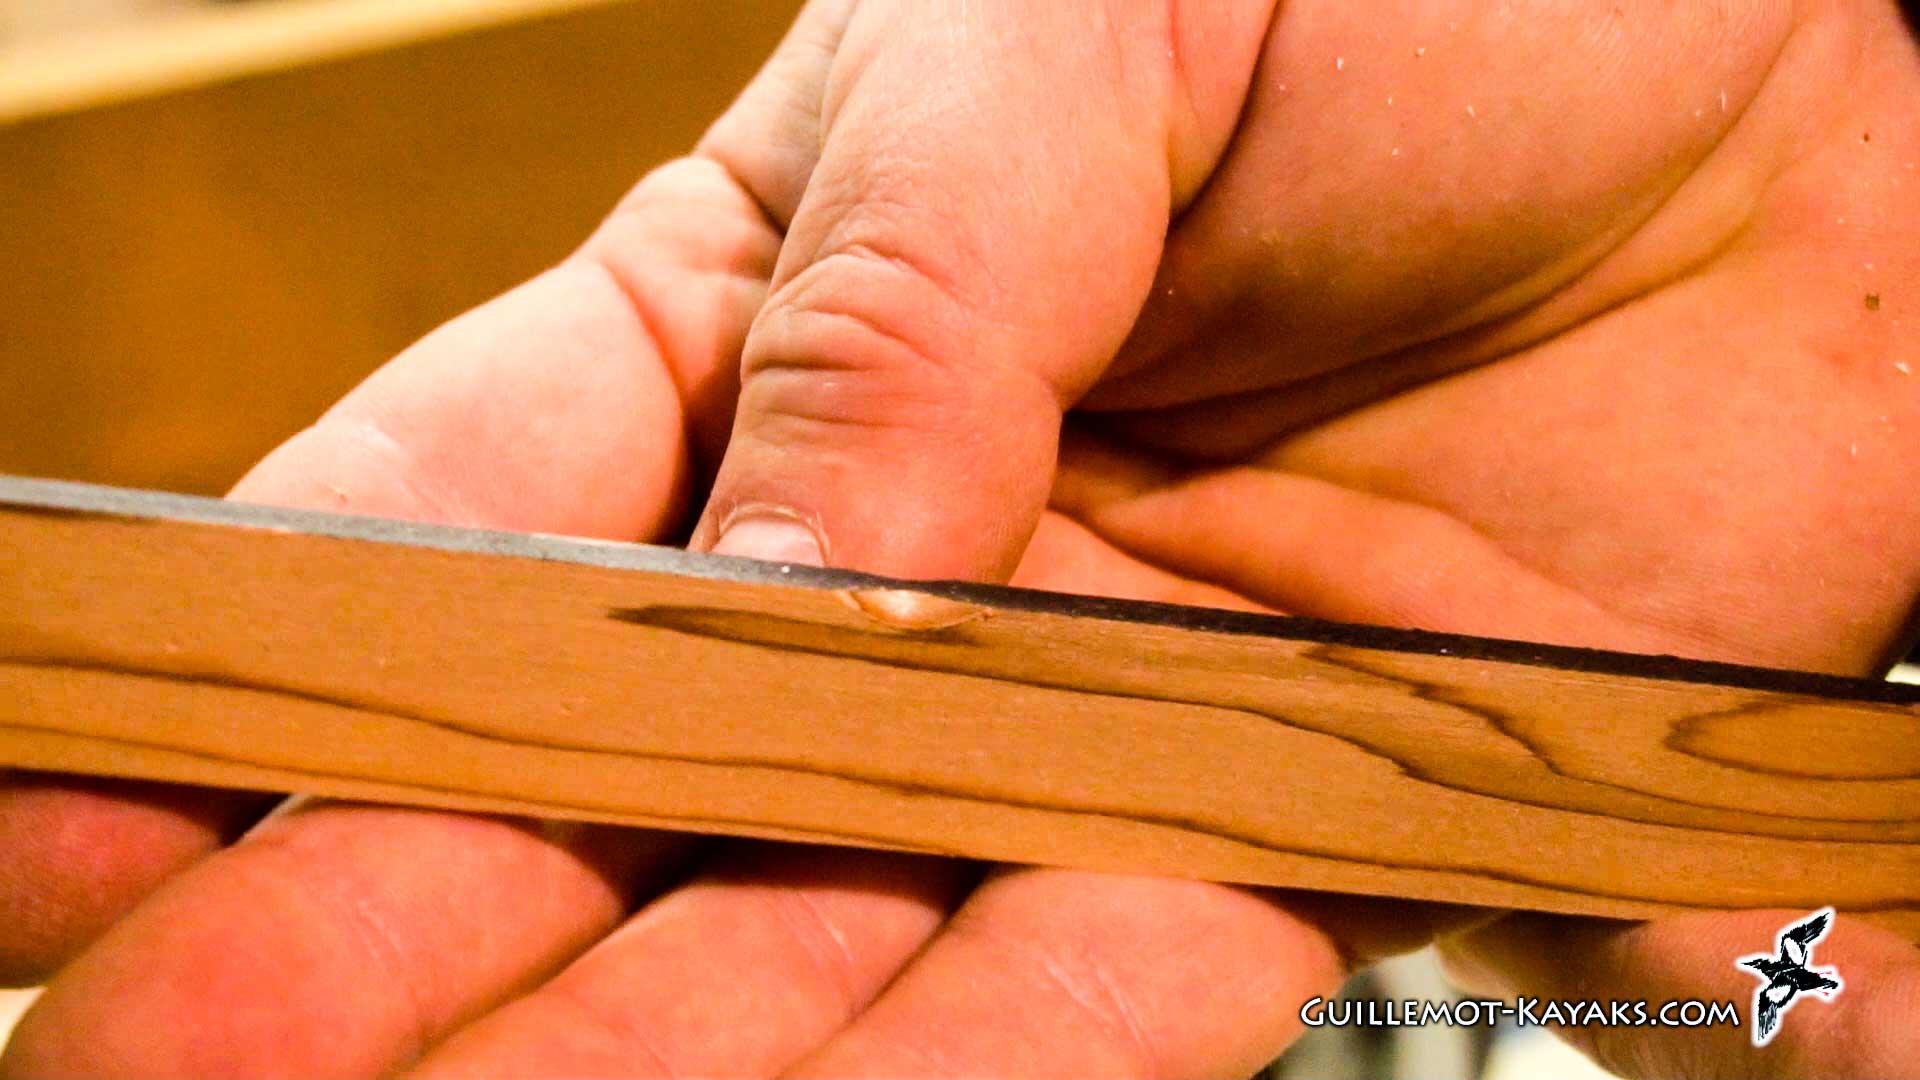
So we've got the cove nicely centered. Now you see I'm leaving a little black top and bottom. I want to leave a little tiny square edge top and bottom. I don't want to bring this down to a super fine feather edge; otherwise, it'll be very delicate, and it would be harder for a strip fitting in there to actually rotate. If the lips come all the way up, pushing it this way or that way would have a tendency to want to break off those little feather edges. So I want to push it a little bit deeper in, get those black lines a little bit narrower, but I don't want to take it out so it's a super feather edge.
So I get this little magnetic feather board, which doesn't do a whole lot, it just sort of helps guide the strip into place there. So now I'll just try running some long strips, make sure everything's still working before running the whole bag.
That's it for the first episode of building the strip-fill Petrel. In the next episode, I'll start putting together the forms, get the form set up, work on the inner stems, so stay tuned. I'll be trying to release a new episode every week or so. So again, I think I have about 15 episodes or so of this build in the can. I just need to edit them down. So as I edit them, I will put them out there.
So to support making these videos, I sell plans for this design and other designs that you can build your own. I have designs for kayaks, canoes, and rowing boats. And I just redid my website, and all those plans are available on that website at GuillemotKayaks.com. There's a - between the Guillemot and the kayaks. Otherwise, if you want to more directly support the production of these videos, I have a Patreon site. Feel free to go over there to directly support the production of these videos. Otherwise, just liking and sharing is support enough.
I really appreciate your support. It's fun making these videos, but it's a lot of work. I do hope you find them useful, and I look forward to posting more videos in the future. Stay tuned, we'll see what comes up. Thanks for watching and happy paddling.


