Welcome back to the Guillemot Kayaks workshop with Nick Schade, where we're diving into the construction of the strip built Petrel, a high-performance sea kayak. In this episode, we tackle the bottom stripping of the kayak. Despite some audio glitches, we press on, aiming to provide a clear picture of the process. Nick demonstrates how to taper the strips for easier bending and discusses techniques for achieving tight joints. He emphasizes the importance of mitering strips for seamless integration along the sheer line and chine. Using hand tools like planes and rabbet planes, Nick meticulously shapes each strip, ensuring a precise fit. He shares insights into managing bevel angles, especially along the transition from sheer to chine. The process involves careful planning and adjustments to accommodate the varying hull shapes. Nick also showcases how to address gaps between strips by introducing accent strips for added visual appeal. Throughout the meticulous work, he provides practical tips and tricks, showcasing years of expertise in kayak construction.
Plans for this kayak are available at: https://www.guillemot-kayaks.com/catalog/strip-built/sea-kayak-surfing/… Support my Patreon at: https://www.patreon.com/NickSchade
Tools:
Rabbet Planes:
- Verita Side Rabbet Plane: http://www.leevalley.com/us/wood/page.aspx?c=&p=60012&cat=1,41182
- Wood River Side Rabbet Plane (not as good as Veritas, but more affordable) http://amzn.to/2CvRa4f
- Stanley #79 (Ebay): https://www.ebay.com/itm/Stanley-79-Side-Rabbet-Plane
- kunz $97 (crappy castings but with love it would work great) https://www.highlandwoodworking.com/kunz79siderabbetplane.aspx
- Lie Nielsen Pair: https://www.lie-nielsen.com/product/side-rabbet-plane-pair
- Lie Nielsen Rabbet Block Plane (excellent tool for all around used): https://www.lie-nielsen.com/product/block-planes/rabbet-block-plane-w-n…
- T-50 Stapler: https://amzn.to/2U7XjA0
- Bostitch Heavy Duty Staple Remover: https://amzn.to/2Gy8F8L
- 9/16" T-50 Staples: https://amzn.to/2RDOyfw
Other Tools:
- 1" Spring Clamps: https://amzn.to/3aP8fZy
- Green high-stick Tape: https://amzn.to/317aLFV
- Titebond Glue: https://amzn.to/3aOhSaP
- 4-oz Boston Round Squeeze Glue Bottles: https://amzn.to/2RAYK8B
Introduction: Welcome Back to the Guillemot Kayaks Workshop
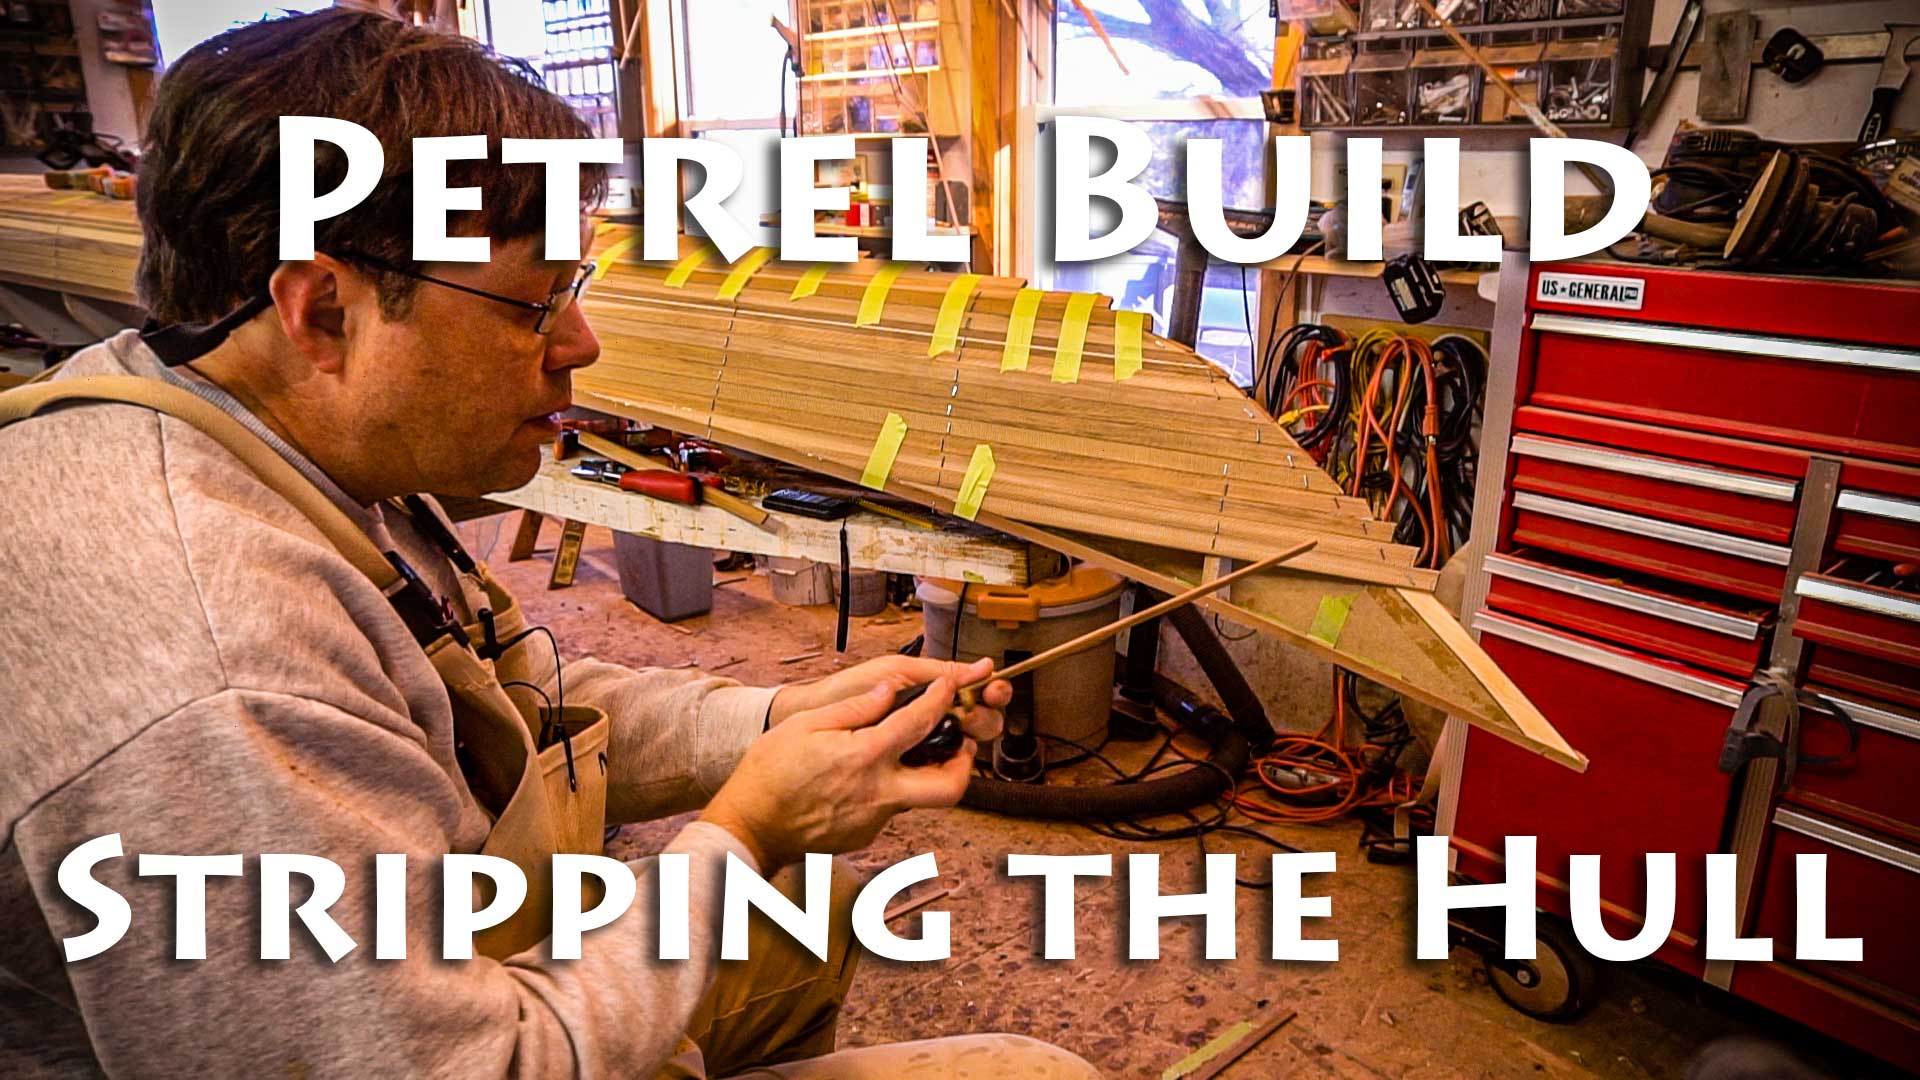
Hey, welcome back to the Guillemot Kayaks Workshop. I'm Nick Schade, and we're working on the strip built Petrel. It's a high-performance sea kayak, and it's a lot of fun to paddle.
Apology for Delay and Audio Issues
I'm sorry for the delay from the last video where we set up the forms. In this episode, we're going to start stripping the bottom of the kayak. Unfortunately, during some of the filming, the audio levels were all messed up. Some of the audio is pretty bad in one place, like it was completely unusable. So, I had to come in and do some voiceover afterward. I actually captured this video over a year ago, so there's nothing I can do about it now other than just try and make do with what I've got. But hopefully, it comes out okay, and you get the picture of what's going on.
Preparing the Strips
The strip's gonna follow this sheer here, and then the Petrel, like a lot of traditionally safe kayaks, has a lot of sweep to this sheer. To make the strip easier to bend, I think since I've already cut this strip down, and with a little bit, it should be easily enough bent to make that curvature. But if you find that it has trouble bending, the easiest thing to do is just make this strip a little bit narrower yet. So what I like to do, and visually I think this looks good, is to taper this strip down. So I'm just going to take both of these sheer strips, clamp them together on my little bench, and then use a plane to taper them down.
Creating Miters for Joint Integrity
The strip is going to go up along this sheer like this, but I want to make it so when I go to put the deck on, I'm going to have a good tight joint here. To accomplish that, I want to make a miter between the two strips. So if I have a strip coming in like this and the strip coming in like this, there's going to be a gap in there. But I've made a little mark here, and it's got a dot and a line coming out of it, which shows a bisection of the angle between the hull and the deck. So right here, the hull and the deck, and if you imagine this was a 90-degree angle, you'd have the 45-degree cut in there to make a good miter. The angles vary from form to form, so we can't just go with a 45. It's going to be a rolling bevel.
Beveling the Strips
To figure out the bevel, I'm going to put on here; I'm going to hold the strip down against the stick and look at the gap in between this strip and this strip. So, I'm looking at that gap right down in there. Right down in there, and you'll notice this if you look from form to form that it changes a little bit. So again, it's rolling. So I'm going to look at that gap, and then I'm going to take the plane and hold it to match the gap I just saw right there.
Managing Scarf Breakage and Continuation
Oh, my scarf just broke. So this is a scarf I glued together with super glue, and you can see that the wood failed a little bit right there. I didn't have a good bond on the whole surface; it just bonded right in there. I didn't do a great job at making that scarf, but we'll just try and clean it up, glue it right back together again.
Progress Update and Plan for Next Episode
I've got the sheer strips done for both sides; they're ready to go. I've beveled both ends, tapered both ends, all looks good. I'm just going to break for lunch, and after lunch, we'll start putting strips on. So lunch is over now; it's time to get these sheer strips in place.
Adjusting Strip Placement
The second strip is not going to follow the sheer line the whole length of the boat. I'm going to let this run a little bit more natural curve. The ends sweep up quite a bit, and I want to take some of that stress out.
Creating Transition Between Hull and Deck
So, I've gotten up to the chine here, and if I were to put a strip down like this, it doesn't end up flat against the forms; it doesn't end up in the cove there. The cove is sticking up a little bit high. So, I need to do something to make a transition from this surface to this surface. And what I typically do is I put a strip in there and plane a bevel into it.
Planning for Future Episodes
So that's it for this video. I plan to get through the whole stripping at the bottom of a boat in this episode. It's running a little bit long, so instead, I will finish off the other side of the bottom in the next episode. And what I think is really going to be interesting about the next episode is how I treat the centerline. I have a new way of doing the centerline that I stole from another boat builder, and it's really pretty amazing how straightforward it is. It's a little tricky, but it's straightforward, and it does a great job, and it's really quick. So if you're interested in seeing that, be sure to hit subscribe, turn on notifications, hit like on this video—all that stuff helps support me in making these videos. If you want a little bit of direct support, I have a Patreon page where you can chip in a little bit every month to see that I continue making these videos. If that's not what you're into, but you are into building boats, head over to my website. I've got plans for the Petrel design here where we're building today and a bunch of other small kayaks and other small boats.
Basically, I specialize in car-top level small boat designs, so you'll find those plans there. My Robo bevel tool, t-shirts, hats, etc. And also, if you're interested in this strip building process, I've got a couple of books that really go through the details of the strip building process and are really a good supplement to these videos. So head over to my website if you're interested in any of that. And that's really what's going to support the videos the best—is buying my stuff. So until the next episode, thanks for watching, and happy paddling.


