
Welcome back to the Guillemot Kayaks workshop with Nick Schade in Episode 4 of building the Petrel, a strip-built sea kayak. Nick shares an innovative technique inspired by Dan Caouette to streamline the process of fitting strips for the kayak's hull. Using a router to clean up the centerline, Nick achieves precise dimensions for the strips, saving time and effort. Despite concerns about the technique's ease, Nick demonstrates its efficiency in class and debates its educational value. The episode concludes with Nick preparing to strip up the deck of the kayak in future episodes. He encourages support through website purchases or Patreon contributions to sustain his video production efforts.
I got the idea for this method from Dan Caouette
Tools:
- Mini Shoulder Plane: https://www.leevalley.com/en-us/shop/tools/hand-tools/miniature-tools/p…
- RoboBevel: https://www.guillemot-kayaks.com/catalog/boat-building-tools/robo-bevel…
- Craftsman Cutting Sheers: https://amzn.to/36Cr5PW Heavy Duty Hot Melt Glue Gun: https://amzn.to/2U3c9YJ
- 1" Spring Clamps: https://amzn.to/3aP8fZy
- Green high-stick Tape: https://amzn.to/317aLFV
- Titebond Glue: https://amzn.to/3aOhSaP 4-oz
- Boston Round Squeeze Glue Bottles: https://amzn.to/2RAYK8B T-50
- Stapler: https://amzn.to/2U7XjA0
- Bostitch Heavy Duty Staple Remover: https://amzn.to/2Gy8F8L 9/16"
- T-50 Staples: https://amzn.to/2RDOyfw
Hey, welcome back to the Guillemot Kayaks workshop. I'm Nick Schade, and this is Episode 4 of building the Petrel. This is a strip-built sea kayak, one of my favorite designs to paddle. I've got a strip-built version as well as the stitch and glue version. I've actually built a skin-on-frame version for a customer, but I don't really have plans for that yet.
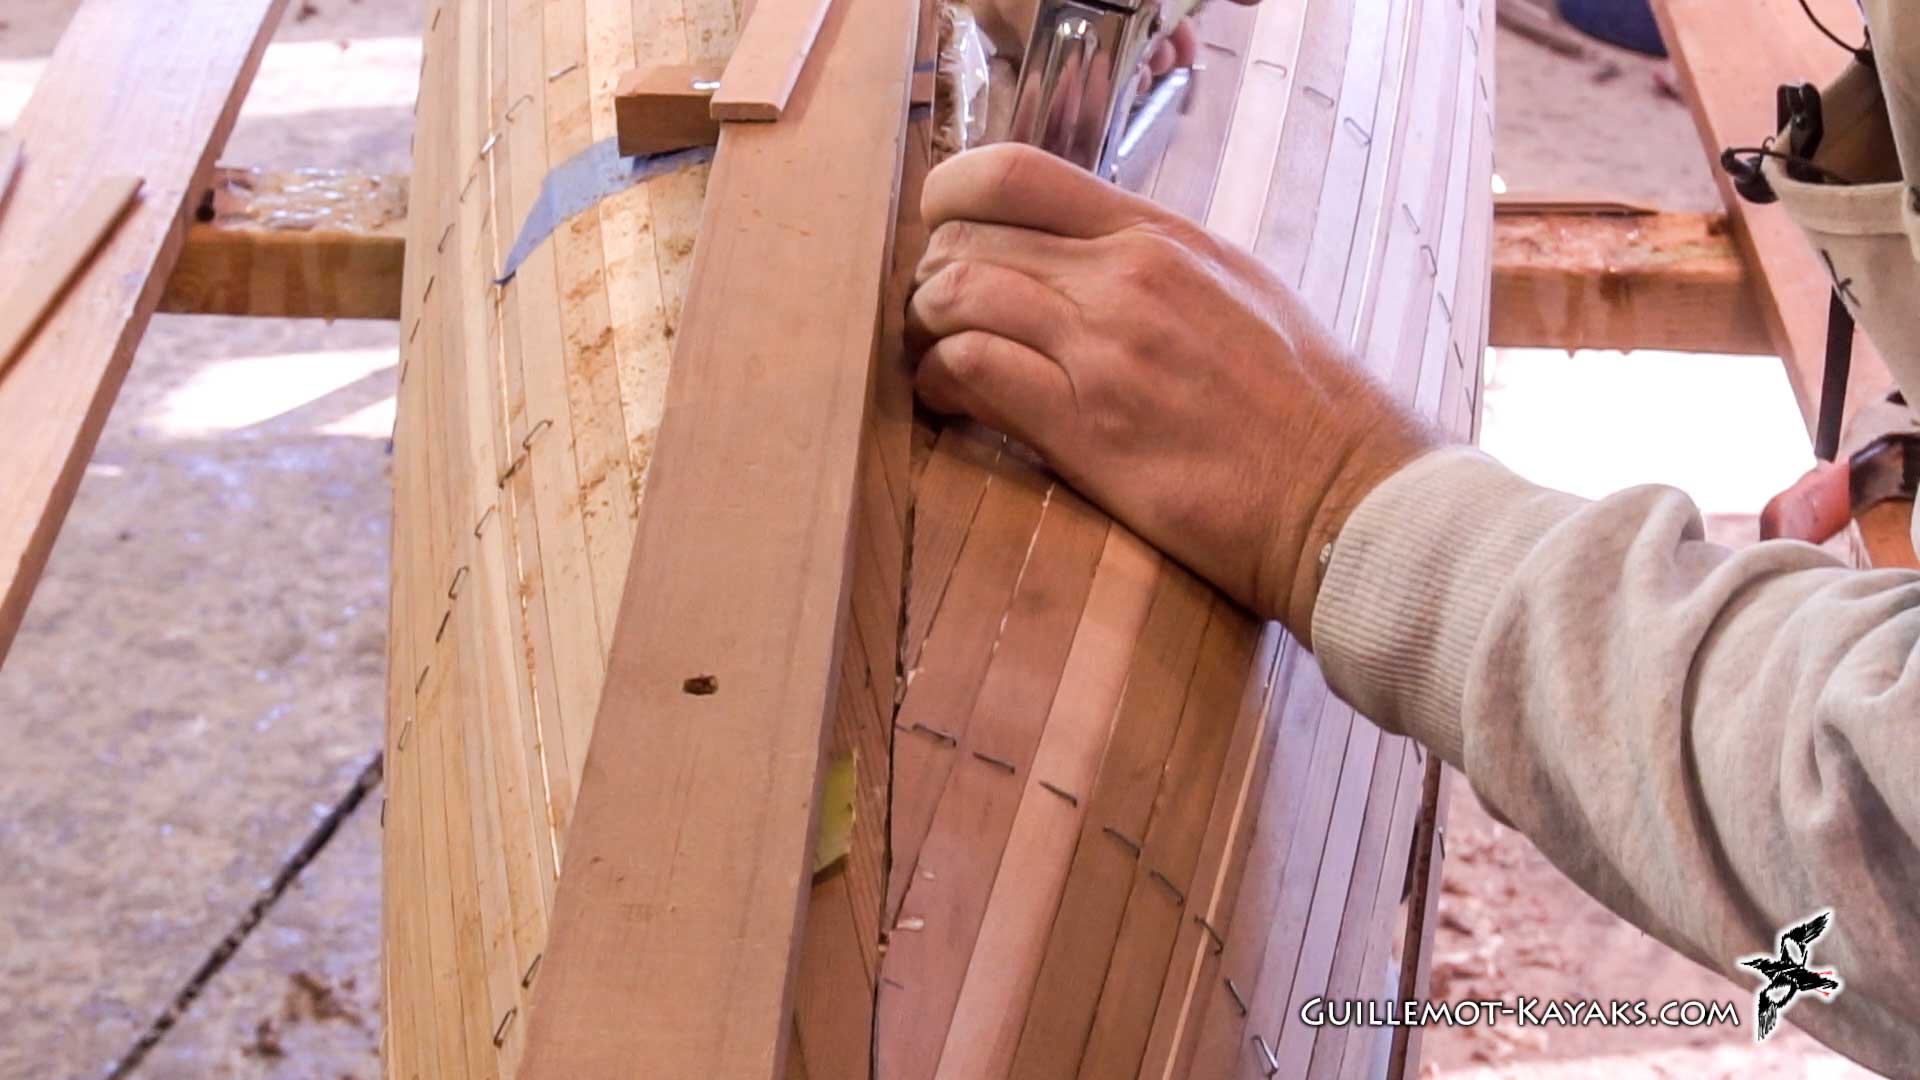
So, in the last episode, I stripped up the hull most of the way. I got the bottom stripped halfway across and I sort of left a ragged edge. This is fairly typical of how I have been stripping up the bottom of boats. Now, what I'm going to be doing in this episode is a little bit different from what I've done before. It's an idea I got from Dan Caouette of ClearStream Custom Watercraft. He's a builder up in Berlin, New Hampshire, does really nice boats. And I'd seen him in a Facebook or Instagram post do something along the lines of what I'm doing here. He stripped up both sides, left a rough centerline, and then ran a router down the middle. That cleaned up that rough centerline, and he was able to drop a strip of wood in between there to make a nice tight straight keel line strip. And it really looked good and went really quickly. I'm taking that idea and doing something a little bit different, basically the same idea but to save a little bit of time on the fitting of that centerline, the keel line. I've set up the fence right after doing the first side trim, that first side straight. Now I have a space there that I can use to have a fairly rough centerline. Then I run the router again and end up with a precisely dimensioned width strip that I can drop right in there and the bottom is done. It's really kind of cheating. I've captured this video about a year ago and since then I've done this a couple of times in class on a canoe and a kayak. And it's really kind of cheating. I'm debating whether I should do it in class anymore because it's sort of a little bit too easy and doesn't give people a chance to learn some of the nuances of fitting strips together. But that said, if you don't want to deal with that fussy task of fitting strips together, this is one way to avoid some of that.
As I mentioned in the last video, I was having some audio problems. I've now figured out what the problem is. My little lavaliere mic, the wires for that were fraying and shorting out, and creating a lot of static. So I've placed an order for a new mic, and it will be coming in shortly. Hopefully that'll clean up the sound, but unfortunately, it'll only clean up the new sound. All of this video for this whole build was captured with that old mic, and so there'll be times when I just have to cut to music because the grating of the shorting out wires was a little bit too much to handle. So instead of hearing the natural background sounds, I'll drop in a little music to make it a little less grating. So with that said and without any further ado, let's get right to it.
So, I trimmed the center line by setting up the fence here and then running a router down that fence. I transferred the center line of the strips using a little jig to take the center line here and mark it on the outside. I've got a few quarter-inch diameter pattern bushings on the router, and so I wanted to center the router on that center line. And to do that, I measured out three-eighths from the center line and put this fence along that three-eighths line. I wanted to keep this fence level, so I made little wedges to go onto the fence and glued those wedges down on top of some tape so I can peel them off without making a mess of the wood. There's a few places where the tape and glue weren't quite strong enough, so I ended up with some clamps there. And then I just ran down that center line. So right now, I've got a straight edge here cut about an eighth of an inch from the center line. I used a quarter-inch diameter router bit centered on that center line, so it's an eighth inch on each side. I'm now going to fill up strips from the chine up to that center line, but I'm not going to attempt to make a tight fit. I'm just gonna make sure that I don't have a gap greater than a quarter inch. So then I'll come back after it's all stripped up, recut that center line with that same router, and then I can just drop a quarter-inch wide strip into that gap. That's the plan. I want to try and keep this fence in place while I do it so when I go to recut the center line a second time, I don't have to be accurate in trying to replace that fence in the same place. It's still in the same place, and hopefully, it'll stay there. I might have a little bit of an issue at each end here, or it sprung up a bit, but hopefully, I'll get it on the majority. And there's some places here at the end where the fence wasn't close enough to the strips to actually cut all the way down, so I'll just take a saw to those. And this area will get covered with the outer skin anyways, so we'll see how it goes.
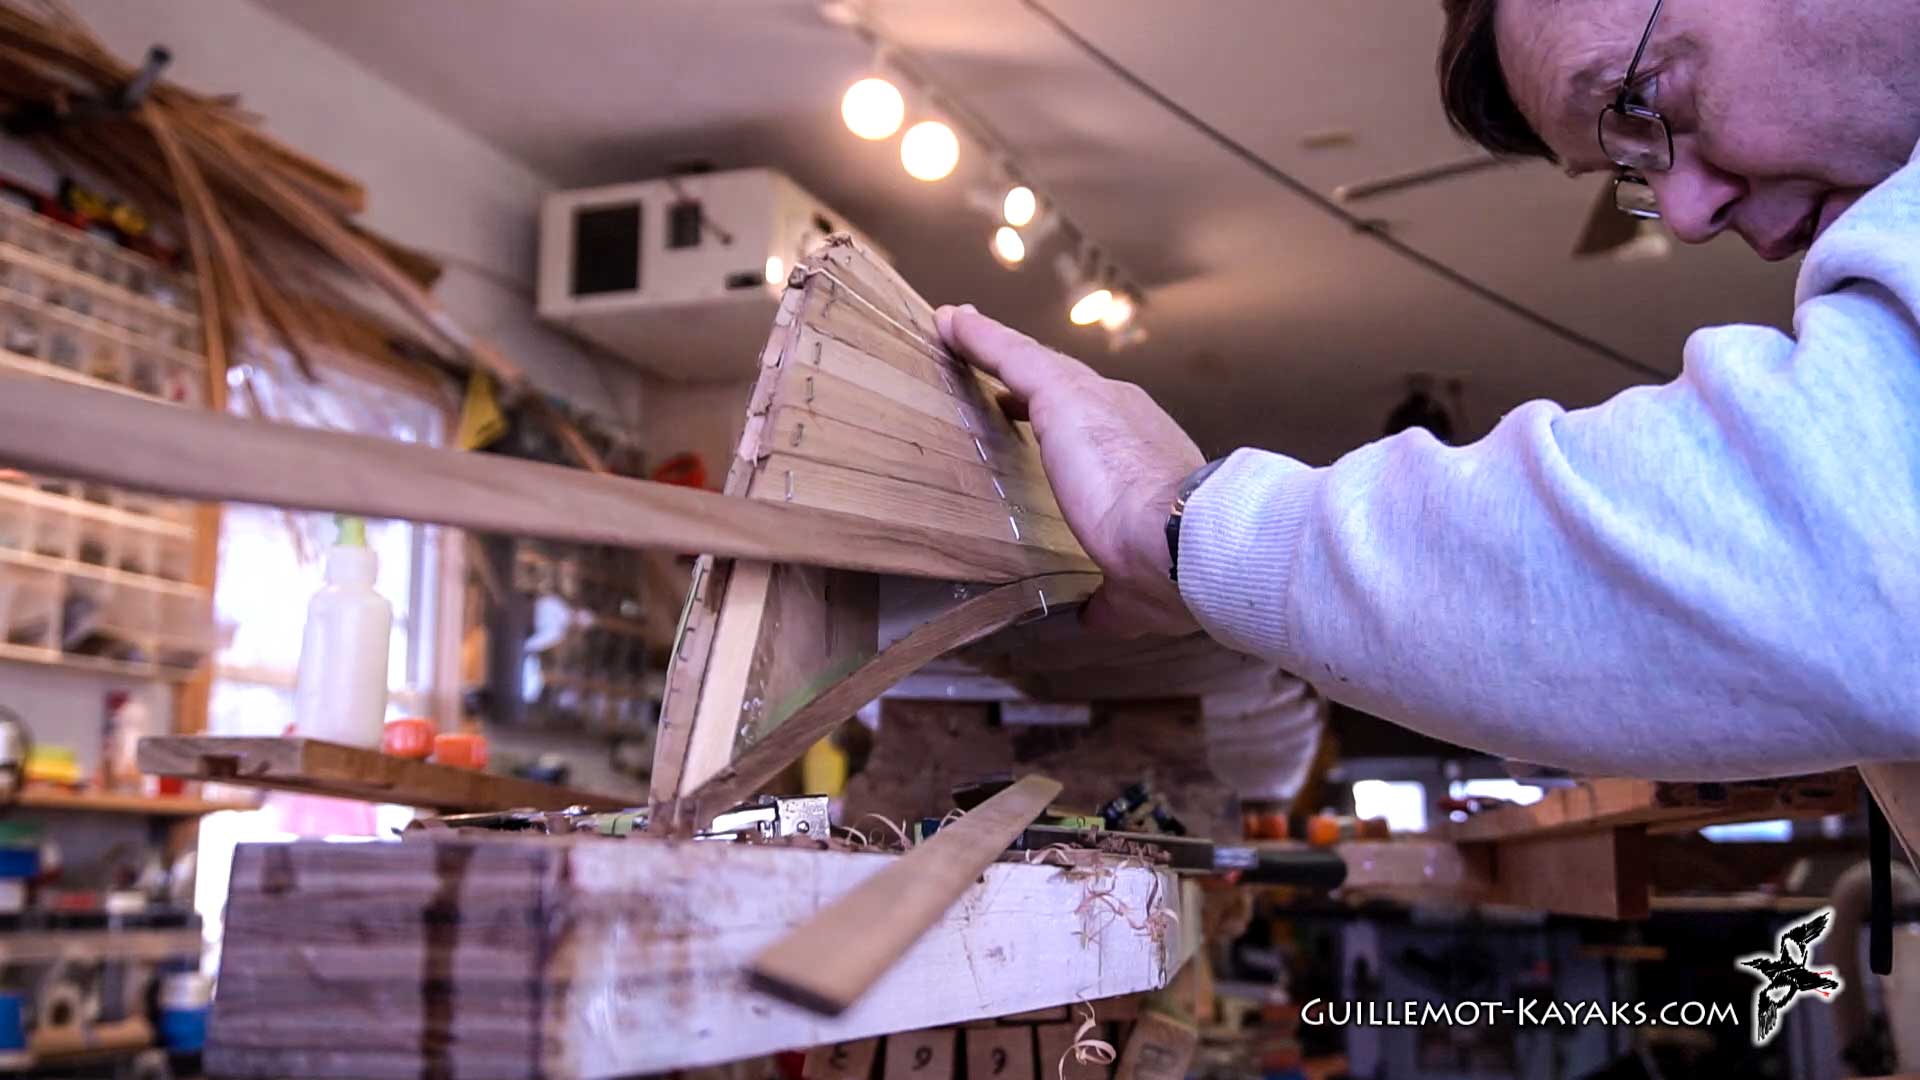
To fit these strips in, I'm just fitting them loosely, but they do need a taper at the end in order to fit against the pre-existing strips. So I just butt this up against the end of the little point there, mark where it hits the other strip on the other side, then mark that taper, and I'll just use my jackknife to quickly hack off that low point, bring it right down to the line, make the lines disappear. Just touch that and see if it looks decent. I just don't want any gaps greater than a quarter inch wide. All right, so I get that just nestled in there. I'm gonna clamp this off to hold it in place and come back to this end here. So, at this end, I'm just going to loosely gauge the length, cut it off, something like that, mark that, that off, just do a quick dry fit. And both ends fit. At the far end, let it sit back in here and staple it all home, then grab the next strip. Router didn't get all the way up to the stem here, so I'm just going to use a little mini shoulder plane from my Robo Bevel and see if I can just extend that a little bit farther. I don't need to make it go all the way. I can have an out-of-stem come up here, and that should take care of it. But this Robo Bevel's quarter inch wide, just follow right down that groove and deepen it a little bit.
So with the cheater strips, I'm just following the existing strips and fitting into the sheer strip. The point of this is, I think aesthetically, it just looks better to have the strips running closer to parallel to the waterline instead of sweeping up too much. If you have all the strips following the sheer, it kind of starts to look like a banana, and it just happens to be easier to fit into. So I'm fitting this against the cove on the bottom, and I'm going to be cutting away at this edge here and fitting that into the cove on the sheer strip. So, on this edge, when I taper this back, I will be able to just use a block plane to cut a little bead on there and make it fit tightly into that cove.
So, these are just some of the cut-offs from working on the bottom. I'm going to take one that's more than long enough, that way I can just slide it in to adjust for any mistakes. With the Micro Bootlegger Sport, I was book matching everything, and if on this boat I were book matching, I'd want to end up with the patterns on this strip matching the strips on either side of it. So, in other words, I'd want to have it fit in precisely in a longitudinal orientation on the boat. But here, it's random colored strips. I just need to make it fit tight up in here. So if it doesn't fit right, I just keep on shaving it down until it does. So that might mean I push this a bit in, but that's okay. I've got plenty of room to do that. And this first strip fitting in is always the hardest because it's the longest taper.
Basically, it tapers down to nothing up here, and we want to make that nice tight all the way into there. So coming from here where the strip first hits the sheer line is going to be a long, gradual taper. So just putting that strip in there, I'm going to mark it right here. That's where we want it to hit. The other thing to think about is you can always make it tighter by jamming it in or pushing this sheer strip up to touch. But we've got this sheer strip with a nice fair curve. We don't want to mess with that curve. We want to keep the natural curvature of that and fit this strip to that and not depend too much on the flexibility of these strips to make those tight joints. So, first thing I'm going to do is just mark out this taper. And on this one, since it's a long taper, I'll take it over the bandsaw, roughly cut it, and then start planing away at it. After that, I'll be able to just use a jack knife to cut everything down, fit it in, and as I get closer and closer to the tip, it gets easier and easier because it tapers shorter instead of longer.
So with that, I've got the bottom of the boat all stripped up. If you have paid attention to the clock in the background of some of those time lapses, you saw I was able to lay a strip like every five minutes or so, really moving pretty quickly. Again, unlike some of the previous builds where I was doing book matches and so forth, here I'm just laying down random-colored strips and putting them in quickly. And since I had the cheat of that router trick, I wasn't even doing precise fitting. I'm just getting them loosely in place, then using the router to make a nice tight fit. This process, the strips went down really pretty quickly. The total stripping time here was, you know, I didn't actually time it, but four or five hours to get all the strips on there, including the cheater strips at each end. So it went really pretty quickly.
So in the next episode, we will be working on stripping up the deck. I'm not sure how many episodes that's going to take. I haven't looked at how much video I've got there, but I'll plan to have that be one, maybe two videos showing the process of stripping up the deck. We'll see how long it takes to get it all on. So until then, if you'd like to support these videos, but really the best way is to go to my website. If you're interested in building a boat, buy a set of plans. I've got plans for this boat as well as a bunch of other kayaks, both strip-built and stitch-and-glue. I've got some canoes and some rowing boats. These are all boats I've designed myself. I'm somebody that likes to get out on the water in the small boat. And so my specialty in boat design is the small car-toppable small boats. And what I really like to do with that is get people like you interested in building your own boat.
And that's kind of the point of these videos, is to share my experiences with building these boats and get you interested in doing it yourself, because it's a really gratifying project. There's really something special about being out on the water in a boat you've built yourself. So if you'd like to support these videos again, buy plans. If you want to directly support these videos, I've got a Patreon site where for a buck or two a month, you can just chip in. Doing things like, I need a new microphone. Microphones are 80 to 200 bucks. So your contribution to the Patreon site helps pay for some of the expenses of making these videos. I do them anyways, but with your support, it's easier for me to justify all the time and the expense it takes for me to put these videos together. And the more support I get, the more capable I am of getting these videos out regularly on time.
Again, I captured this video about a year ago. I've had so many other things taking higher priority that I've had to leave the production of this video until I had the time for it. And just other things are taking priority. The more support I get from you, the higher priority I can put on these videos. Otherwise, if you don't want to spend any money in any way, that's fine. Just hit like, subscribe to my videos, hit notifications so you know the next ones coming out. And until then, thanks for watching, and happy paddling.


