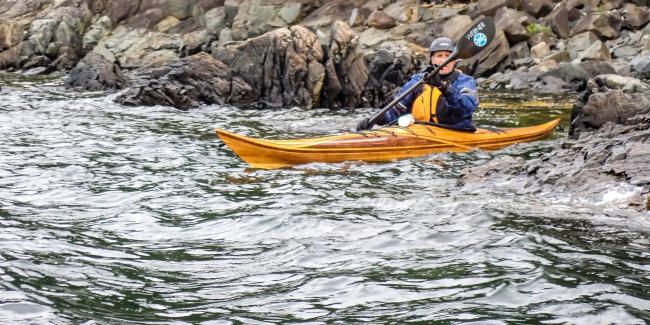
Making Petrel Play
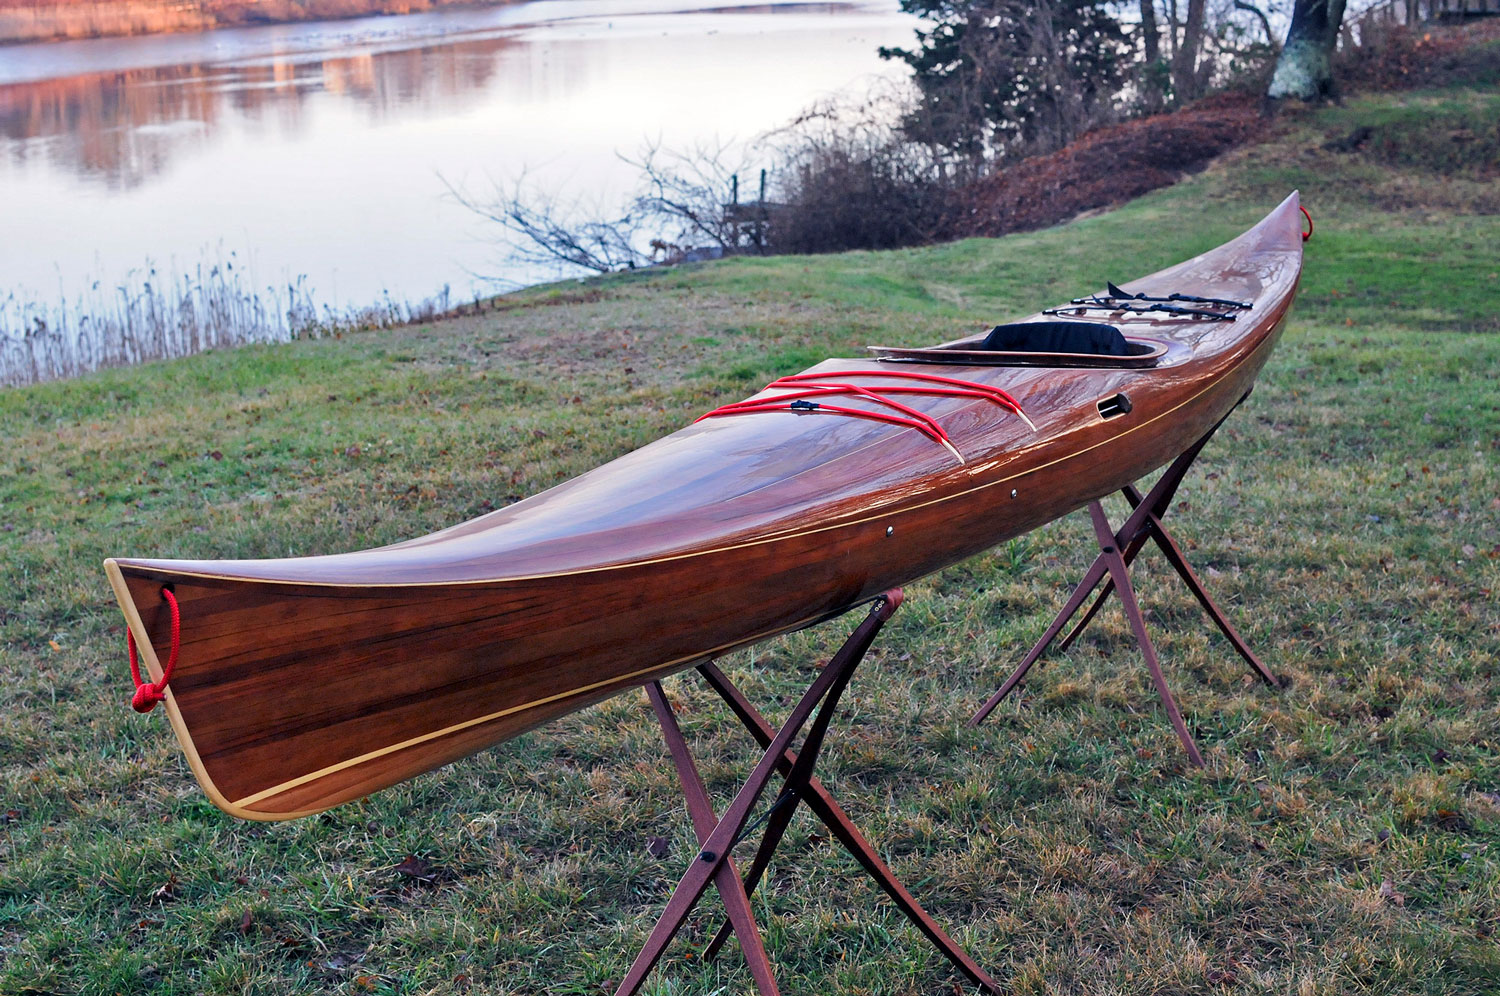
This series is my most complete documentation of a build project, spanning from designing the boat through launching the finished kayak.
- Introduction
- Cutting Strips and Setting up Forms
- Making Inner Stems and Installing the First Strips
- Stripping the Side
- Stripping the Bottom
- Stripping the Deck
- Scraping and Sanding
- Fitting the Cockpit Recess
- Fiberglassing the Hull
- Glassing the Deck Exterior
- Making the Coaming
- Glassing the Hull Interior
- Glassing the Coaming and Deck Interior
- Hatches and Deck Hardware
- Joining Deck & Hull
- Outer Stems and More Glass
- Outer Seam, Final Sanding and Prep
- Varnishing
- Fitting Out
- Launch
- Project Recap
Strip Built Petrel Sea Kayak Building Videos
The following videos show details of how a strip built Petrel is made:
- Milling Cedar Strips for a Bookmatched Petrel
- Making Forms for a Wood Strip Kayak
- Assembling Forms to Make Strip-Planked Wooden Sea Kayak
- Installing the Sheer Strips
- Installing Cheater Strips
- Stripping past the Chine
- Installing the Keel Strips
- Stripping up the Bottom
- Fitting the Closing Strip
- Starting The Deck
- Stripping across a Feature Line
- Repairing a Split Strip
- Continuing to Strip up the Deck
- Installing the Coaming Recess
- Fairing and Sanding the Petrel
- Staining Video
- Putting an Accent Strip on a Stained Hull
- Fiberglassing the Petrel Deck and Hull
- Applying Fill Coats - Light and Heavy
- Carbon/Kevlar, Carbon Fiber and Glass on the Petrel Interior
- Overview of Making the Cockpit Coaming
- Feed-Through Kayak Deck Fittings
- Installing Cheek Plates in the Kayak Cockpit
Strip Built Bootlegger Kayak Building Videos
These videos show how a strip built Bootlegger kayak is made:
- Cutting Strips
- Ripping and Sorting Strips
- Cutting Forms for a Strip-Planked Kayak
- Setting Up Forms
- Shaping Internal Stems
- Installing the First Strips
- Repairing a Damaged Strip
- Continuing Stripping the Kayak
- Stripping the Bottom Part One
- Trimming the Keel Line
- Fixing a Popped Seam
- Stripping the Bottom Part Two
- Fixing a Broken Seam
- Closing the Bottom
- Sanding the Hull
- Removing White Lines
- Fiberglassing the Hull
- The Cotton Swab Test
- Releasing Forms in Staple Free Construction
- Stripping the Back Deck
- Straightening a Crooked Seam
- Installing a Center Accent Line on the Deck
- Installing the Coaming Riser
- Cutting the Cockpit Recess
- Fitting the Cockpit Recess
- Fairing and Glassing the Deck
- Trimming off the Excess Glass
- Smoothing the Hull Interior
- Scraping the Interior
- Smoothing the Deck Interior
- Laying Carbon Fiber Cloth on the Deck Interior
- Fiberglassing the exterior of the Coaming
- Applying a Fill Coat
- Glassing the Interior of the Coaming
- Installing a Solid Outer Stem
- Joining the Deck and Hull and Taping the Inside Seam
- Laminating the Coaming Lip
Strip Planked Night Heron Building Videos:
I didn't get the whole process, but these show details not shown above:
- Cove and Bead Strips on a Night Heron
- Milling Cove and Bead Strips on a Router Table
- Stripping the deck of the Night Heron kayak using Cove and Bead cedar strips
- Removing Staples from a Strip Built Boat
- Making the Coaming Recess for a Strip Kayak
- How to Make a Kayak - Scraping, Sanding and Fairing and Dust Control
- How to Make a Kayak - Staining with an Edge
- How to Make a Kayak - Fiberglassing the outside
- How to Make a Kayak - Cleaning up the Interior
- How to Make a Kayak - Fiberglassing the Inside
Time Lapse Videos From Strip Building Classes:
Videos taken over the course of 6 day boat building classes, showing the whole process from start to finish.
- Time Lapse Video of Building the Nymph Wood Strip Canoe
- Time Lapse Video of a Strip-Planked Kayak Class
- Building the Mystic River Tandem at the WoodenBoat School
Making a Stitch and Glue Kayak Building Videos:
New Series: Building the Stitch and Glue Petrel Play
Nick and Bill make the Nick's Petrel Play SG design from a kit by Chesapeake Light Craft
- Petrel Play SG - New Build Series
- Petrel Play SG Build - The Unboxing - E2
- Petrel Play SG Build - Staining the Panels - E3
- Petrel Play SG Build - Assembling the Hull Panels - E4.1
- Petrel Play SG Build - Setting Up the Hull - E4.2
- Petrel Play SG Build - Stitching together the Hull - E4.3
- Petrel Play SG Build - Spot Welding the Hull on a Stitch and Glue Kayak - E4.4
- Petrel Play SG Build - Filleting the Hull Interior on a Stitch and Glue Kayak - E5
- Petrel Play SG Build - Glassing the Hull Interior on a Stitch and Glue Kayak - E6
- Building Petrel Play SG - Assembling the Recesses: Deck Construction - E8
- Building Petrel Play SG - The Continued Challenge of Recessed Hatches - E9
- Building Petrel Play SG - Fill Coat, Puzzle Joints, & Fixing Mistakes - E7
- Petrel Play SG Build - Wrestling Out Twist - E10
- Petrel Play SG Build - Filleting Finesse - E11
- Petrel Play SG Build - Mastering Fiberglass Application Inside a Kayak - E12
- Petrel Kayak Build - Crafting Durability: Round Chines for Kayak Strength - E13
- Mastering Kayak Fiberglassing: Tips and Tricks - Petrel Play SG - E14
- Handcrafting a Kayak: Glassing Components for Protection and Strength - Petrel Play SG - E15
- Skeg Parts and End Pours - Petrel Play SG - E16
- Adapting on the Fly: Thinking Ahead - Petrel Play SG - E17
- Preparing the Skeg Box - Petrel Play SG - E18
- Installing Skeg Box and Control Slot - Petrel Play SG - E19
- Mating the Deck and Hull - Petrel Play SG - E20
- Precision Seam Taping - Petrel Play SG - E21
- Perfecting the Deck: Sanding and Shaping for Fiberglass - Petrel Play SG - E22
- Glassing the Deck: Challenges and Solutions - Petrel Play SG - E23
- Sanding and Grinding Parts for Fiberglassing - Petrel Play SG - E24
- Mastering Bias-Cut Glass - Petrel Play SG - E25
- The Art of Sanding and Fairing a Stitch-and-Glue Kayak - Petrel Play SG - E26
- Why Drill Holes in a Good Kayak? plus Sanding - Petrel Play SG - E27
- The Art of Sanding and Varnishing a S&G Kayak - Petrel Play SG - E28
- The Art of Varnishing: Wooden Boat Building Tips - Petrel Play SG - E29
- Installing Hatches & Bulkheads - Petrel Play SG - E30
- Completing the Petrel Play SG: Final Outfitting Steps - E31
- Launching the Finished Petrel Play SG - E32
Making the Stitch and Glue Night Heron
- Assembling the Panels and Stitching them Together then Gluing a Stitch and Glue Night Heron
- Making the Coaming on the Stitch and Glue Night Heron
- Stitch and Glue Night Heron Class Video
- Time Lapse Video of Building the Stitch and Glue Petrel Class
Skin on Frame
Videos of building a skin on frame version of the microBootlegger Sport
- Skin-on-Frame microBootlegger Sport - Intro and CAD Work
- Skin-on-Frame microBootlegger Sport - Cutting Frames and Stringers
- Skin-on-Frame microBootlegger Sport - Assembling the Coaming
- Skin-on-Frame microBootlegger Sport - Test Fitting the Frame
- Skin-on-Frame microBootlegger Sport - Lashing the Frame
- Skin-on-Frame microBootlegger Sport - Lashing the Frame
- Skin-on-Frame microBootlegger Sport - Sewing the Skin
- Skin-on-Frame microBootlegger Sport - Painting and Outfitting

