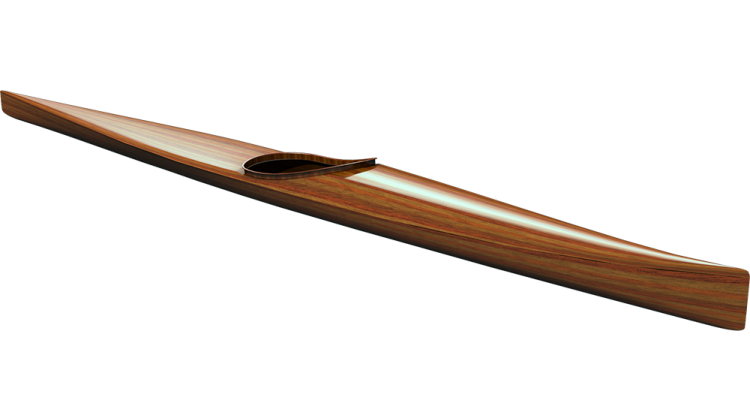
In this episode I take the wood I purchased in the last episode, and starting breaking it down in to strips. I have a 2x8 that I am ripping into 3/4" wide blanks, and a 1x12 that I am ripping directly into strips. I talk about how I get vertical grain strips out of vertical grained boards.
I first start by making larger blanks and then turn the blanks 90° so I will get vertical grained strips. I use my table saw and a power stock feeder to push the material through the saw.
Tools:
- Magswitch Feather Board: http://amzn.to/2Gnke1e
- Shop Fox Power Stock Feeder: http://amzn.to/2DLO5C3
- Delta Unifence: http://amzn.to/2DFSDqd
- Delta Unisaw: http://amzn.to/2GjYfbb
- Ridgid Flip Top Work Stands: http://amzn.to/2Ebns7d
- 3M Hearing Protection: http://amzn.to/2DAXmJz
[Music]
so I'm setting up the table saw here and
the first thing I need to do is cut this
2x8 down into three quarter-inch blanks
and again to repeat what I was talking
about more last episode
I've got vertical grain here like that
and I want vertical grain strips so if I
took strips off the edge here those
would be flat green strips so I want to
cut this into three quarter inch wide
blanks and then cut each of those into
three sixteenths inch strips but the
other thing that's going on is these
corners on to bio material are all
rounded over and so if I kind of
three-quarter inch strip here that first
strip gets a little messed up because it
has a rounded corner so what I'm gonna
do is cut them to the first blank just a
little bit over wide and that way I can
come back and rip that to a perfect 3/4
and actually I'm gonna run these all
through the thickness planer to bring
them right down to a perfect 3/4 so I'm
gonna cut these a little bit proud and
then rip that down to be consistent with
all the rest so I'm setting up the fence
and my power stock feeder to cut those
through quarter-inch blanks right now so
I'm setting it up so the wheels span
over the blade and so when I raise it up
I can have a blade above the thickness
of the wood
and not end up cutting into those wheels
from the top I said it so the wheels
push the material towards the fence so I
want it angled in a little bit closer at
the back and it is at the front that way
I get consistent pressure pushing the
the lumber up against the fence so I
raise it up and blade out of the way and
lower it down the wheels hit and another
half turn or so now we're going to we're
going to just see how it runs through
the feed
so once again I'm gonna be cutting this
wood into blanks and I also want to keep
everything in order so the couple things
I'm gonna do I'm gonna just across the
end draw some diagonal lines so when I
cut each piece up I'll be able to put it
back in the same order so I can use a
sharpie on the end there because it's
not that's not going to be part of the
boat up on the surface here some of this
surface could possibly be showing on the
boat and so I don't want the Sharpie pan
in there for that ink to soak deep into
the wood and have it almost impossible
to eliminate in the finished boat so I'm
going to do these diagonal lines on both
ends and both sides and to keep them
separate and understandable I end up
using a different number of lines on
each side that way I don't get the two
confused so with everything good to go I
can put on my hearing detection start
the power feed turn on the dust
collection
start the song and raise the blade up
and start feeding material with the
first blank cut off I have gotten rid of
the rounded over edge and the two by so
I can take it from 7-8 down to 3/4 plus
the sixteenth and now we're ready to cut
the rest of the blanks
[Music]
so we ran all the strips all the blanks
through cut them to nominal 3/4 ran the
first piece through again to cut off
that rounded corner a bit and now we
have all our pieces here so notice I put
them down in the order that I cut them
I flip them each one the same direction
so they should all be in order and if we
just take and flip them up all right so
now line up all the ends and so here you
see it's all put back together so in the
interest of keeping them all in order
you know I've got them in order now but
I've got to move things around and
things tend to go spoiling if you're
carrying this bundle around so I don't
have to think about it I just get some
stretch wrap and they bundle them
together this way any time they pick it
up and picking up the whole bundle these
all stay in order do it at both ends and
I can move this whole bundle at once and
everything stays the way it's supposed
to be so now I've got the 2x8
ripped up into three quarter inch blanks
and so I need to plane that down to the
final thickness and I also have the 1 by
12 which is rough on one side and it's
currently at 7/8 thick and so I'm going
to set up the plane to mill those down
to get them to the final thickness and
after that we can rip those strips
so the plane setup will turn on the dust
collection
[Music]
so now what was the rough side is now
smooth so we'll flip it over and clean
up the what original smooth side while
we're at it we'll get the blanks
starting to go through get everything so
the thing to remember here is so we'll
be planing the surfaces we just sawed
and so those socialists are a little bit
rough and by running them through the
planer that will then end up be the
edges of the finish rip strip so at this
point fitting these strips together
there's a little bit of rough surface
there and so you might see a little bit
of a gap between the strip's even when
they're fit tightly together on the
finish boat just because of that rough
surface so by planing this smooth we
eliminate that gap make it smooth and
tight
these were bundled together like this
and so we'll lay this piece is down the
same direction so we're being consistent
on which side for dealing with the first
[Music]
it seems like a lot of work to bundle
these up every time but I found it just
saves some frustration if you end up
dumping the whole pile on the floor
restore them out this way they're all
maintained in the original order in good
shape now that I got the blanks cut I
need to switch over the straw to start
cutting the strips we're gonna be
cutting really thin strips because the
strips are so thin I can't get the power
stock feeder on both sides of the blade
if I use the fence in the upright
position the wheels cannot get in on
either side of the blade to push this
the stock through the saw so with the
unis offense here it has the ability to
turn it on the side and have this lower
fence they want to get it spaced out to
3/16 which is one point eight seven five
so first set it up like that
and then see if it's to dial it in
closer now I'll get the power stock
feeder in place again aimed a little bit
so it's pushing it towards the fence
make sure the fence is locked so now
we'll try a few test cuts see how it's
cutting so I have a piece of western red
cedar that's good to go short piece and
I can run through the saw and so we will
turn on the stock Peter
[Music]
and we'll take and see how that is so
that's one point eight eight four so we
could go out a couple thousand one way
to check that is to set up a dial
indicator smear out the dial indicator
197 it's looking pretty close enough for
me you're off by the thousands stirring
sticks so now we have the saw dialed in
so what I want to do next is cut the
actual wood this board here is going to
be the bottom of the boat first thing I
want to do is make a mark on it saying
that's the order things are going to be
in I'll be able to reproduce the the
board from that put on the other side as
well something a little bit different so
I don't get them confused and go down
the other end likewise the first cut on
this board is just going to be a test
cup we'll stop and measure after it's
run through once and we've got enough
cutting here we'll turn on the dust
collection power stock beater
[Music]
measure or strip that's very good
a little bit of variation not bad at all
now I want to set up a little above the
table dust collection and I've just got
this cardboard box I've kept to fit and
there you can take and tape that down
all right so that should be enough to
get most of dust coming out of the top
side of the blade now we should be ready
to start cutting some strips
we'll start by pulling this board back
put on hearing protection power feed
turn on dust collection
[Music]
all right that's one board cut into
pieces so I've got all the strips lined
up in the order they came off the plank
and I can now bundle them back together
and keep them in that order I'm going to
call that it for this episode I was
going to go farther but it seems long
enough and this is a good end point in
the next episode I'll cut the strips of
the body of the boat the back deck to
keep informed on new videos turn on
notifications so subscribe also hit like
and share this video with your friends
until next time thanks for watching and
happy paddling

