Rolling Bevels Made Easy
A tool that makes hand beveling strips for a tight fit quick and accurate.
The Problem:
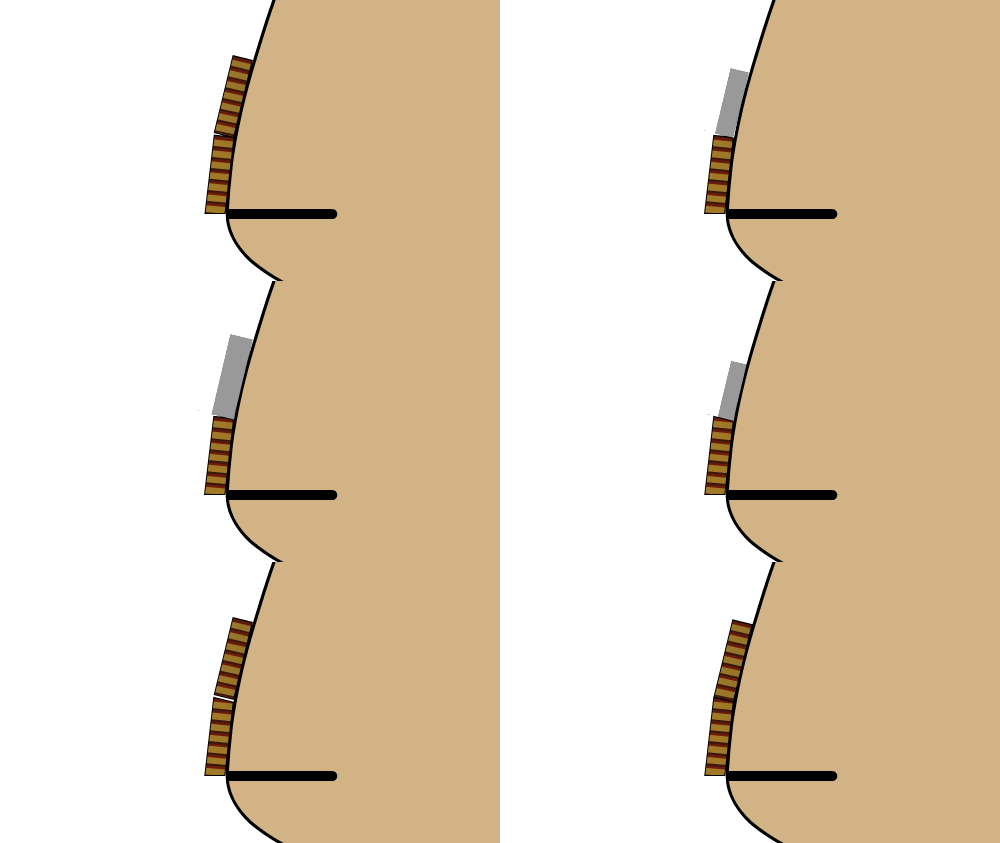
The standard for strip built boats is to use cove and bead strips. These provide a quick way to get reasonably tight seams between your strips. However, on form with tight curves you can get tricked into thinking you have a tight seam as you build, only to find that sanding opens up unexpected gaps.
I have found that I can get more consistently tight joints if I bevel the edges the strips. These beveled edges serve to help hold the strip in the correct orientation on the form and what-you-see is what-you-get. You are not surprised by gaps after it is hard to do anything to fix the problem.
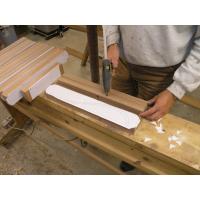
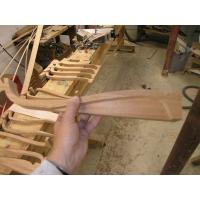
Typically the new strip you are adding is the one you bevel to match the existing strip already installed on the forms. This requires looking at how a strip fits, estimating the how much material needs to be removed, and then hand planing the edge of the strip to match your estimation. The angle of the bevel will typically be different at each form so creating this rolling bevel requires a lot of eyeballing, testing fitting and more planing, down the full length of the boat.
With practice this system produces very nice results, but it does take a while to get good at it, and in the end most people tend to overestimate the bevel to assure a tight joint on the outside of the boat. This often leads to slight gaps on the inside.
The Solution
I pondered this technique for years. I felt sure there must be some way to speed up the task and produce better results. I thought that I just needed to have a tool that would bevel the top edge of an already installed strip such that it was a a 90° angle to the form above the strip. That way when I placed a new strip on top the existing strip edge was already at the correct angle to not create a gap.
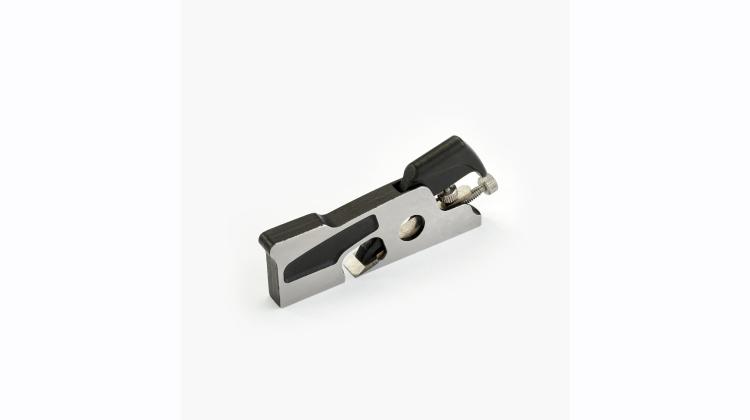
The key to the solution came when I found a miniature shoulder plane created by Veritas. It is 1/4" wide - just right for most cedar strips, and it was a very well made tool from a respected company.
I just needed to figure out a way to keep it running down the edge of the strip while holding it tight to the forms. I made a prototype but didn't use it for awhile because it just didn't seem to do what I wanted and I needed to get some boats built. Eventually I came back to the idea, played around with the design so it tracked along the strip better. My early prototype only worked going one direction, if the grain didn't cooperate, I was out of luck.
The Result
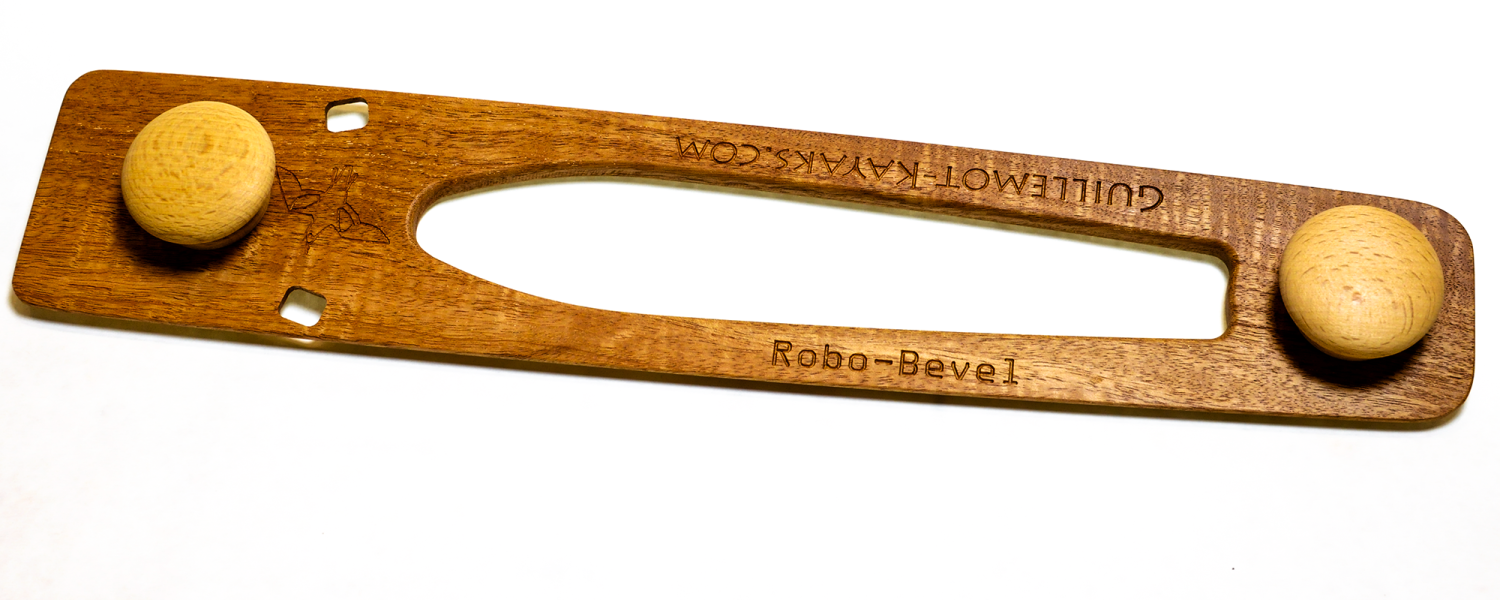
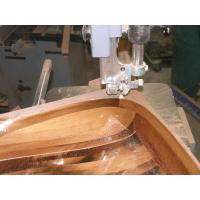
What I final ended up with was a jig that accurately held the shoulder plane tight against the forms, while riding easily down the length of the strips. I secured the plane in place with rare-earth magnets and made the tool with two sides so the plane can be quickly switched for use with grain going in either direction.
You just place the Robo-Bevel on top of the strip you have already installed on the forms. Press it up against the forms, it is long enough to span between forms up to 17 inches apart, and run it down the length of your strip. Keep on planing until the tool cuts across the full with of the strip. At this point you should be able to place your next strip on top without further adjustment, achieving a tight fit both inside and outside of the boat.
What is Included
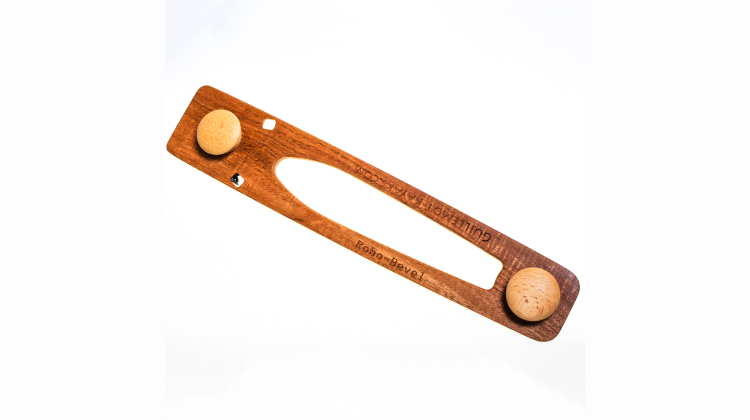
One CNC machined Sapele Robo-Bevel jig to hold the Veritas Mini Shoulder Plane with rare-earth magnets and two knob handles. You can purchase the RoboBevel with the Veritas miniature shoulder plane, Or without the plane, I also offer the plane by itself if you want to have a plane in both sides of the tool at the same time.
NOTE:
The Veritas Mini Shoulder Planes are back in stock!
They can also be purchased directly from Lee Valley Tools, and from international retailers, please see the Veritas Dealer List.

