Here is a step-by-step overview of the process of building a strip kayak as described in my book. The bulleted links are to videos showing the process. While building a kayak may at first appear to be a big task, it can easily be broken down into a series of small manageable tasks. None of these steps are beyond the capability of the average person who has ever wielded modest hand tools.
Getting Ready
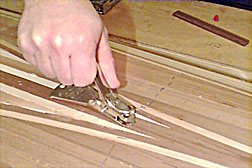
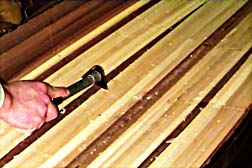
1. Cut 1/4" strips off a 3/4" cedar, redwood or pine plank.
2. Optional: Mill a "cove" and "bead" on each edge of the strips.
3. Obtain a fairly straight 2 x 4.
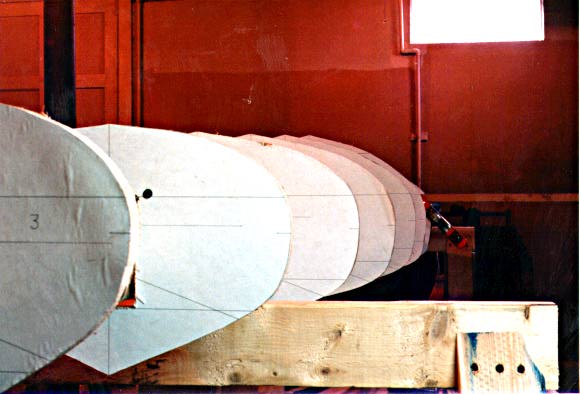
4. Draw out the building forms at full size.
5. Glue the drawings to a sheet of plywood (or particle board).
6. Cut out the forms from the plywood.
7. Thread the forms on to the 2 x 4.
8. Check alignment of the forms and secure them in place.
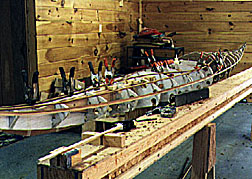
Stripping the Boat.
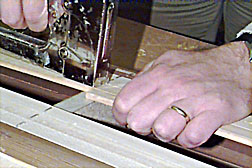
9. With the boat upside-down, staple a strip along the sheerline.
10. Double check the alignment of the first strip.
11. Trim the ends of the strip.
12. Repeat steps 11 and 12 on the other side.
13. Apply carpenter's glue to the top of the strip installed in the previous step.
14. Install a strip on the glue and staple tightly it in place.
15. Trim the ends of this strip and install a strip on the other side.
16. Repeat steps 13 through 15 until the strips have extended up the side and just start covering the bottom.
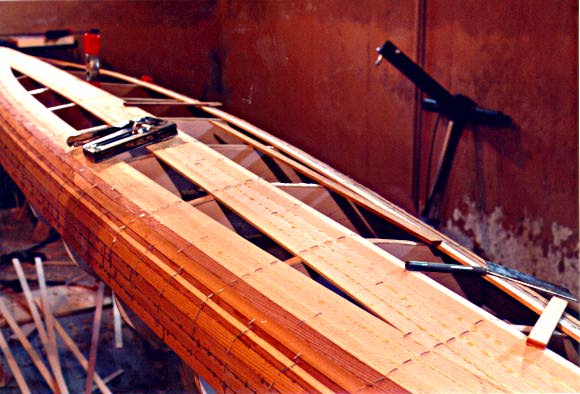
17. Install strips down either side of the keel, tapering the ends to fit the existing strips.
18. Fit strips into the remaining gaps. Alternate between strips following the sheerline and strips following the keel line.
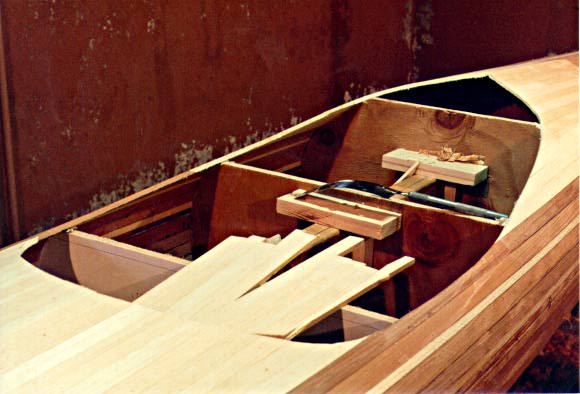
19. Flip the boat over into a cradle.
20. Install the first deck strip next to the first hull strip. Do not glue this strip to the hull, just staple it in place.
21. Install strips on either side of the centerline in a similar manner to step 17.
22. Strip in the rest of the deck in a similar manner to step 18. Do not strip all the way over the cockpit.
23. Remove all the staples from the deck and hull.
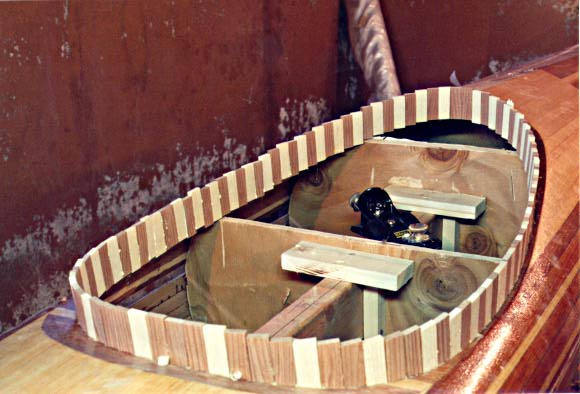
25. Install the coaming strips.
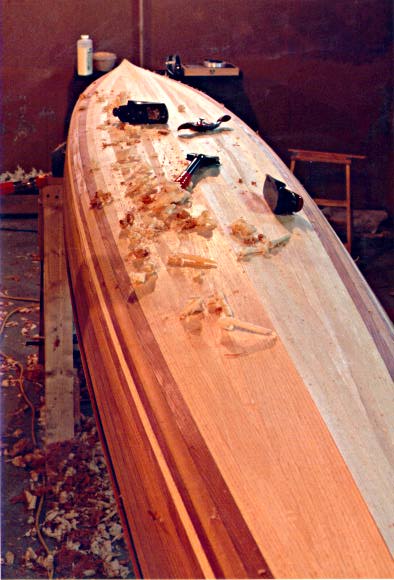
26. Scrape off any glue drips.
27. Plane the wood fair and smooth.
28. Sand the wood smoother.
Fiberglassing
29. Temporarily remove the deck from the forms.
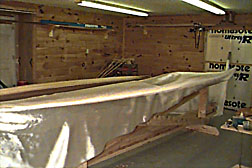
30. With the hull side up, drape fiberglass over it.
31. Trim the fiberglass close to the sheer line.
32. Smooth the fiberglass with a brush.
33. Mix up a small amount of resin.
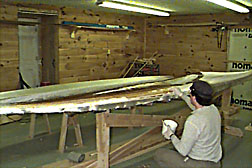
34. Pour the resin onto the middle of the hull and spread it with a squeegee.
35. Mix more resin and spread as needed. Use a brush to apply resin to dry spots.
36. Scrape off the excess resin with the squeegee.
37. Let the resin partially cure.
38. Apply fill coat of resin to the whole surface and let it cure.
39. Remove the hull from the forms and return the deck to the forms.
40. Repeat steps 30 through 39 for the deck.
41. Plane and sand the inside of the hull.
42. Fiberglass and resin the inside as you did the outside.
43. Trim off the bottom of the coaming inside the deck.
44. Plane, sand and fiberglass the inside of the deck.
45. Glue multiple laminations of hardwood around the coaming to create the lip.
46. Cut of the excess coaming above the lip, and sand smooth.
47. Install the cheek plates on the inside of the cockpit.
48. Fiberglass over the coaming lip.
49. Roughen the cured resin along the sheer line of the deck and hull with sandpaper.
50. Align the deck and hull together, securing with packing tape as you go.
51. Turn the boat onto one side and measure out some fiberglass tape for the inside seam.
52. Soak the tape in resin until it is completely saturated and then squeeze out excess.
53. Roll tape along the inside seam as far as you can reach by hand and push it the rest of the way with a stick.
54. Smooth the inside seam with a brush on the end of the stick.
55. After the first side cures repeat steps 51 through 54 for the other side.
56. Remove the packing tape on the outside.
57. Sand the outside seam smooth.
58. Lay fiberglass tape on the outside seam and resin it in place.
Finishing the boat
59. Drill holes to install footbraces
60. Sand the outside of the whole boat with 80 grit sand paper.
61. Apply an additional fill coat of resin in two stages to cover the deck and hull.
62. Sand with progressively finer paper up to 220 grit. Repeat step 61 if necessary.
63. With the boat on end, pour a small amount of filled resin into each end.
64. Varnish the boat.
65. Sand with fine sandpaper.
66. Repeat 64 and 65 until bored.
67. Install the seat, backrest, footbraces and other outfitting.
68. Find a suitable body of water
69. Paddle.
70. Repeat steps 68 and 69 until you're ready to build another.
71. Go back to step 1
I rarely build a kayak the same way twice, so it would be a lot for me to ask of you to follow this schedule to the letter. Use it as a basis for determining your up coming tasks. Don't get hung up on fears that taking some of the steps out of order will ruin the boat. With my first boat I was so impatient that I put the boat in the water (step 70) before I installed the cockpit coaming (step 25). Obviously, I had to rearrange the steps a bit, and I may have made my task more difficult in the end, but the boat came out great.


