
Most of the paddles I make are feathered. This means the blades at each end are at an angle relative to each other. This can relieve some stress on the wrist when paddling and help cut through a headwind.
This feathering is achieved by joining two ends of the shaft together in the middle with a scarf. By cutting the scarf at an angle you can achieve the desired angle between the two paddle blades. It is a little tricky, but once you are set up it is very easy to achieve.
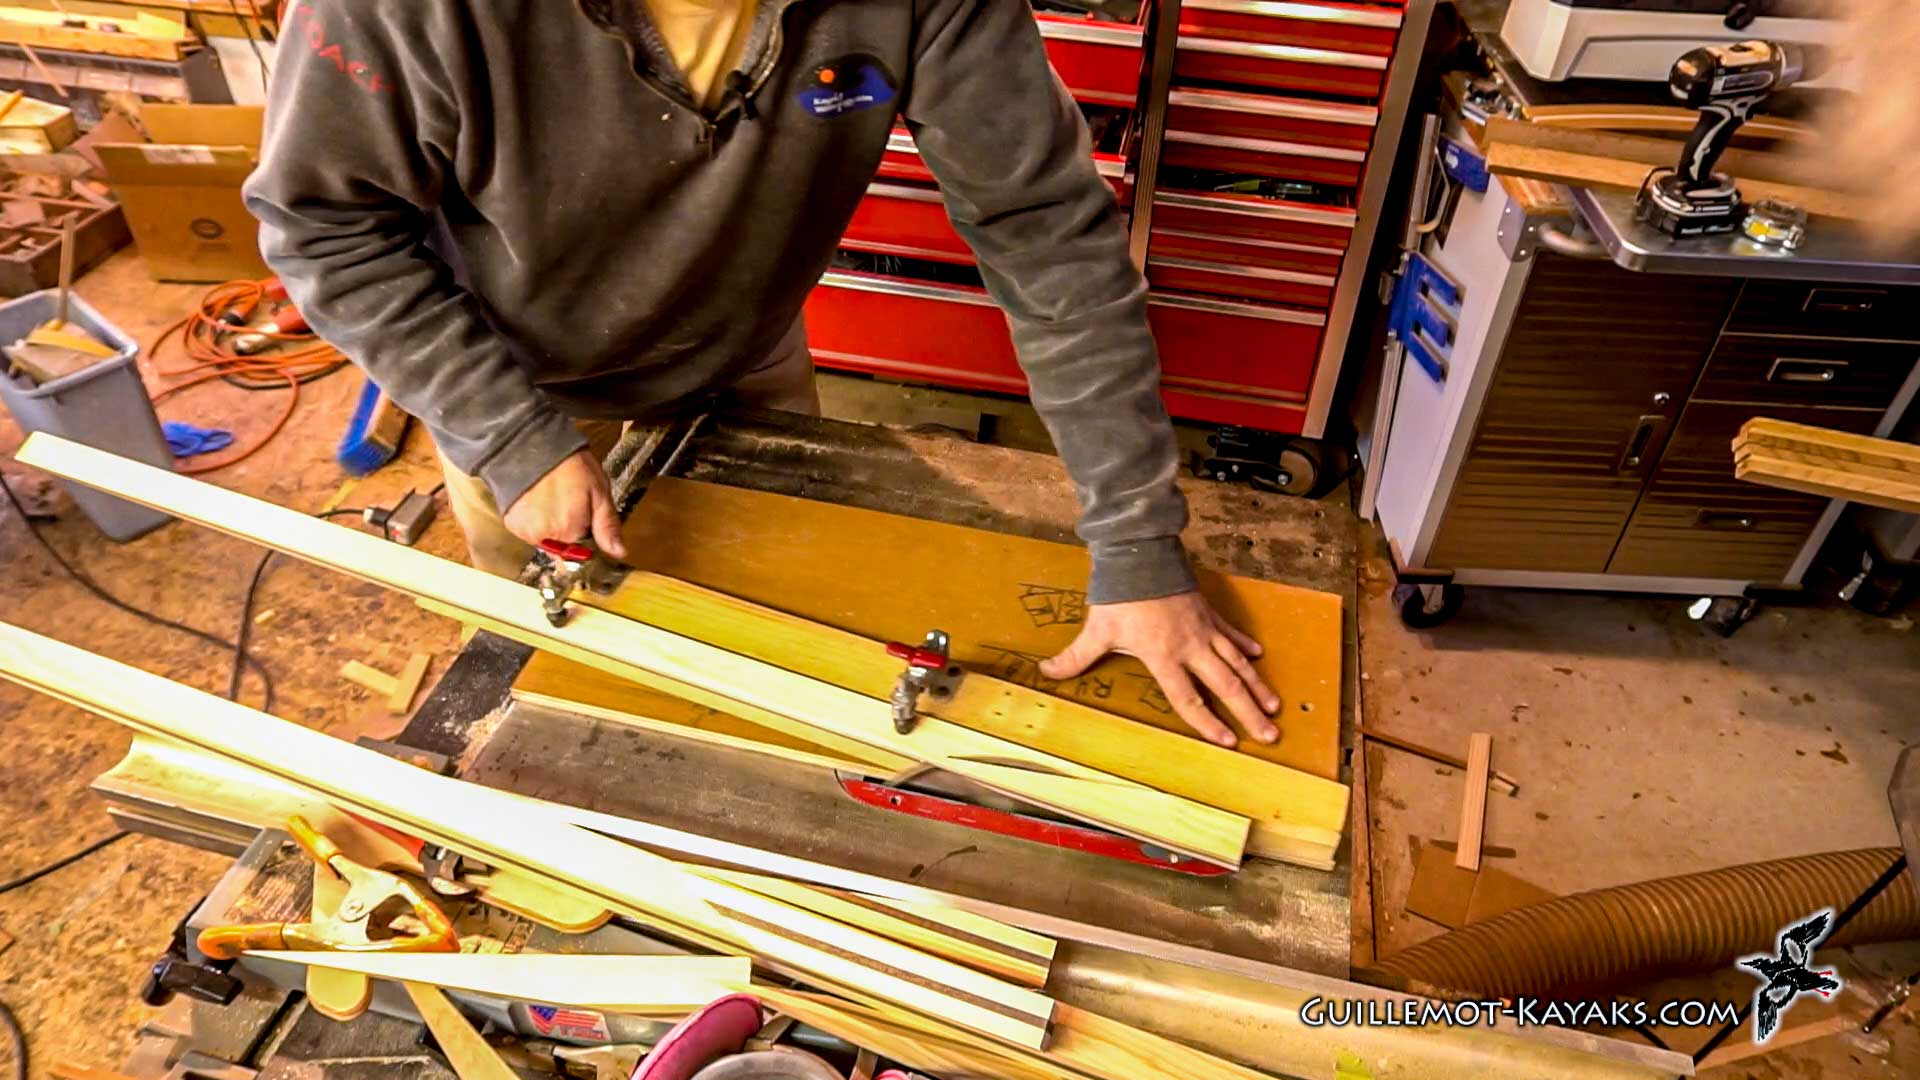
I use a sled in the table saw that cuts a taper and holds the shaft material at an angle to the saw blade.
It looks nice to taper the ends of the shaft on either side. This is not required, it just makes the paddle look nicer.
A round over bit helps start make the shaft in to a nice comfortable oval.
hey welcome back to the Guillemot Kayaks
workshop I'm Nick Schade and I'm working
on making some kayak paddles today I'm
going to cut down the shafts cut some
scarfs on them taper them and hopefully
glue on the paddle blades we'll see how
far we get so I have these uh shaft
blanks here really be good if I had a
jointer I could just clean up one edge
and then run them to through the table
saw get them right down to where I need
them but I don't have a jointer I could
hand playing them but right now I don't
even have a decent vise so I'm just
gonna run them through the table saw
basically cut them in half hopefully
that'll make establish a fairly straight
edge on them and then I'll cut them to
the appropriate width so I put a thinner
blade in my table saw here so I don't
end up with the kerf wasting a lot of
wood that gives me a little bit more
leeway as far as correcting some of the
misalignment in the laminations so we'll
see how it goes
[Music]
so when he ripped this long shaft down
to get to blank to get two shafts one of
them sprung a little bit you see there's
they're touching down at the ends but
there's a gap in the middle and so this
one here is a little bit curved
I would being a natural material and end
up with stresses in it that don't appear
until everything's all cut up not sure
this one's really straight enough to
make a one-piece paddle I'll probably
end up cutting it in half and then
scarfing it back together again and use
it for myself by scarfing it I can sort
of adjust for some of that curvature a
little bit take some of the curvature
out might still not be straight enough
for a customer paddle but really it's
going to be a fine paddle regardless
it'll just look a little wonky and I'll
make a paddle for myself with it I'm
gonna make these paddles 210 centimeters
long I find that's a good length for
most sea kayaking many people will have
a paddle substantially longer that just
makes it harder to use the leverage on
it is working against you so I'm just
going to take lop these off to length
the unfeathered paddles are using one
long piece of wood for their shaft so
I'm just going to cut these two lengths
with the feathered paddles where I have
a scarf in the middle I will use the
scarf to determine the length so first
I'm just going to cut off the rough end
on each of these
[Music]
[Laughter]
[Applause]
I'm going to tea for the end of the
shaft so it narrows down at the end here
so it's full width up at the butt of the
blade and goes down to about the width
of the spline in the end of the blade
you don't have to do this here's one
where I just left it full with the whole
way down it still looks good I think the
taper just kind of looks cool this an
added step doesn't change the function
of the paddle at all it's just an
aesthetic thing I have a sled here for
the table saw goes in here like that I'm
gonna use this to do some tapering so
I've got a fence that I can adjust on
here I'll use the same sled for my
scarfs I can adjust the angle I'd make
the taper on right here so I want to
make a taper that 16 inches long that
comes back to here so I don't want it to
cut it all back at the 16 inch mark so
the width of these is about like that
sometimes gonna pivot it around there
approximately
and now that the tip here I want to
leave the center supplying fully full
with but I want a taper way the Sitka
spruce on either side so out at the end
I want this to taper way to essentially
nothing so looking here I'm going to
place this so it cuts right there
well this back here is that that mark
give it so leave a little bit of a sit
this showing
[Applause]
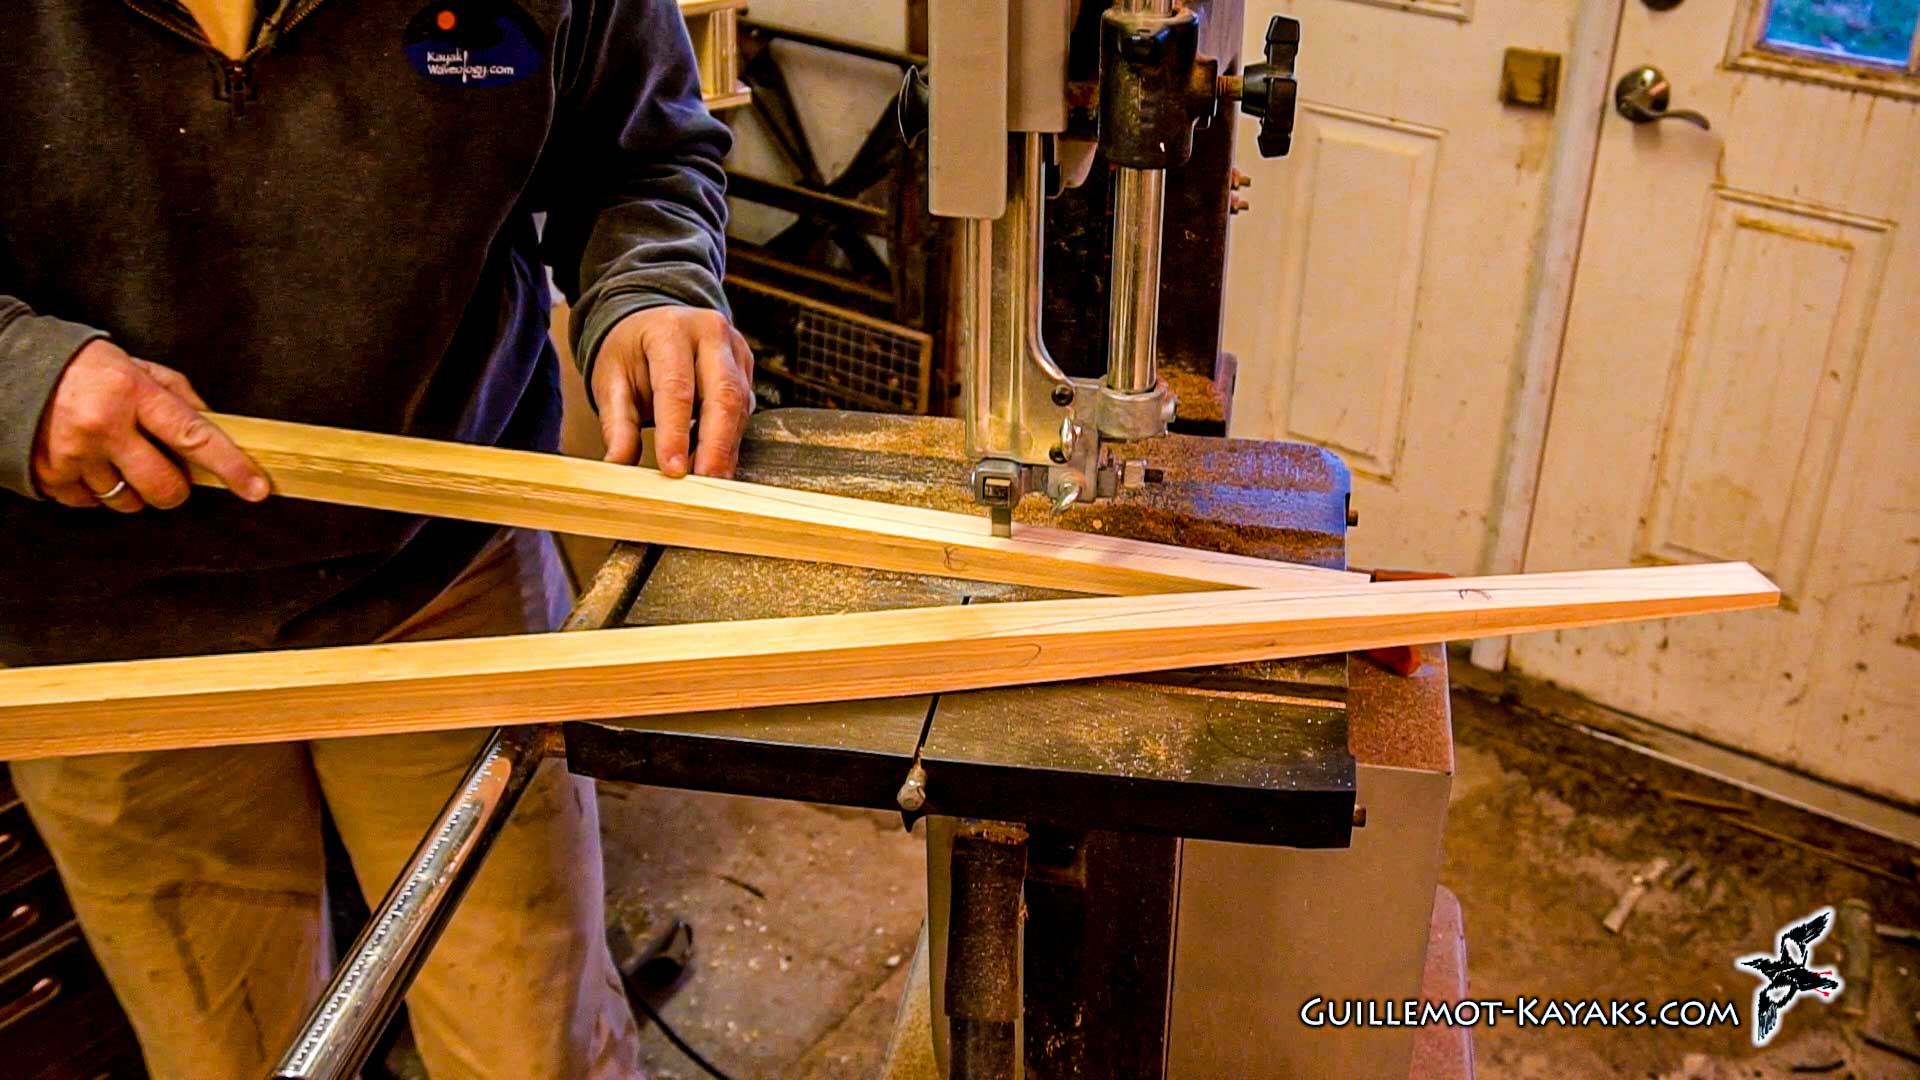
so the scarfs gonna be an 8 to 1 scarf
and that means for every inch of width
there's gonna be 8 inches of length
scarves can be a variety of different
tapers so I could do a 12 to 1 scarf on
here which would be stronger but I've
used these paddles a long time never
busted a scarf using an 8 to 1 scarf so
I'm just gonna stick with that so I'm
just gonna lay it down here parallel to
that line it doesn't need to be perfect
so if the fence set up to an 8 to 1
scarf if I put the first shaft in like
this with the spine up and then the
other half of the shaft in like this
with the spine horizontal and glued
those two pieces together I've turned
the piece 90 degrees and as a result
when I glue those two pieces together
I'll get a paddle with a 90 degree
feather not many people want a 90 degree
feather these days most people want
something like 60 degrees or 45 degrees
some people want even less in order to
accomplish that I have here
a spacer cut at an angle and this is an
angle of 22 and 1/2 degrees which is
half of 45 I put this in here and now
put this piece in cut this piece like
that and cut the other shaft like that
with the spine horizontal I have
subtracted 22 and 1/2 degrees from each
cut and as a consequence I will get a 45
degree feather
so we've taken 90 degrees minus 22 minus
another 22 which is 45 so I just want to
set up the spacers so they're holding it
at that angle and then when I go to cut
it I'm gonna run this end of the piece
out to the end of the cut here and then
clamp it in place then with the other
shaft I will take and flip it cut it the
other direction clamp it in place and
cut that one like that so it's a pretty
simple process we get that angle by
putting these spaces in so you could do
the same thing by angling the saw blade
tilting the blade work just as well
no trickier but I have it worked out
with my little guy here so if I want to
right hand feather I do it like this if
I want a left hand feather I do it like
that and then it's just a matter of
figuring out what angle for that spacer
I want in there so now I'm just going to
adjust the clamps so I get it easy to
clamp in there so now I'm just going to
adjust the clamps so I get it easy to
clamp in there
so by cutting a test scarf I can figure
out how long the scarf ends up being so
when I go to cut the length of the
feathered paddles
I will get the right length paddle when
I'm all done so this is about 28
centimeters long so that means I need to
add half of that to each half of the
paddle so if I'm doing a 210 centimeter
paddle each half piece is going to be
105 plus 14 so plus the length half the
length of the scarf so the length I want
each blank is half the length of the
paddle plus half the length of the scarf
so that gives me as if it was butted
together Plus now this taper had it on
there so for a 210 again for 210
centimeter paddle I'll take half of that
205 and I will add half the length of
the scarf so the 28 centimeters scarf so
I'll take 14 centimeters as 1/2 the
length of the scarf and add that to the
105 so that is 119 so I'll measure this
out to 119 so that's right there and
right there and we'll cut off that
excess
so now if I clamp these together you go
to get a little weird we line up the
points of the scarf and just try and
make it as straight as possible the
clamp on that and we're right at 210 so
you see how these aren't quite at 90
degrees there's some other weird angle
if the blade comes out this way and on
that way on the other end that'll be at
45 degrees so that's one set of shafts
ready to accept the blades so I'm just
gonna write on here to 10:45 write my
own paddle I want a 60-degree feather so
I have a 15 degree wedge here I'll put
that in and that will take 15 off of
each for a total of 30 so 90 minus 30 is
60 degrees so we'll do this one flat
now comes a really tricky part with the
feathered paddle you want to make it so
that angle is less than 90 degrees
between one blade and the other and
there's two choices on this there's so
this happens to be the the 60-degree
paddle so one side 60 degrees which is
30 degrees less than 90 degrees and the
other side is 30 degrees greater than 90
degrees so it is possible to put the
blades on this such a way that is
feathered at 120 degrees and we don't
want that that rule would require over
rotating your wrists and making it
really uncomfortable so what you want to
do is hold the paddle you hold your
shaft and the way you think you're gonna
hold it and remember the blades are
coming out perpendicular to this taper
so I put a little you mark here showing
the way the paddle blade is going to
curve so we're gonna put a curved paddle
blade on this something like this so
it's curved this way so it's going to go
on here like this so I'm putting a
little u mark showing which way that's
going to curve so we imagine that
they're glued to the side of that taper
and then we hold that and this is a
right hand feather so I'm going to use
my right hand and rotate my wrist up now
at this end
I want the blade to be cupped backwards
as well so again I've got a little C
mark on there or you mark showing which
way that's going to go so we want that u
facing towards the back facing so the
power face is facing towards your back
so when I rotate from here with the U
mark they're facing back and then I cock
my wrist back
I want that you mark on this end to be
facing backwards as well so you get
those marked on there and the best way
to do it is just pick it up clamp it
together just loosely clamp it together
like this
just give it a try if you're finding you
have to over rotate in order to get that
you mark in the right direction you know
you've got it wrong the unfeathered
paddle is easy we want to just make sure
they're both facing the same direction
so now we've got the marks in all the
shafts now I want to draw on the curve
of the blade so I'm grabbing that same
template I've used all along for marking
that curve and I'm just going to draw
that on here make sure we're following
the same curvature as indicated by our
little mark so that we just went and
figured out so I'm holding the tip and
the tip rate up even
like that so I'm sure they're facing the
same direction so this part above the
line is going to be cut off we don't
need to do this now but it makes it a
little bit easier to align the blades if
we don't have that material there and it
saves some time when we go to shape the
blades so I'm just going to cut outside
that line and get rid of that
[Music]
[Music]
so that's enough for this episode in the
next episode I'll glue the blades on and
start shaping them I do offer plans for
these paddles which include the profile
of the blade and different blade sizes
long narrow short fat as well as the
curvature and details on how to scarf
the shaft together it ends up with a
slightly different blade configuration
than what I'm showing here since I made
the plans I've refined my technique a
little bit what's shown in the plans
works really well it's a nice system
it's a little harder to make but I'm
detailing in this video is a little bit
easier so you could buy the plans and
then build it as shown in a series of
videos offering plans for the paddle and
the boats that I build it's just one way
I financed the videos I'm putting out
here on YouTube and Facebook another way
I financed it is through monetizing the
videos and the interest of that share
these videos like them all that makes
them more visible which makes it more
likely I'll get a better monetization on
it if you really like these videos and
you'd like to support them more directly
I have a patreon page and you can go
there and support me at various levels
every little bit helps I really
appreciate it so until the next video
thanks for watching and happy paddling.


