It is amazing how much strength a layer of 2-ounce fiberglass will add to the wood. Between the two and with the cord around the edge the paddle blade can absorb a lot of abuse.
I can get two layers out of the width of the fabric. I cut all the pieces to size as well as some extra pieces to add more strength to the tips.
Again some heat will help the fabric absorb the resin for a nice clear layup. Squeegee off the excess to keep the blade lightweight. After squeegeeing the fabric should not be glossy, the matte finish indicates the fabric is tight against the wood and not floating up.
After the wet-out coat of epoxy has set up I apply a fill coat that fills the weave of the fabric and starts making the paddle shiny.
hey welcome back to the Guillemot Kayaks
workshop i'm Nick Schade and i'm working
on building kayak paddles in this
episode i'll glass the blades and
reinforce them I do the glassing in a
couple stage process first I glass the
whole blade then I added a little bit of
reinforcement to the tips and I do this
in two steps so I don't get air trapped
in between the glass I found with a
tight weave on the two ounce clasp it
attempts to trap air in between the
layers so doing it in a several stage
process I find to get less trapped air
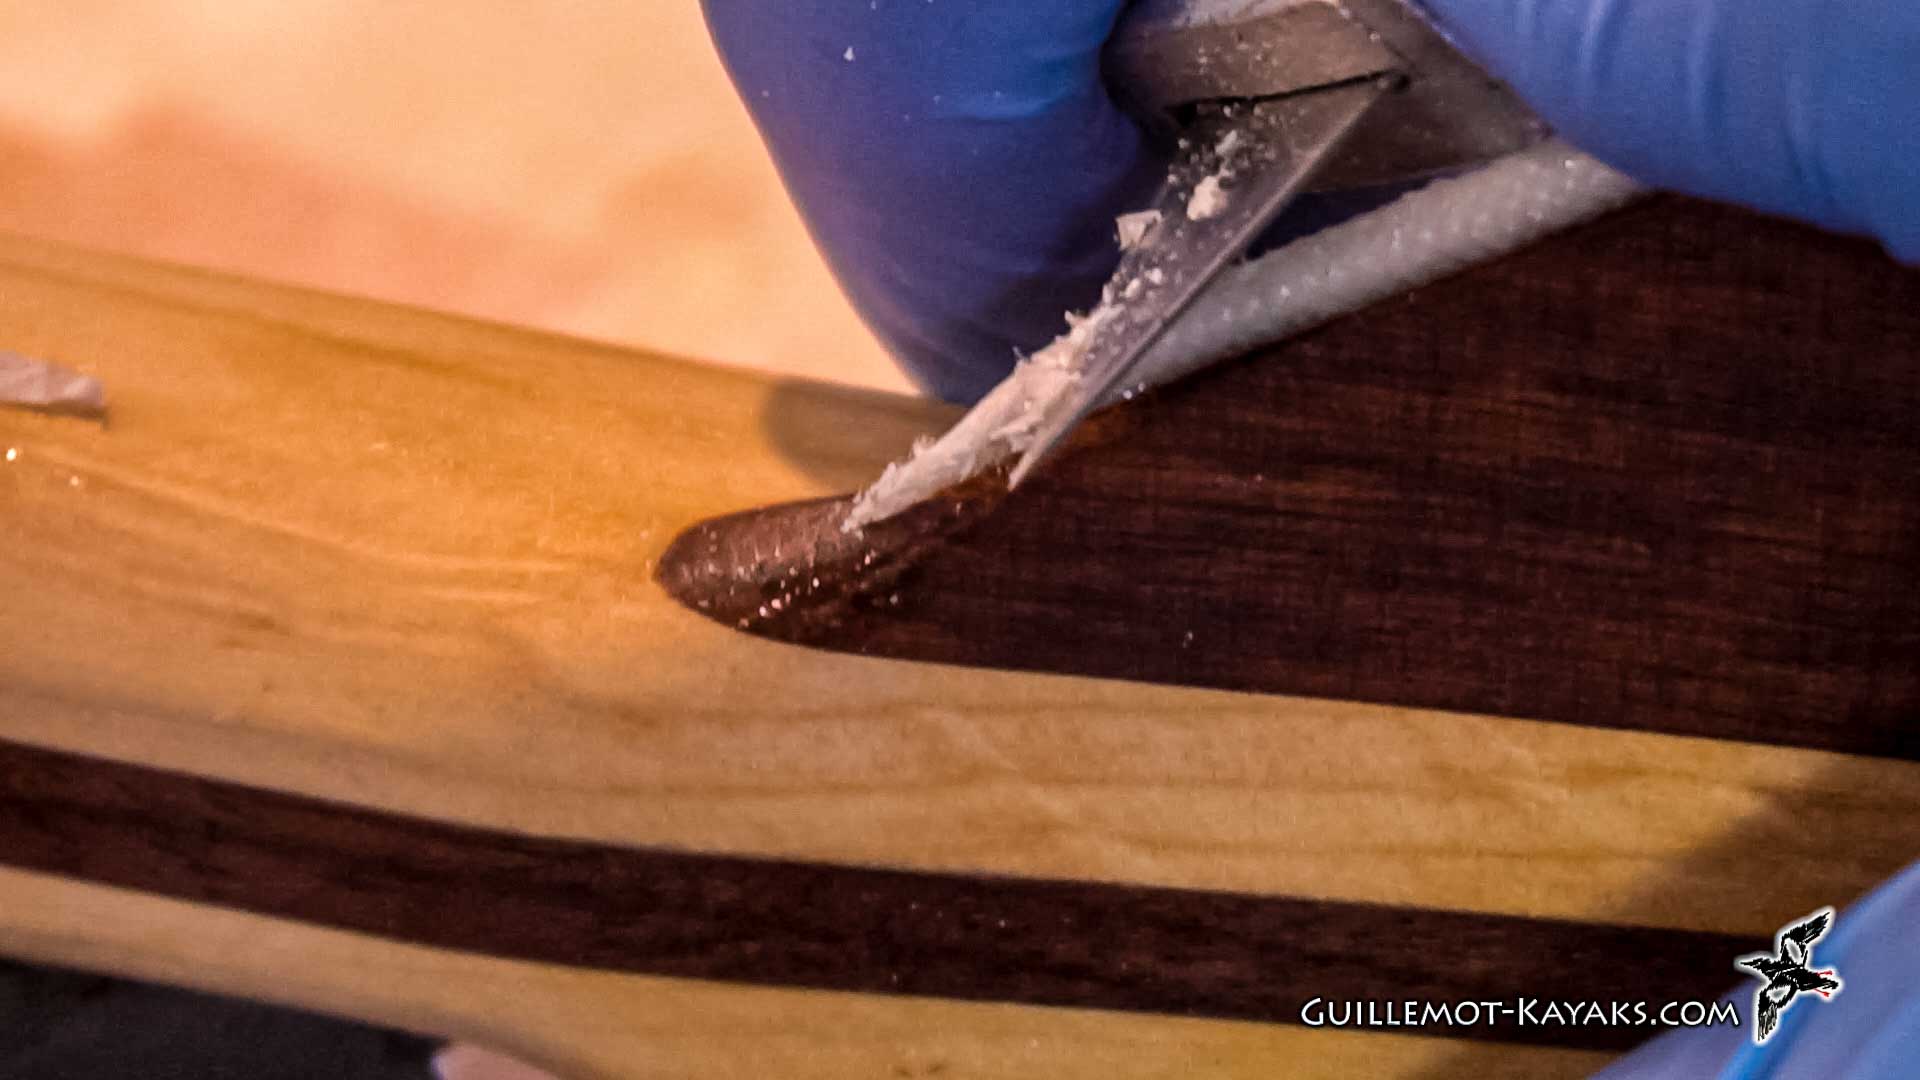
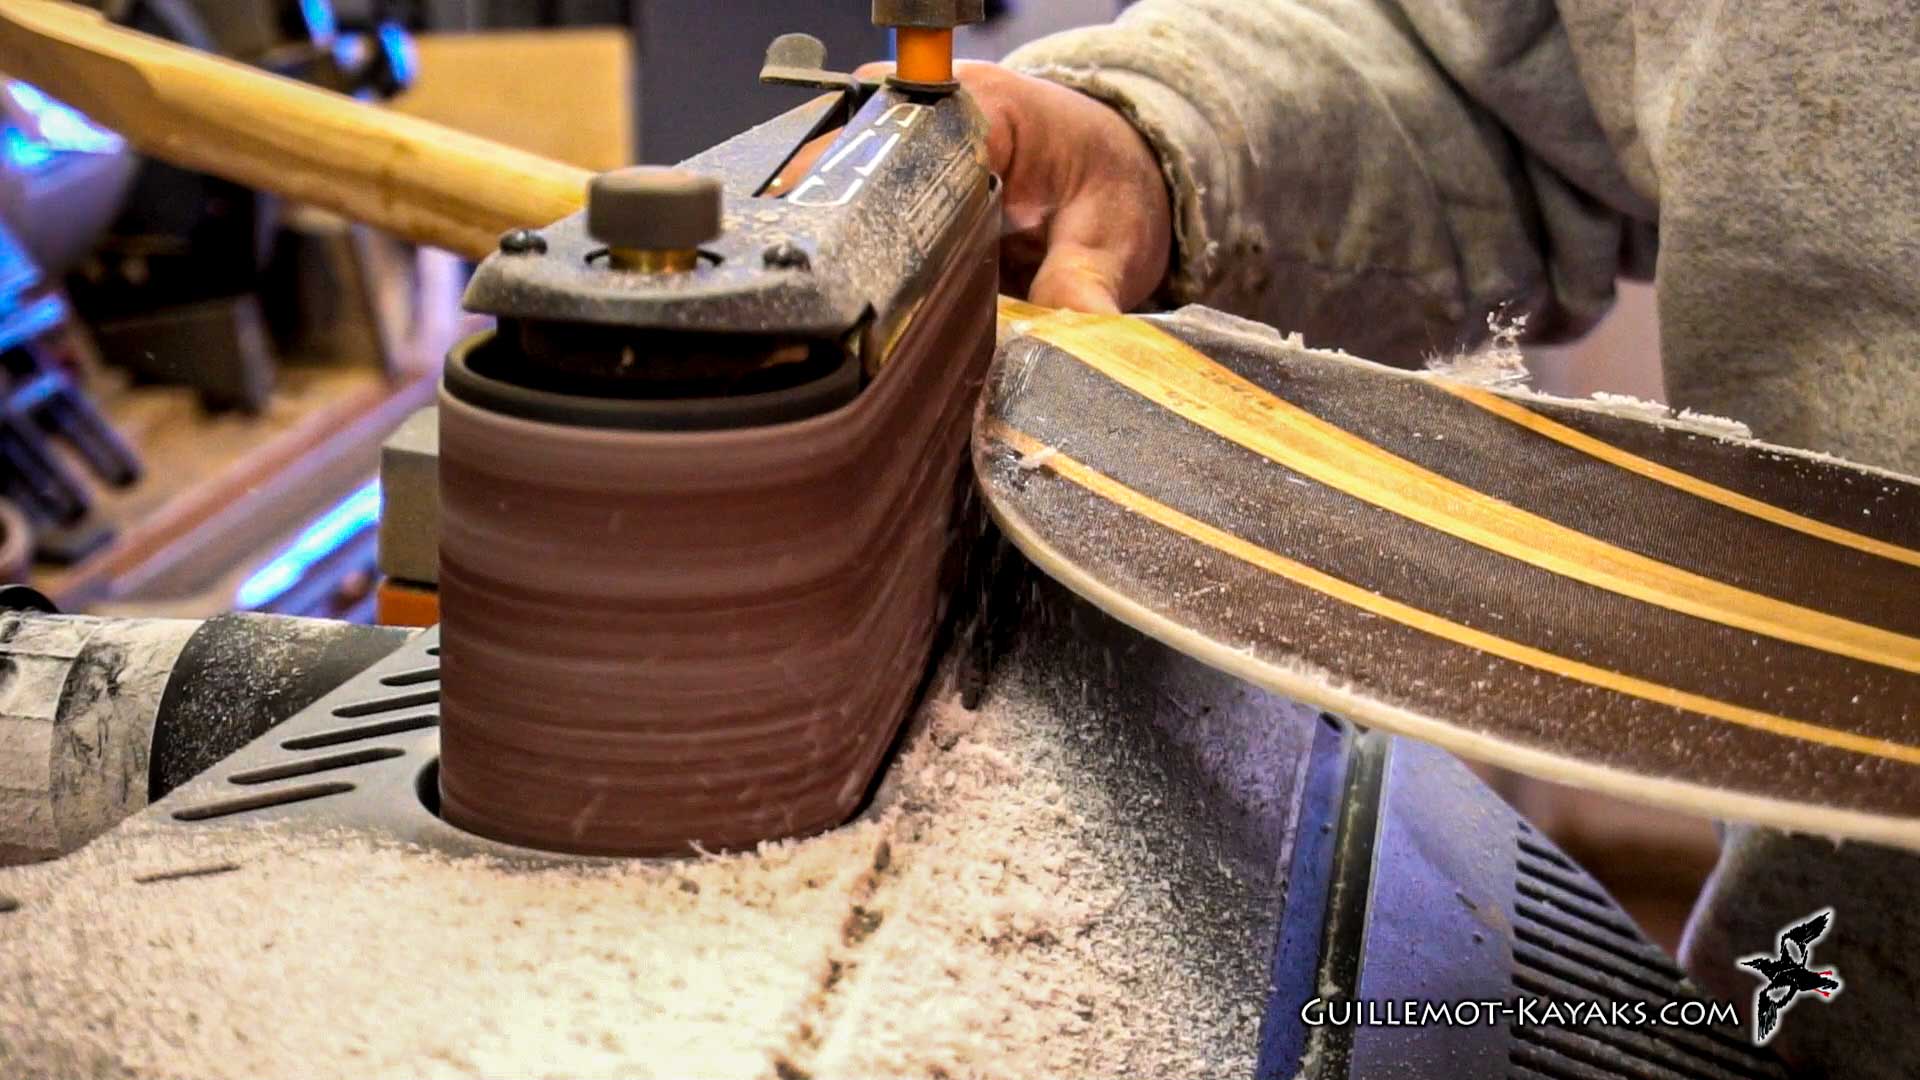
so let's get to it the cut ends of the
cord saturated in epoxy or hard and
stiff and rough I want to blend those
down into the shape of the paddle blade
so I'm just gonna use a sharp utility
knife just Whittle those down this gives
you an idea of how tough this cord is
it's pretty tough stuff epoxy saturated
nylon I'm doing this while the epoxy is
still fairly soft
the next day after wetting out this cord
so it's still fairly easy to carve as
the epoxy sets up harder and harder this
will be harder to do so it's worthwhile
doing this while the epoxy is still
relatively soft it's trying to blend
those ends in
this is a two ounce glass I'm using I'll
put one layer on each side over the
whole blade and then those where I want
them reinforced more I will add some
extra layers down at the tip and making
seven paddles here so I need 28 pieces
so each one of these is 2 pieces this
will be the extra for the tip this edge
has a salvaged edge on it basically the
loose threads are sewn off so they don't
come unraveling and I'll end up putting
those up at the throat end of the blade
just to have a cleaner edge where the
glass ends where it gets on to the shaft
I'm applying a little epoxy with the cab
Asil in it to thicken it up around the
edge because the transition between that
cord and the wood sometimes there's a
little gap there and I just want
something that's going to naturally flow
in there and fill that up and stay there
so they don't get bubbles I'm just
applying it around the edge and I'll
squeegee it around
two on both sides
so now when I put the glass on that cab
asil will fill up any gaps are there the
trickiest part of the glass in here is
right here around the throat where it
goes in deeply this 2 ounce glass
doesn't really like to conform to shapes
as well as the 4 ounce it does okay with
most of the shape on these paddles but
doesn't work so well on a boat because
the shape of a boat is just too much
contour going on it won't this 2 ounce
glass won't conform to it so just put a
little bit on enough to hopefully get
the whole thing wet out laughs it might
need a little bit more and I'll take and
trim off the excess glass
and hit it with the heat gun to get the
bubbles out
this again this two ounce cloth doesn't
like giving up the trapped air and it
either so a little bit of heat gun to
lower the viscosity of the resin up in
here wants to bridge so squeegee off
most of the excess into the Grunch cup
and then I'm going to soak up the excess
remaining excess with the paper towel
this is a very poor man's vacuum bagging
just sponging up any excess make sure
it's down into that contour it over to
the other side
takes a little while for this a resin to
soak into the cloth
[Applause]
[Applause]
so I heat it up and give the whole thing
the whole face the coating of epoxy the
heat lowers the viscosity the epoxy and
then spreading it over the whole thing
will make it so I don't have as
noticeable an edge between the part that
I'm actually working on right now and
the rest of the blade is starting to
fill a weave out here on the rest of the
blade I take my triangle of glass
lay it down across here put that on a
little bit more heat to get
[Applause]
[Music]
squeegee off the excess resin
and just give it a little inspection so
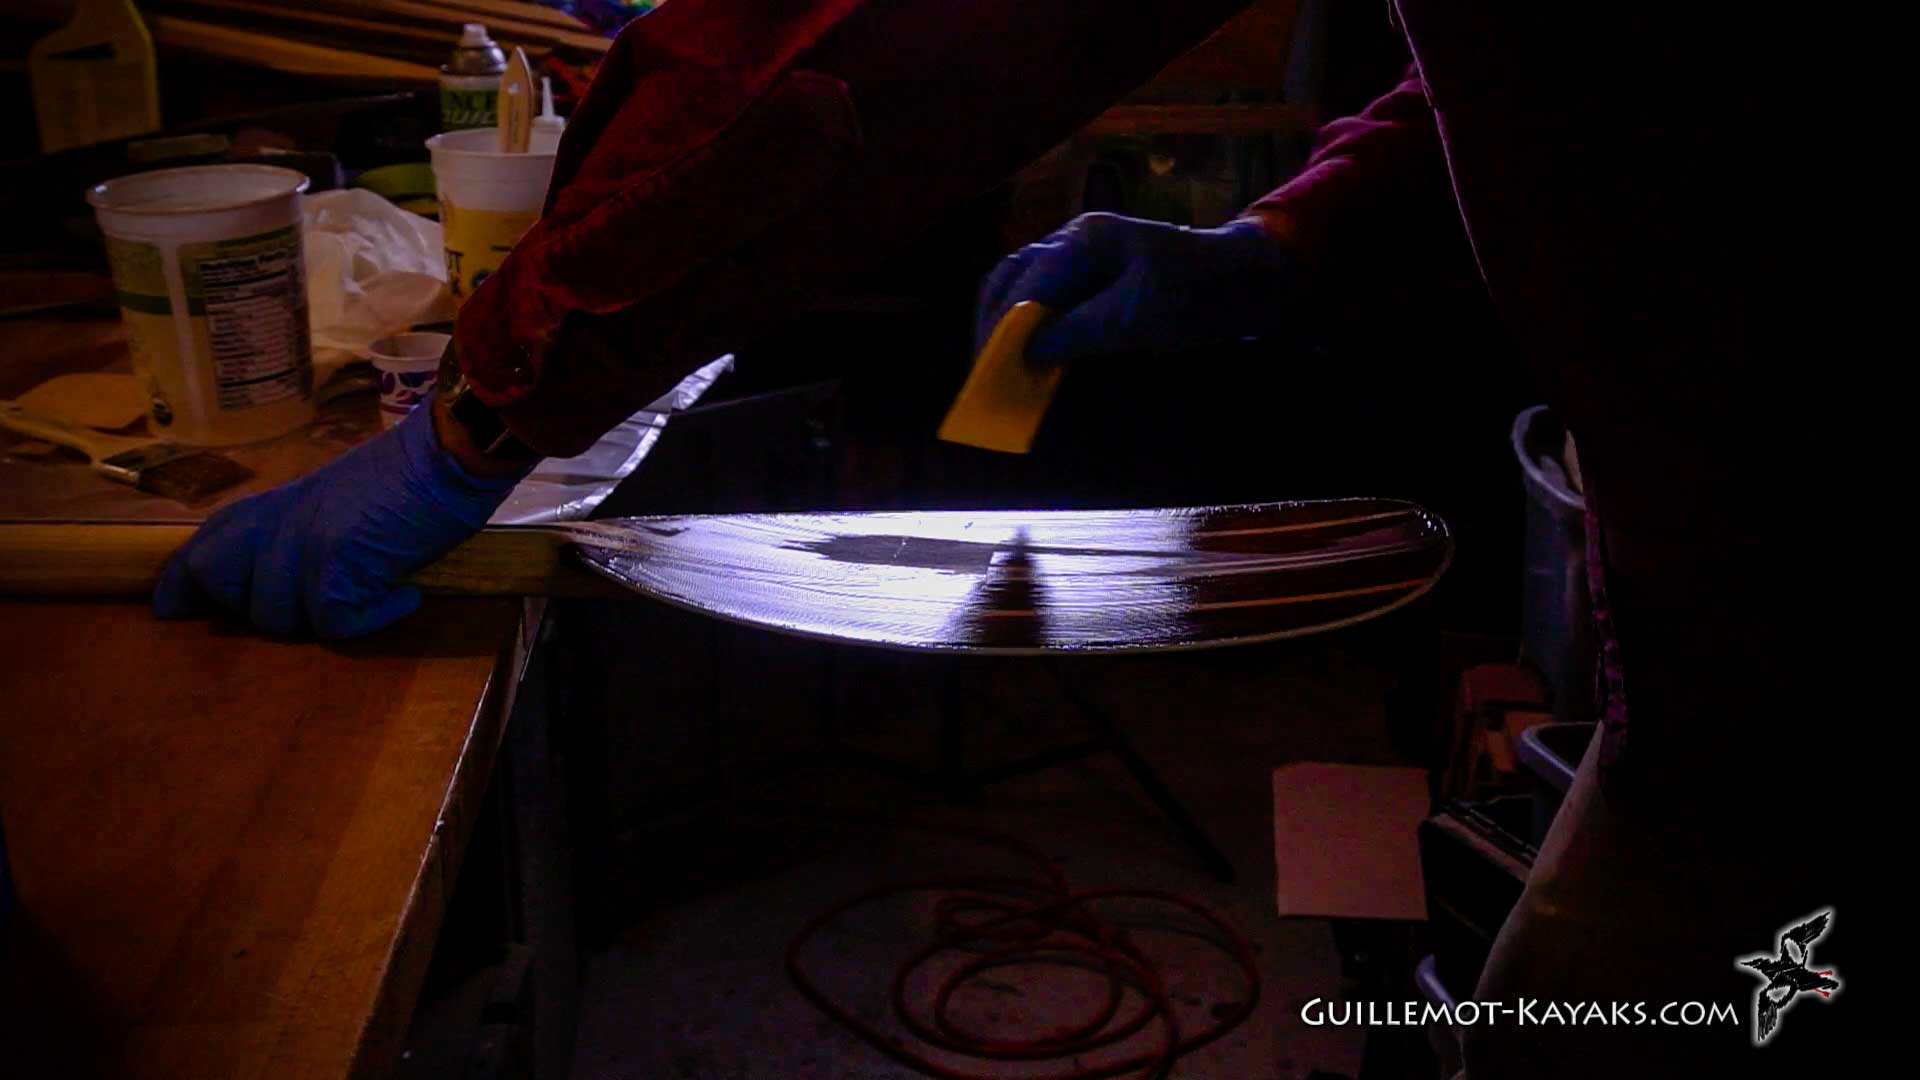
while I still have the feathered paddle
split in half not yet glued together
into full-length paddles I'm gonna do a
full coat on the blade it's just easier
to get the paddle in a position where it
will dry without drips while I have it
separated so I can turn it up on edge
and then any drips will tend to sheet
off and it should be the smoother finish
when I'm done I'm using a little bit
different epoxy this time it levels out
best with a blowtorch as opposed to
using the heat gun so you'll see me
using the blowtorch sauna
[Applause]
so that's it for this episode in the
next episode we'll be finishing the
paddles it might take me a little while
to get the next episode out it's cold
out and I want to do the finish work
outside I'm going to be putting on a
spray clear coat automotive style clear
coat and I'd rather not do that inside
if I can avoid it and being cold outside
and kind of windy I'm waiting for a good
day when I can go out and get that clear
coat applied so thanks for your patience
if it takes a little while that's what's
going on in the meantime I've started
building a petrol right now it's all
stripped up and I just stained it and
I'm about ready to glass if you want to
keep abreast of what I'm doing in more
real-time I have an Instagram and
Facebook page and I tend to post stuff
there a little bit more frequently just
updates on what's going on if you like
the looks of this kayak paddle project
and would like to do your own it's a
really fun project and I do sell plans
I'll provide a link in the description
to my webpage where you can purchase the
plans it's a fun project you can knock
it off in a couple weekends and have
yourself a really beautiful paddle sails
of plans is one of the ways I support
producing these videos if you'd like to
support the production of these videos
you can buy plans or you can just like
the video share it with your friends get
on to Facebook or Instagram and follow
my page is there anything like that this
really does support the process of
making these videos and any support you
can provide is really appreciated if
you're really into it I do have a
patreon page and you can go over there
and provide a little monetary support
any kind of support greatly appreciated
so until the next episode thanks for
watching and happy paddling.


