The blades will be cut out of blanks that are 16"-18" long, about 4" thick and at least 4" wide. With wider blanks you can make more blades.
In the video I am using 2x8 western red cedar stock and laminating a 1/4" thick piece of ash between the layers of cedar. You can use any combination of wood you would like. Softwoods such as cedar, pine and spruce will be lightweight, hardwoods such as ash, maple, walnut, oak etc. will be strong but if used extensively will make a heavy paddle. The weight of blades will make a big difference on how enjoyable it is to use the paddle.
The shafts I am making here are about 8' long buy 1-1/2" x 1-1/2". They will get cut down to size later. If you use wider material you can laminate up several shafts at a time. You can also use shorter material if you are going to make feathered blades where the blades are at an angle to each other.
I cut the material to size and then glue them together with waterproof PVA glue such as Tite-Bond III. Other glues such as Gorilla or epoxy can also be used.
workshop I'm Nick Schade. Back in the
summer I promise to make some kayak
paddle building videos and now it's
December and I'm just getting to it but
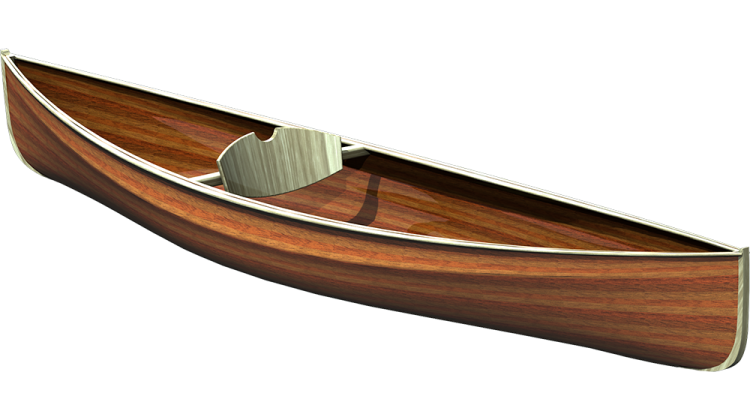
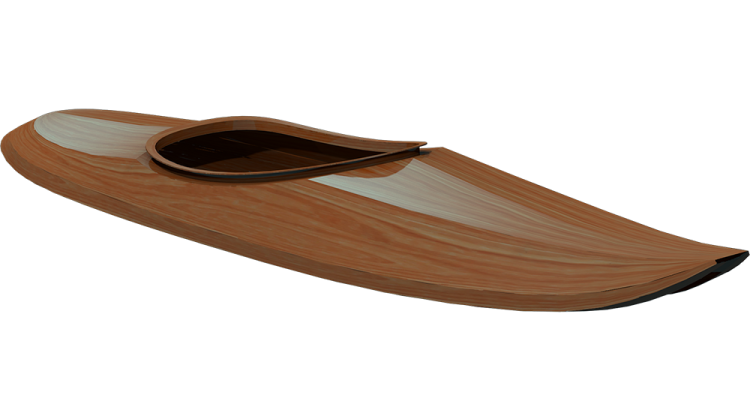
what I'm looking to build is some
paddles like these it's a fairly typical
euro style wide bladed paddle I can make
these in various aspect ratios wide
blade narrow blade long short whatever
this one happens to be a unfeathered
paddle and this one is a feathered so
you see the blade back here as at an
angle to the other blade so the basic
process is I build a shaft and I build
the blades put them together shape them
and it goes from there so working
backwards on the process years apart so
partially built paddles and the blades
I've started to shape the blades on
these they're on shafts I've started to
shape the shaft on this and I've got a
scarf caught in the middle that'll allow
me to glue it in friend and make a
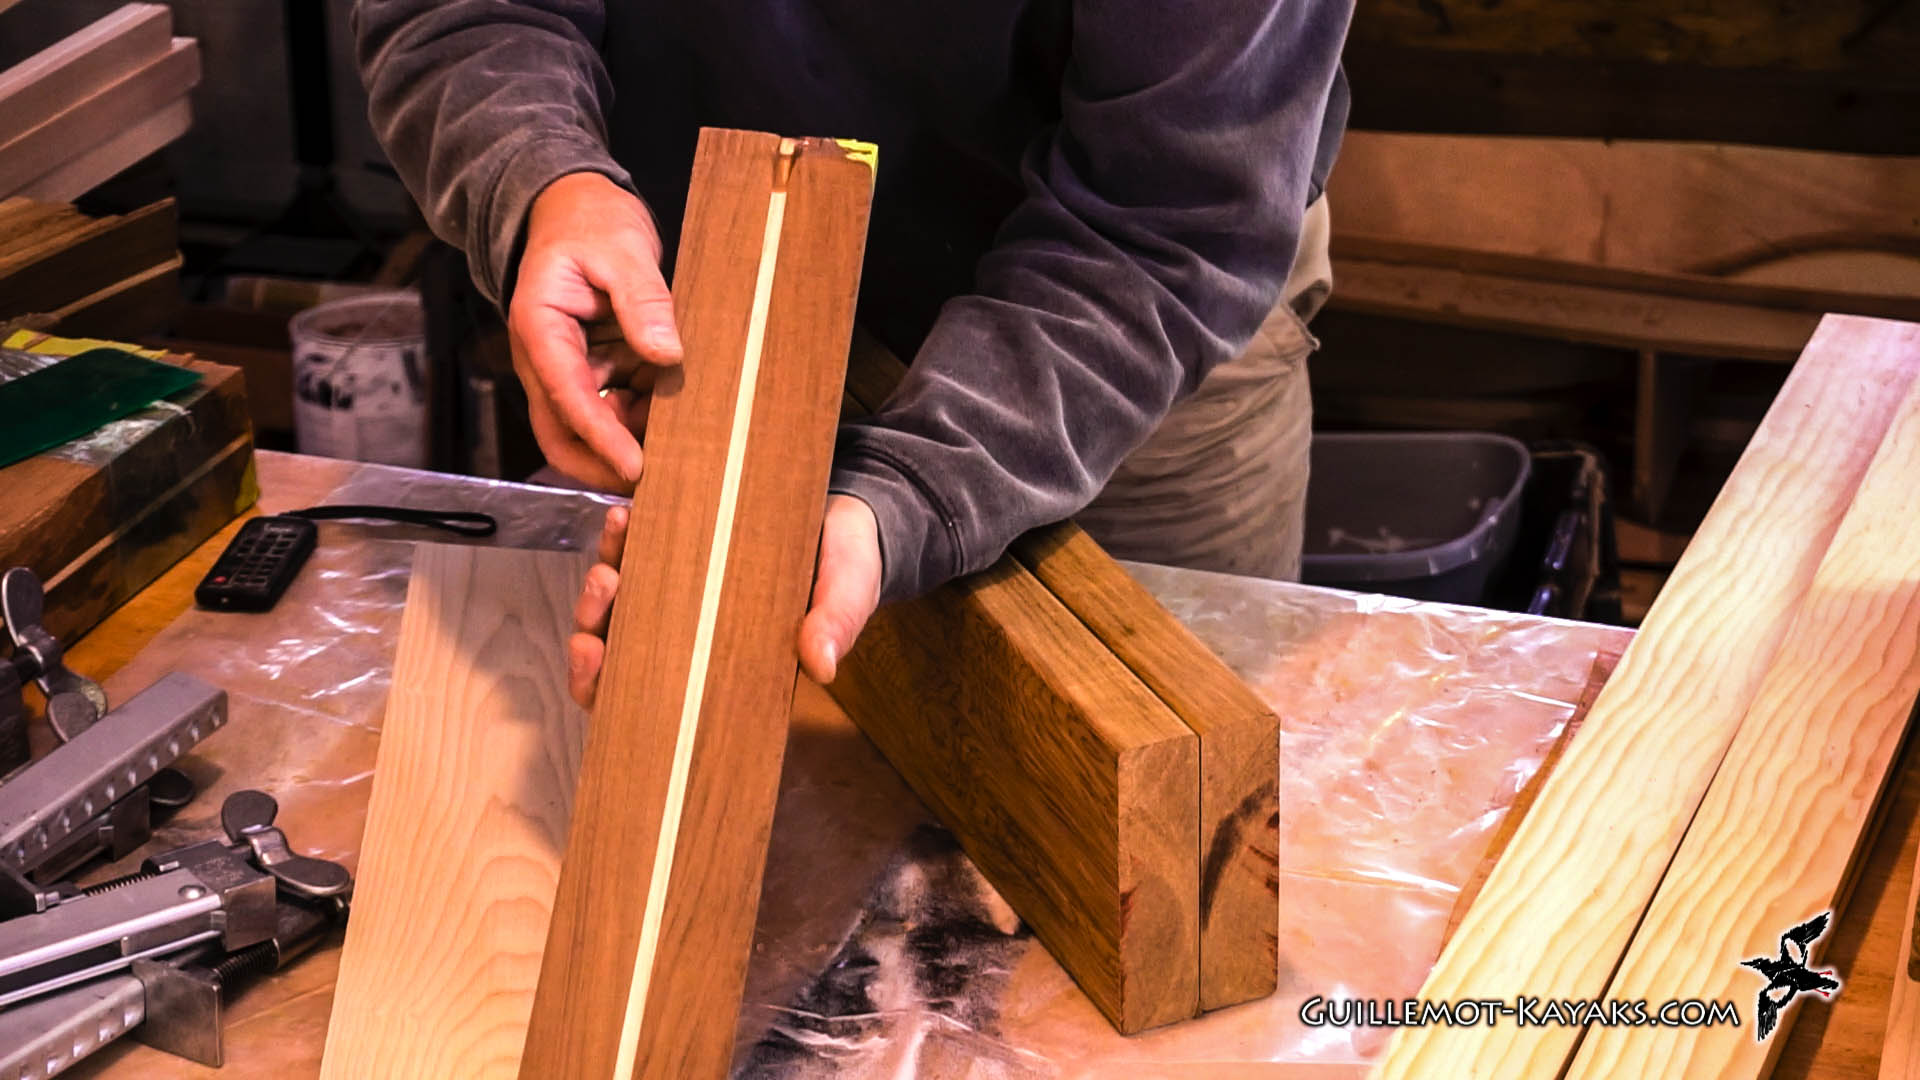
feather paddle the shaft starts as
material like this this is a laminated
shaft
I've got sick of spruce laminated on to
an ash core and this would be perfect
for an unfettered one-piece paddle
otherwise I have a bunch here of half
shafts we're making feathered paddles
these would get a scarf cut on one end
and the blade glued on the other end and
so these are all set up ready to make a
bunch of paddles I've got enough for
four paddles here I've got several of
these shafts made enough to make another
four or five paddles and then the blades
start out like this as a rectangular
blade but it's pre curved and glued to
the shaft so I start with the shaft
something like this and where I've
tapered the ends to put the blade on and
pre-cut a curve on the power fee
so this and this is got a couple scarfs
on it ready to make a nun feathered path
the blades start out as a big block of
wood so here I have a block of wood
already pre-cut into a bunch of blades
so I've pre-cut the curves so this is
scrap this is half a blade this is
another half of light you see that
they're tapered from end to end and I
cut them in opposing tapers so this one
will flip around go like that glue to
the side of a shaft and that will be the
blank for a blade so what I'm going to
do is glue up some more blade blanks and
glue up some more shaft blanks I've got
a little bit of wood here in various
various kinds of woods and we'll see
what I can put together to make a few
good paddles I have these shafts and
blades already made and sold probably
end up gluing together some of those so
I can start shaping those so in choosing
the woods I want to use while making the
paddle I have a couple things I want to
keep in mind I want lightweight and I
want strong in this case I use for the
main body the blade I use western red
cedar this is a nice dark western red
cedar very lightweight it's not the
strongest wood you know for its weight
it's quite strong but to reinforce that
a little bit I've got these accents here
and ash it just gives a little bit more
stiffness to the blade the blade is also
fiberglass which gives a lot of strength
we'll get into that later and then for
the shaft my go-to wood is Sitka spruce
this happens to be Sitka spruce again
lightweight and quite strong but to give
it a little bit more stiffness I like to
put some hardwood in the lamination just
to stiffen it up in the center of the
lamination so in this case it happens to
be mahogany
I'll typically use ash and there also
I'll look through my wood stacks and see
what I've got
so here I have some Sitka spruce this is
2 and 3/4 inches wide by 2 an 1/8 thick
and here we have some walnut which is 2
and 3/4 wide by 7/8 thick so I think I
can get a couple good shafts out of this
the typical shaft dimensions I want are
one in an eight by one and a quarter so
it's a little oval-shaped when it's
finished now it's determining a
trade-off between light weight and stiff
so the Sitka spruce will keep it light
the more Sitka spruce there is the
lighter will be and then the walnut the
hard wood will stiffen it up the more
hardwood that's in it the stiffer it
will be but they have your LP so finding
that trade-off between light weight and
stiff it depends on how you're gonna use
a little bit and what's your goals for
the paddle are and then just seeing what
we have available for material so I
think what I'm going to try to do is
resaw this walnut approximately in half
then plane that down to thickness see
what I've got and then use that to
determine what sort of dimensions I'm
going to cut the Sitka spruce at so I
get my final dimensions I think I'll be
able to rip this into enough laminations
and listened to enough laminations that
I should be able to get two paddles out
of the width of this and then those
blanks can be ripped in half so I can
get a couple more shafts out of that my
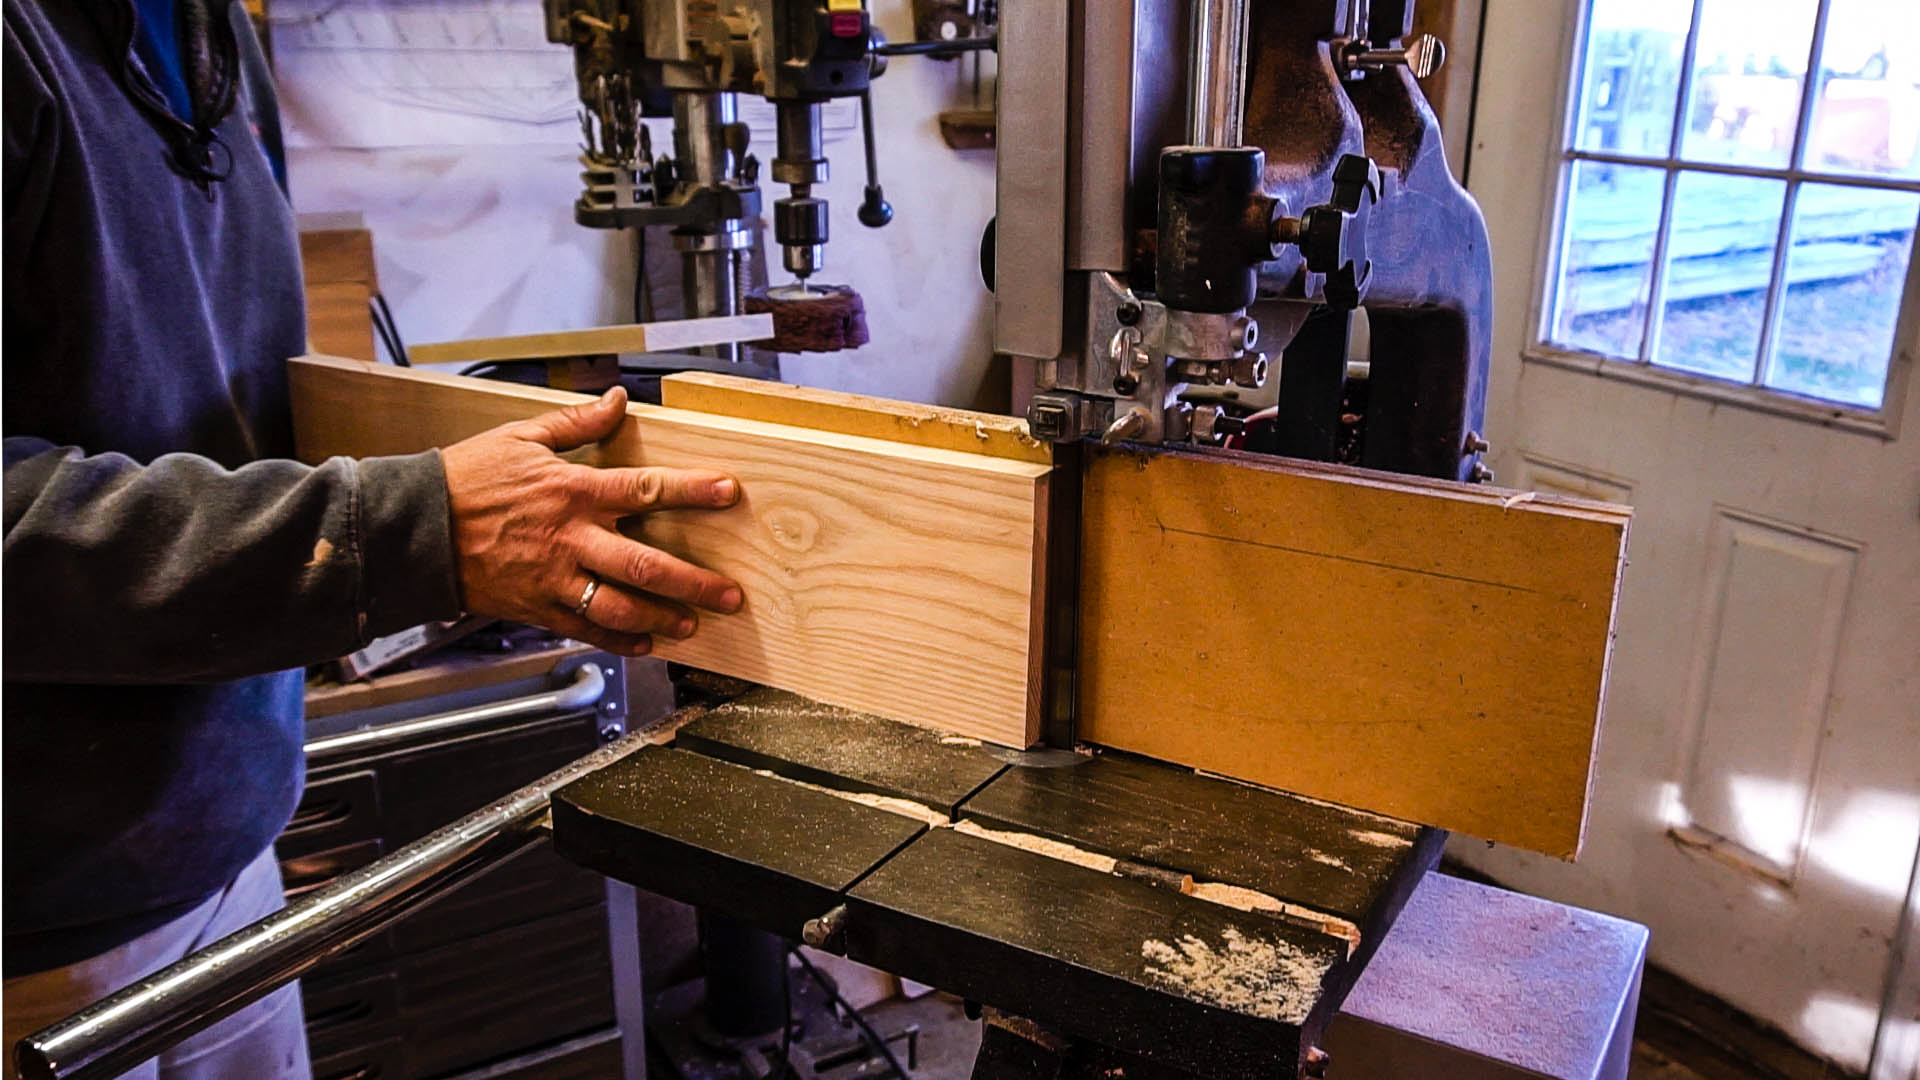
first plan is to resaw this
approximately in half so we'll aim this
is 7/8 blade thickness is about 1/8 so
if we run this a 3/8 we should be able
to get to 3/8 pieces out of it
approximately
probably thicker than they need but I
complain him down afterwards so this
will cut all the way through in one pass
it might be a little hard on it but I
think it'll work fine and then I'll have
that Rees on and I complain it to
thickness
[Music]
so when I got these walnut pieces cut
down and got rid of all the rough spots
and blade burned so forth I'm down to a
quarter-inch thick here so so we have a
quarter inch thick for this I want a one
in 1/8 thick shaft when I glue it the
SIPC on either side I want 108 so that's
nine eighths and I'm gonna take away two
eighths so we're going to end up with
seven eighths and I want equal amount on
either side so that's going to be seven
sixteenths so we'll cut something a
little bit oversized from seven
sixteenths and the Spruce to glue on
either side so with the Sitka spruce
here you see it's got a little bit of a
curve to it looking down that length
it's got a little bit of a curve it's
not a big deal because when I laminate
it together
I can laminate it straight I'll take the
two halves flip them around so then the
stress balances on each one of them put
them back together glue them together
straight and they should stay straight
the problem is I'd like to cut this side
up against the fence
so instead of trying to straighten it
out I'll just run the curved edge along
the fence unfortunately this is the
rough face so I'm just gonna run this
through the plane to get it down to my
smooth face so it'll run consistently
through the saw and we'll have a nice
clean cut
so when I'm left with here is a piece
that's one in 7/8 thick I need to cut at
least 7/16 pieces out of this so four of
those would end up being just perfect
but that's not going to be able to get
that given the curve for the blade even
if I went with a thinner kerf I couldn't
get it so what I'm gonna do is cut a
bunch that are just over a half inch
thick and playing those down to the 7/16
I need that way if I have any flaws and
I cut I can get them right down perfect
and so we'll aim for a little bit over
1/2 inch thick so here we have one
that's 5/8 thick and these are each 9/16
and about 9/16 so we'll just go me
through the plane a few times get them
cleaned up and get them down to 7/16
[Music]
so lefties about 1/32 oversize so when I
glue everything together it'll be about
1/16 oversize and then I can run it
through the plane again get everything
straightened out if there's any added
flaws just taking a 30 second off each
side so I've got some nice-looking
Western redcedar here for the blades
what I want to do is choose which one of
these I'm going to use and a couple
things to keep in mind a is the collar
you know I like the collar I think this
will look really nice it's a nice reach
it's a nice rich dark brown and then we
want to look at the grain here you see a
lot of wide grain and this one and here
it's very narrow but if we think about
how the blades are going to be cut so
this is a sample blade basically we're
taking this to biomaterial like that and
then we're going to cut a blade out of
it so I like to have sort of vertical
grain in the blade or close to vertical
so when I look at these I want to get
close to vertical on these it can be a
little bit hard to see what the grain is
if i zoom in right here
you know the saw blades make some marks
there it's hard to distinguish the grain
from the saw mark so I'm gonna do is
just so there you can get a little bit
better look at the grain and you can see
diagonals running this way so this is
pretty close to vertical this one so
here it's diagonal like this but up here
it's diagonal like that so it's close to
the flat one we cut through this way
where this one's going to be closer to
vertical all the way across it's going
to be a little bit more uniform with
good diagonal lines like that
so this one sort of has a better grain
orientation to get those vertical grain
pieces so I'm gonna select this one I'll
put this one back in the stack and we'll
work on breaking that down so the
longest blades I make a 21 inches so I'm
gonna cut these and to 21 inch long
sections approximately so for the spline
in the blades I'm going to use some ash
we've got a nice piece of ash here and
likewise I'll cut this into 21 inch
sections get a little bit of a check
down here so I'll cut that off and get
some 21 inch sections and then these
will be ripped down to about five and a
half inches wide and resaw into thinner
pieces so for the spline in the blades
I'm going to use some ash we've got a
nice piece of ash here and likewise I'll
cut this into 21 inch sections get a
little bit of a check down here so I'll
cut that off and get some 21 inch
sections and then these will be ripped
down to about five and a half inches
wide and resaw into thinner pieces
[Music]
[Music]
[Music]
I just got some new clamps and I have a
tendency to get glue all over my clamps
so I'm gonna put a little wax on them
just to make the glue peel off better
should I get cool
[Music]
these pieces were cut out of the board
like this so you can see the continuous
grain goes across there what I'm gonna
do is just fold this piece back and that
way the grain here it'll match and you
see it it's coming out and diagonals
like this and diagonals like that so
essentially we've got a book match on
these two pieces and as a result these
two pieces here will be as close to each
other as they can be and what's going to
happen when we cut through these is
we're cutting in a curve and if we pay
attention to the direction we cut these
curves it will influence the shape of
the grain and the cut pieces so for
example here you see on this one the
grain comes out and back in again in a
bit of a mirror image there and so we're
trying to get as much of a mirror image
as we can here and I like this pattern
where the grain sweeps back in at the
ends better than when it sweeps out just
a synthetic thing and I think it mimics
the shape of the paddle wolf so we're
gonna take these two pieces take a piece
of ash throw them in between and so
that's gonna be the blank we're gonna
glue up I sanded both these surfaces so
this is a good gluing surface there and
we'll apply some glue in between clamp
it together
I'm gonna be using tape on three here
this is waterproof honestly it doesn't
really need to be on the paddle blades
it's going to be the blades are going to
be covered with fiberglass but I'm gonna
be using this same stuff on the shafts
where the shafts even though they're
going to be varnished have a little bit
more chance of getting wet so I'm going
to just make sure I'm using a waterproof
glue on that you could use epoxy you
could use a urethane glue like a gorilla
glue something like that I've used just
about anything those powdered glues that
you're a formaldehyde glue a believe
I've used that works very nicely lots of
things work quite well on that when I go
to glue this up I'm going to stack all
of blanks together so I save on clamps
and get a little bit better clamping
that way a little bit more efficient so
this is going to be together like this
so I'll put glue on these surfaces and
both surfaces of the ash and assemble it
that way
[Music]
[Music]
so these blanks are all glued together
I'll just put those aside and start
gluing up the shaft again these two
pieces are curved a little bit but I'm
putting them opposite each other so they
can balance out and end up with a nice
balanced laminate with this one where I
only have one extra piece I'm going to
take cut it in half actually cut the
center piece in half too and that'll end
up with as two half shafts that I can
scarf together to make a feather paddle
[Music]
[Music]
so to make sure everything glows up
straight I'm just going to clamp this
these shafts down to my workbench it is
8 for Chasse they're going to each foot
work bench and that should keep
everything nice and straight so that's
the shafts all glued up we've got the
blade blanks all glued up and in the
next episode I'll start cutting these
down into real shafts and real blades
and maybe we'll see what we can get
glued together tomorrow let me just talk
a little bit about wood selection you
know I did those blade blanks as three
laminations essentially you can laminate
up these in any combination of woods you
like it's a great opportunity to be a
little bit imaginative with it come up
with some new interesting layups and
things that just look cool lots of wood
are good for this here I'm using cedar
and ash Cedars always a good choice for
light weight you could use Sitka spruce
and the blades any kind of cedar white
cedar is great pine would work just fine
you can go to Home Depot and get some
nice clear pine and just stack a bunch
of laminations up for that and make a
really nice blade
same with the shaft I have some where
I've made this shaft out of western red
cedar it's not quite as strong as Sitka
but and good lamination you can make
something really strong and lightweight
one nice thing about the lamination is
you can take relief sort of crappy wood
and turn it into something quite strong
by offsetting any flaws in the woods so
they're not all lined up even naughty
stuff you can saw it up into thin pieces
glue it back together again
random orientation and end up with
something pretty strong so lamination is
a fun way to be imaginative
and it's a good way to use lesser
quality wood and make it into something
sort of better quality so if you're
finding this interesting and you'd like
to see more like this hit like subscribe
or go over to my patreon and chip in a
little bit to help support the effort it
takes to put these videos together I
really appreciate any support you can
provide so until the next episode thanks
for watching and happy paddling.