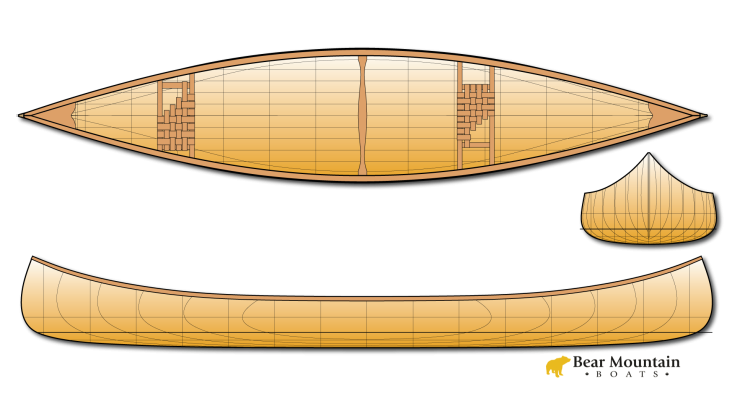
The last strip to close the bottom always takes time. The narrow remaining gap must be matched quite precisely for a tight fit.
Part of the difficulty is the narrow strip is quite flexible. When you try to plane the strip, it just flexes away without being cut by the plane. The first solution to this problem is to be sure your plane is very sharp. A sharp plane requires less pressure to get the same cut. The next solution is to back of the strip somehow so you can apply pressure. In this video I do this in several ways. First by planing on the bench, or on the boat itself. I also show a way to make a quick and dirty tool to hold the strip as you plane.
This jig is just a scrap strip with a couple scraps glued on either side to hold the strip you are working on. Without the side pieces, the strip won't stay aligned. This is not necessary if you are using cove and bead strips, but it helps with square edge strips.
I mark the approximate shape of the strip by reaching inside and using a pencil to mark the shape of the gap. The finished strip will be bent. To mark it, I flip it over and hold the curved edge against the straight keel line. When I install it I flip it over and bend it into place.
You could whittle the strip down to size with a jack knife, but with this length it is quicker to just saw off the excess, leaving a good amount of wood before the marked line. Start planing just smoothing out the saw marks.
Mark where you want the grain to line up, or just start at one end. Work to get one end fitted tightly. If the fit gets loose, you can push the taper farther in to wedge it tight again. When on end is fitted, mark the strip alignment near the other end for easy reference. Work on fitting the other end until you get a tight fit and then plane away at it to adjust the over all length.