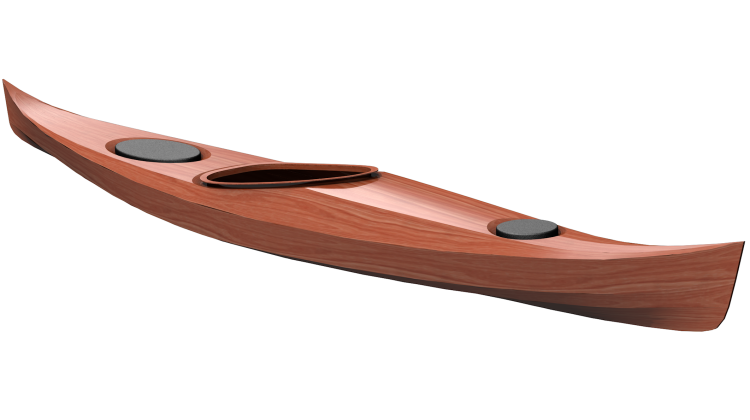
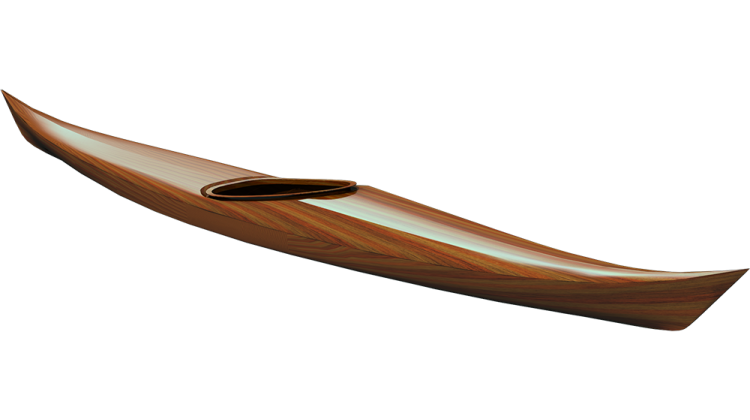
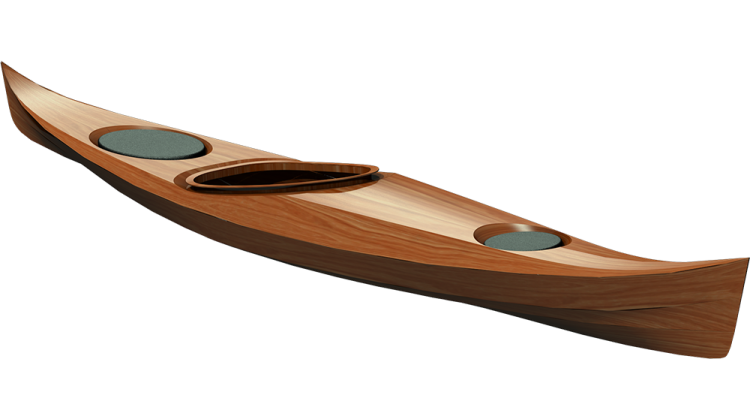
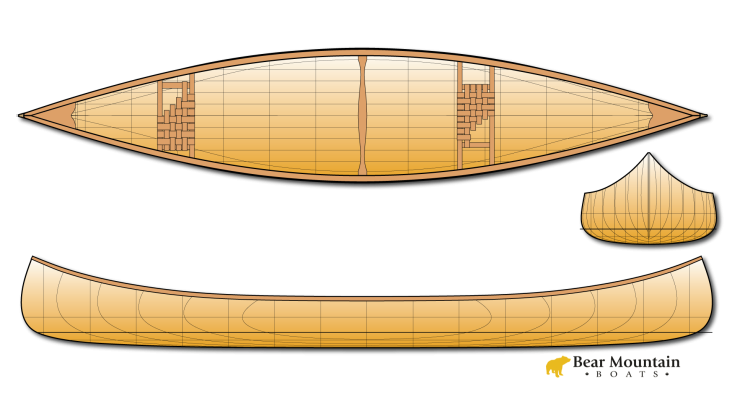
How to Set Up a Router Table to cut Cove and Bead Cedar Strips
Cut the Bead First
I like to cut the bead first because it will not get dinged up with any rough handling. The cove is more delicate due to the narrow edges. By cutting the bead first there will be fewer opportunities for damage between milling the cove and assembling the strip on your boat.
Start with strips that are very consistent thickness. I'm using 3/16" strips that are accurate to less than 1/64". I'm also using a 1/4" diameter cove and bead set. These router bits can usually be purchased as a matched set . Sometimes they are called "Flute and bead" or "Canoe Bits". This same size works well for 1/4" and 3/16" strips.
Start by roughly centering the cutter on the strip. Set the fence to so the router cutter barely kisses the edge of the strip. I have found that scribbling on the edge of the strip with a Sharpie magic marker makes it much easier to see the effects of the router on the strip.
Adjust the height of the bit to make equal length cuts on the top and bottom corner of the strip. Make sure that strip is pressed down firmly to the table as you make your test cuts. Note that the router bit spins very fast and is extremely dangerous. Don't let your fingers get bit.
When the height of the router bit is adjusted so it cuts the same at the top and bottom it is time to set the depth of the cut by moving the fence. Your fence may be different than mine. I've got a couple thumb screws at each end that allow the fence to move when loosened. I loosen one screw just a crack, allowing the fence to move with some effort. By lightly tapping on the fence with a hammer, I can slowly move the fence as I need to without having it go too far too fast.
Adjust the depth so it leaves a little stripe of marker ink showing. You don't want to go to deep, thus making the strip narrower. A tiny little flat spot in the middle is fine and good as it will be buried in the cove of an adjacent strip when the boat is assembled. A little spot to hold glue is a good thing.
I used a power stock feeder to mill my strips, but for hand feeding you can set up feather boards. You want feather boards holding the strip down to the table and up against the fence. Run a test strip with your completed setup and check that it cuts cleanly and is properly centered before continuing. Adjust as needed.
Run all your strips before milling the cove.
Setting up the Cove
The set up is similar for the cove. Swap out your router bit and roughly center the cutter to hit the center of the strip edge. Mark the edge with a magic marker. Again, start by just kissing the strip. You can make a small cut, then flip the strip end-for-end and make another small cut right next to the first. The marks will align perfectly when the cutter is centered. Adjust the height as needed.
When the bit appears centered, adjust the fence for a deeper cut. Ideally, there should be a very narrow square edge on either side of the cove left uncut by the router bit. This will show up as a little bit of ink on either side. If you cut too deep, the edges of the cove will be too delicate and will likely splinter and fray during cutting and will be easily damaged during handling while building your boat.