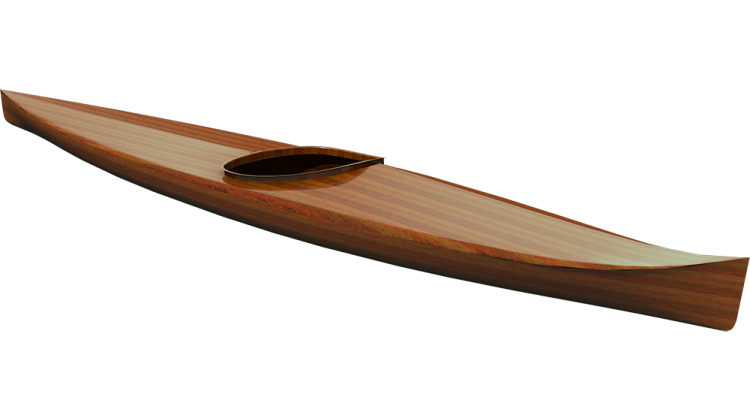
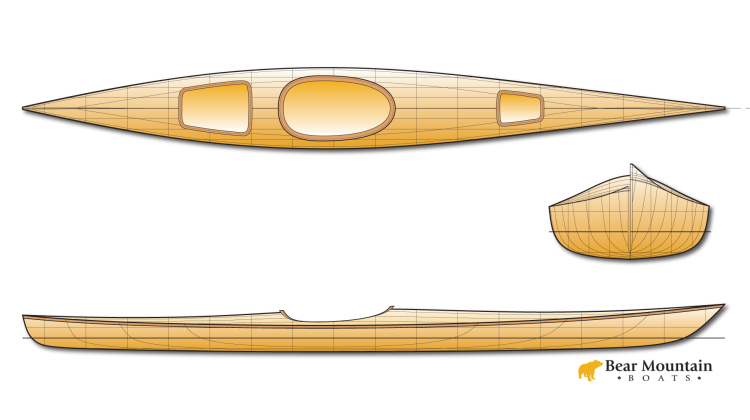
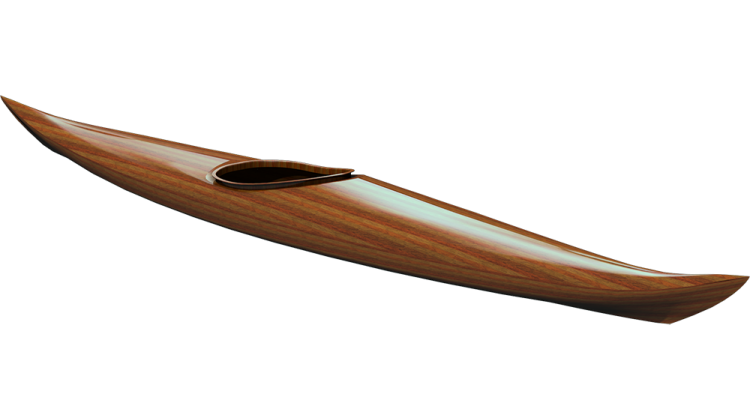
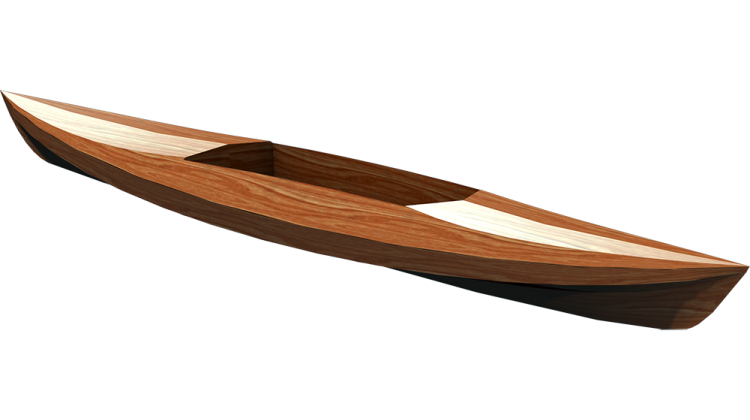
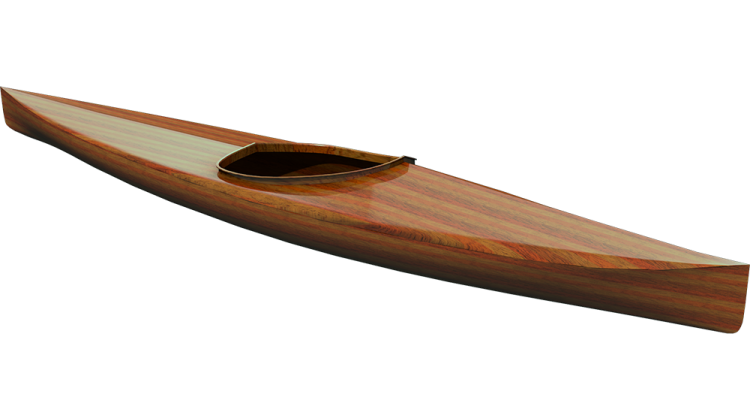
The Petrel has a unique recess around the cockpit. This lowers the back of the coaming which allows for easier rolling and it also helps create a good place for thigh/knee braces. I usually make this recess area out of thin baltic birch plywood or okoume, but in this case I wanted the wood to go with the rest of the boat so I needed to get some western red cedar in a form that would work.
I started by planing some 2" x 12" to smooth it up a bit. I then ripped the board in half so I could get it through my bandsaw. I used the bandsaw to re-saw panels about 3/16" thick. I then ran these panels through the plane again to get all the panels the same thickness.
I arranged the panels in a bookmatched pattern. Using masking tape I secured the edges together. I got the joints good and tight by applying the tape with the panels folded up slightly so when I put the panels back flat again it would pull the tape taught.
I just used carpenters glue to hold the panels together. After scraping and sanding I applied a layer of 4 ounce fiberglass on what will eventually be the underside of the deck. I applied a light fill-coat (not shown in the video) to make it easier to clean up later glue.
At this point I now have my substitute for plywood. From here the process is the same.
The Petrel plans come with patterns for the recess which include the large bottom piece and the smaller "C" shaped back piece. I cut these patterns out from the paper and then folded them in half along the provided center line. I placed a couple strips of tape along the center-line of the glassed cedar panel just for quick reference while dealing with sticky glue.
I squirted a coating of 3M Super 77 on one half of the pattern. The paper is then stuck down along the center-line of the panel. I then used cut-off scrap paper from the plans as a quick mask while I sprayed the other half of the pattern.
With the pattern stuck down, I used a jigsaw to roughly cut out the parts, then bring the parts over to the bandsaw for a more precise cut, finally bringing the parts to the table-mounted belt sander for the last adjustment.
The assembly of the parts is essentially stitch and glue construction, but I don't want stitch holes so I used masking tape. I started by centering the two parts relative to each other, then carefully bent the horns around the sides and loosely taped them in place. I could then flip the parts over and use tape to get a tight seam all the way around.
Once taped up, I used CA glue to spot-weld the seam every 1/2" (1 cm) or so where ever there was no tape. The glue is set by misting it with accelerant. After pealing off the tape, I added dots of glue where the tape was.

