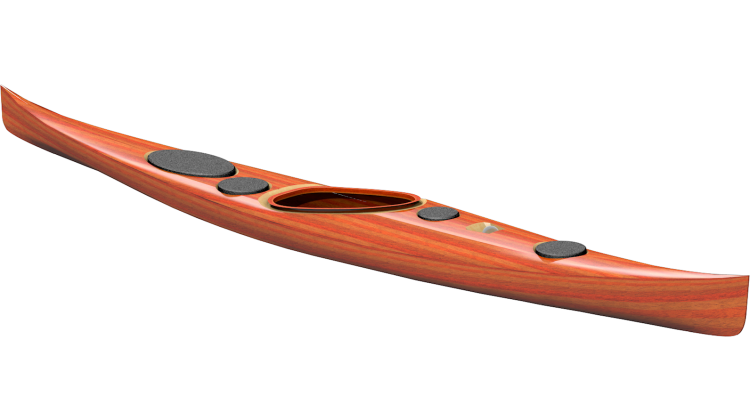
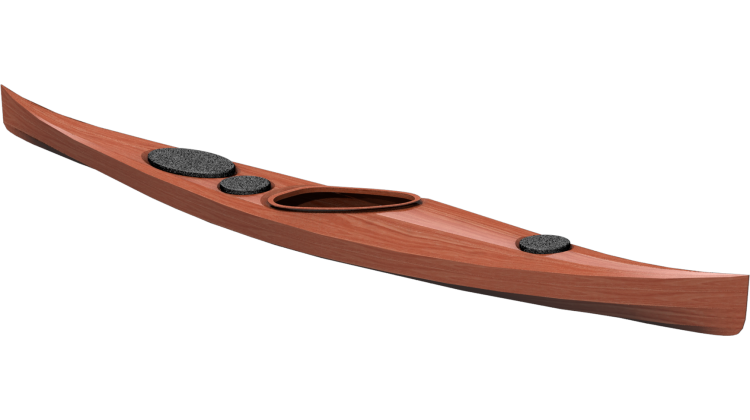
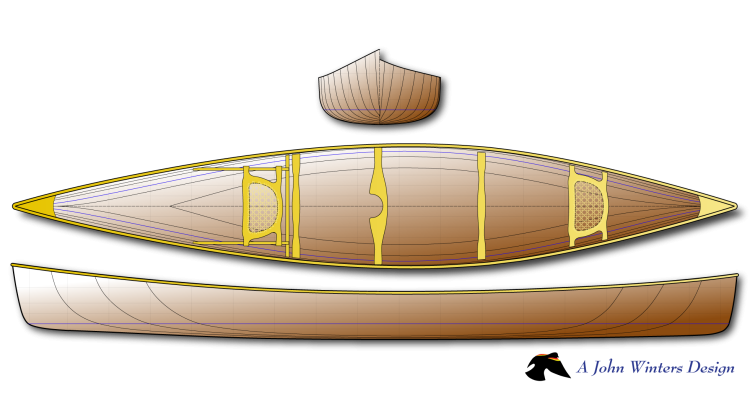
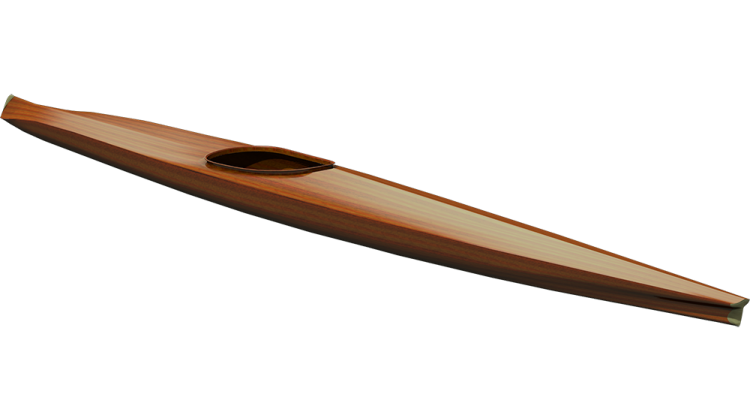
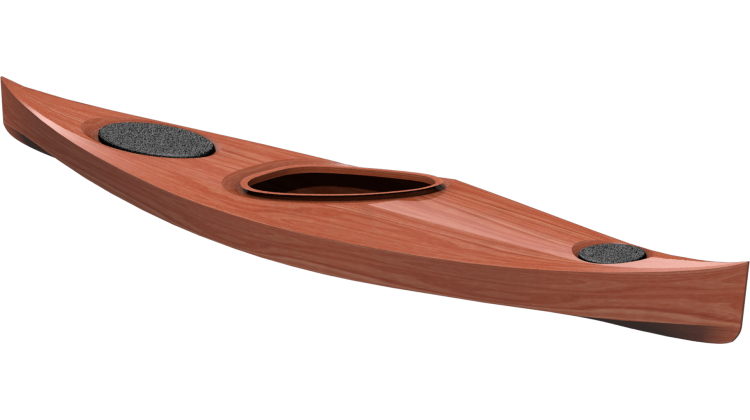
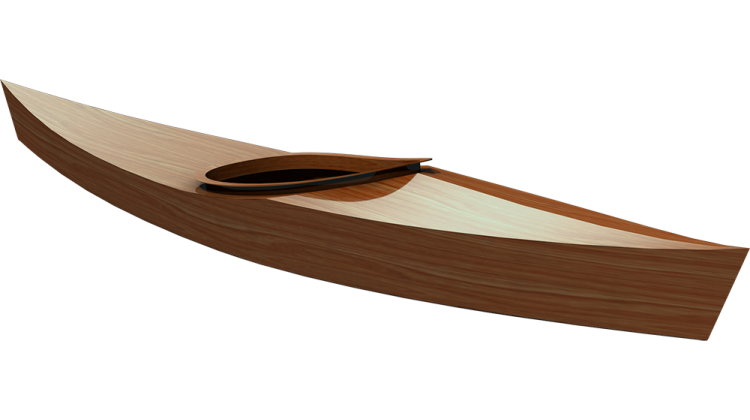
I've been going through the footage from a couple of boats I built last year, and as I was editing I hit a section I thought was worth getting out to you sooner rather than waiting for the full build video. So — hand cutting stitch and glue plywood panels. Here's how I do it.
Kit or scratch — which way should you go?
In my previous stitch and glue videos I started with a kit from Chesapeake Light Craft, and honestly, those kits are excellent. The panels come out of a CNC machine and they fit together perfectly. If you're having trouble sourcing good marine plywood locally, the kit solves that problem too — everything you need comes in the box. I'll be straight with you: the kit prices from Chesapeake Light Craft are very fair and you get really good material.
But some people just want to do it from scratch. Maybe you can find plywood locally and want to save on shipping. Maybe you don't want to pay someone else to cut the panels for you. Maybe you just like doing everything yourself — I get it, that's kind of the whole point. I do sell plans for all my stitch and glue designs, and the plans come with full-size patterns so you have everything you need to cut your own panels. That's what I'm going to walk you through here.
Scarfing: making a long panel from short sheets
Standard plywood sheets aren't long enough for most kayak panels. With 1/8" material I'm going for an 8:1 slope — so roughly an inch of scarf length. I stagger the sheets back one inch so each is offset from the one below, and I put something under that feather-thin leading edge to support it while I plane. Without support, that edge just bends away and you can't plane it — it'll drive you crazy.
As you plane, you start cutting through the different layers of the plywood and you can watch the glue lines between the plies. You want to keep those lines relatively straight and evenly spaced — that tells you you're cutting through the stack uniformly. I also put a sacrificial piece on top that I'm not going to use on the boat. That way when I plane, the second-from-the-top piece ends up with a nice flat scarf on it. If I didn't have that sacrificial piece there, it's really easy to round over the top edge and end up with a scarf that isn't flat — and we need that surface to be a nice even slope all the way down.
On the glue-up
Pre-wet the scarf faces with straight unthickened epoxy first. Any end grain in those faces will absorb it, so the joint won't get starved when you apply the thickened glue. Then mix in some cellofil — or wood flour, or cabosil — to bring it up to a thin honey consistency. Not too thick, just enough that it won't run straight out of the joint. Brush it on, line everything up on your pencil marks, clamp with cauls, and use plastic sheeting between the caul and the wood so it doesn't bond to your clamp setup.
Getting the pattern onto the plywood
Once your scarfed panel is ready, you need to transfer the paper pattern onto it. My plans come with full-size patterns — if it's an 18-foot boat, you get 18-foot patterns. There are a couple of ways to do this. You can spray the back of the pattern with Super 77 and stick it right down, then cut around the printed line. That works fine, but the downside is once you've cut it up, your pattern is gone. If you make a mistake, you've used up your only copy.
The other method is a pounce wheel — a little rolling tool with sharp pins that you press along the line, and it punches a series of tiny holes through the paper into the plywood underneath. You can get these from online retailers. I bought a kit that had two of them: one with really sharp spiky pins and one that's a stamped sheet metal wheel — a little less aggressive. Both work. You just run it along the line pressing fairly firmly and it leaves a dotted mark right on the plywood.
My preference is to do both. I tape the pattern in position, use the pounce wheel on all the lines first, then roll the paper back halfway, hit it with a light mist of spray adhesive, smooth it down, and do the same from the other end. That way I've got the printed line to cut along, but if the paper peels up I've still got the pounce marks to refer back to. Belt and suspenders.
Drilling the stitch holes
On the patterns you'll see marks — a little circle with a plus sign — spaced every 6 inches along the panel edges. Those are your stitch hole targets. I use a 1/16" drill bit, or 1mm if you're working metric — basically whatever small drill will get your wire through. Set your panel on a couple of scrap pine boards across some sawhorses so you've got a long supported surface, and just work your way down, drilling through at each target. Doesn't need to be perfect, just needs to go all the way through.
Near the ends of the panel I have the holes closer together — roughly every 3 inches. There's a lot more tension on the wires near the ends when you're stitching the boat together, so a few extra holes lets you put in more wire. If you're building from plans that don't have the stitch holes pre-marked, just make a little jig from a scrap of wood — put a finish nail in it 6 inches from the edge and use that to step your way down the panel.
Keeping paired panels aligned
You're cutting two matching panels at once — stack them together and drop some finish nails through the stitch holes to pin them in place. Wrap a little tape around the edges too. As you're cutting and planing, move the nails and tape out of your way as needed, then put them back. It only takes three or four nails and a couple pieces of tape to keep everything lined up. When you separate the panels, they'll be identical.
Cutting out the panels
I'm using a jigsaw with a bi-metallic metal-cutting blade — 36 teeth per inch. Fine teeth leave a much cleaner edge on thin plywood than a coarser wood-cutting blade. As a rule you want at least three teeth in the material at any one time, so a big coarse blade just isn't appropriate here — it'll tear things up. Cut just outside the line, staying as close as you're comfortable getting without crossing it. The closer you cut, the less cleanup you'll have to do. But don't go past the line — you're doing yourself a disservice if you do.
If you don't mind using up your paper pattern, the printed line is a lot easier to see than the pounce marks, and it'll make the cutting more accurate. Something to keep in mind.
Planing to the line
After the jigsaw I clean everything up with a block plane. And I'll say it plainly: if your block plane isn't working well, sharpen it. I don't care if you just bought it — sharpen it. A sharp plane makes all the difference. If you've always found the block plane frustrating to use, that's almost certainly why.
Keep the plane square to the face of the panel so both stacked pieces come out exactly the same size. Come right up to the line — the paper tends to get pushed back as you plane, so check that it's not just lifting up and getting pushed rather than being trimmed back. In concave sections where the full sole of the plane can't reach, skew the tool — holding it at an angle makes the effective sole shorter and it'll get right into the curve.
The inside bevel
Once the panels are cut and planed to shape, separate them and decide which face is going to be the outside of the boat and which is the inside. Then we want to put a bevel on the inside edge — the edge that's going to be facing into the boat when the panels are stitched together.
The reason for this is that when the panels come together, we want them to pull tight on the outside seam. We actually want a slight gap on the inside, right where the thickened epoxy fillet is going to go — that way the epoxy gets into the end grain and really bonds things together. A 45° bevel is what I do. And if you're getting out a protractor, you're thinking about this too much. Just split the difference between 90° and flat and plane away.
Watch your veneers as you go. You're aiming to just start kissing that third veneer — once you can see it, stop. If you plane through it completely you start changing the outside shape of the panel, and that's counterproductive. We went through a lot of effort to get that outside edge right. This doesn't need to be perfect — it's all going to be covered with thickened epoxy anyway. Just get it close to 45° and you're good.
And that's it — that's how you make the panels for a stitch and glue kayak from scratch. Is it more work than a kit? Yeah, a little. But if you've got access to decent marine plywood and you want to do the whole thing yourself, this is the process. I'll be putting together a full build video of the boat I'm working on, so hit subscribe so you don't miss it. And until then — happy paddling.
Video Table of Contents
- 0:13 Welcome and Introduction
- 0:42 Kits vs. Scratch Building Overview
- 1:21 Two Steps: Scarfing and Panel Cutting
- 3:06 Scarfing Plywood Panels Together
- 8:13 Transferring Patterns onto Plywood
- 15:30 Drilling the Stitch Holes
- 18:14 Cutting Out the Panels with a Jigsaw
- 20:45 Planing the Edges to the Line
- 23:36 Separating Panels and Beveling Edges
- 26:54 Kit vs. Scratch Build: Final Thoughts
Hey, welcome back to the Guilllemot Kayaks Workshop. I'm Nick Schade. So, last year I built a couple of boats and I have a bunch of video captured from that, and I've been going through the process of editing it. There's a section I came to as I was editing that I thought I wanted to get out to you sooner than the big long video. So, what I want to talk about today is hand cutting stitch and glue plywood panels for a boat.
In my previous videos on the stitch and glue petrel ply, I started out with a kit from Chesapeake Light Craft. They work great. It's a very accurate way to get all the panels ready to go. And if you have trouble finding the plywood, the kit comes with everything you need.
But some people might decide that they just want to do it from scratch, or for whatever reason don't want to buy a kit. And I do sell plans for all my stitch and glue designs, so you can build from scratch. And I thought it would be useful for you to see the process of cutting out those panels.
There are two steps to the process. One is making pieces of plywood big enough to make the whole panel out of, and the second is cutting those panels accurately. So for the first part, that's not generally a problem with the kit because we have the puzzle joints that make it easy to join those pieces together into longer panels, and the CNC machine that cuts the joints very accurately. So those fit perfectly. It's a little much to ask to have you accurately cut those puzzle joints in a DIY situation in your home shop without a CNC machine.
The next step is accurately cutting it. So, taking the patterns — my plans come with full-size patterns. If it's an 18-foot-long boat, I've got 18-foot-long patterns that you just put down on your plywood and cut out around the lines. I'm going to show you how to do that cutting-around-the-lines bit. So, the first step will be scarfing the panels together to make the full-length piece of plywood. The next will be marking out the shape of the panels on the plywood so you can cut them out. So, let's get right to it.
Scarfing the Panels
So on the scarf here, I've got 1/8-inch-thick material. I'm going for an 8:1 slope on here. So I staggered everything back one inch below the bottom piece. I have something to support that edge. As you plane this edge back, it gets really feather thin, and without support, it's just going to bend away, and you're not going to be able to plane it. As I plane away, I start to cut through the various layers and plies of the plywood. And so if you watch these lines — the glue lines between the layers of plywood — we generally want to keep those relatively straight. Presumably, they're uniform thickness. So if you are cutting back uniformly through them, they should stagger back at a uniform rate.
And this top piece is sacrificial. I'm not going to use that on the boat, but I've put the line there and I'm planing that down and trying to keep it uniform just like the others. Therefore, this second-to-the-top piece will have a good straight scarf on it. If I didn't have that, it's fairly easy to round over this top edge and end up with a non-planar scarf there. We want that to be a nice even slope all the way down.
Gluing Up the Scarf Joint
I've got the panels lined up here on top of some cauls. There's a taper on that side. There's a taper on that side. I'm just going to put a little bit of masking tape on the wood here just to keep it from getting too messed up.
All right. I want to pre-wet these faces with a little bit of unthickened epoxy. That way any end grain there can suck that in so the joint won't get starved. So just regular straight epoxy, fresh batch. Just going to put that on that face there.
Now I want to thicken this epoxy a little bit so it doesn't just get all squeezed out of that joint. So this is cellofil. It is a cellulose powder. You can use wood flour. You can use cabosil or fumed silica. And we're just making sort of a thin mayonnaise here. So it's still a little runny.
All right. So there, it's got some thickness. It's a little bit — maybe honey-like. So that's just enough that the epoxy won't just run straight out of that joint. I'm going to then take and brush that right on the joint there. You don't need it too thick, but it will fill in any sort of irregularities in the surface. Now, my clamping caul here has some plastic on it. So I'm just going to get that on the plastic. The plastic will keep it from sticking. And then I'm going to take this other piece, stick it right down on top of that.
Line it up with those original pencil marks. And then I'm just going to — right near the edge here — make sure it doesn't shift. Any pressure you put on it is going to tend to make it shift. And I'll take the matching caul and put it right on top.
Transferring the Pattern
So scarfing, like I just showed you, is how we make our large pieces of wood, so we can cut the panel out that we need in one piece using the pattern supplied in the plans. So the next step is how to use the patterns to mark out the shape that you're going to cut out. So let's get to that. What we have here is — I've already shown you the process of scarfing together some plywood to make a long piece of plywood to cut the piece out of. The kit has these puzzle joints on it. We're not doing those. That's too hard to manage in a DIY shop with regular hand tools. What you'll do if you're building from scratch and buying your own material is a scarf instead of that puzzle joint. So that scarf that I showed you — that's the process you'll use to get a long panel of wood.
When we cut out this piece, we have one long piece that's all ready to go. We have this pattern. What we need to do is transfer the paper pattern to the wood. And there are a couple of ways to do that. We could take some spray adhesive, spray the back of the drawing, stick that down, and cut out around the line. The downside of that is once you've stuck it down and cut it up, if you make a mistake, you've used up your paper pattern.
So the first thing I'll show you is just using a pounce wheel, which is a little rolling tool that you roll along the line. It punches little holes into the paper pattern and leaves a bunch of little marks on the plywood. Then you can cut along those marks. You can get these pounce wheels from online retailers or various places. I bought a kit that had both this one, which has really sharp spiky pins, and this one, which is a little stamped sheet metal thing. And basically, you just roll that along the pattern and press down pretty hard, and it'll leave a series of poked holes into the plywood.
The other thing that's on these patterns is a bunch of marks where stitch holes will go. We will use a 1/16th-inch-diameter drill, or 1 mm — some small drill that we can get our wire through. The other thing we would do with this is we stack two pieces of plywood together. When we go to make this, we're cutting two at once. And then when we use them, we just open that up and we have two matching pieces.
I'm going to cut the pattern I'm going to use out here. You might want to nest that other piece in more efficiently than it's drawn out in the plans. So cutting your patterns out and, you know, trying to optimize how they fit into your plywood may make sense.
I'm going to take and tape the pattern down a little bit temporarily, just in a few spots.
So, here are the pounce wheels — a little closeup. See, this one has really sharp spikes. This one's a little less sharp, just a stamped piece of sheet metal. And we use that by lining it up on the pattern and just rolling along that line. And you'll see it leaves tiny little spots there. And now you can see that mark on the plywood. This other one I'm pressing fairly firmly. And you see that mark there. So you want to just run right along that line.
Applying the Spray Adhesive
So that's the technique with the pounce wheel. The other technique is to spray-tack your pattern down to the plywood. Get the pattern stuck down to the plywood. Super 77 spray adhesive. It doesn't take much. We're just trying to temporarily stick it down. We don't want to permanently bond the pattern to the wood. So to do that, we're going to have the pattern taped in place in a few places and then roll back the area we want to glue down, hit it with a little bit of the spray adhesive, let that tack up, and stick it down.
We want to minimize how much this shifts. So we're going to start at one end, roll it back, spray down that end, adhere it to the plywood, then roll the other end up. So I just want to make sure it's not going to shift during that process. So I'm going to have a couple of places with some tape here.
So now we'll roll this back roughly halfway and then just mist it lightly. Now we're going to take this and roll it back. Pull the other end back. Do the same thing to it. And we're being careful not to get any folds in it — have it go down smoothly. So if it wrinkles like that, just un-wrinkle it. This can be repositioned if you need to. It will come back up again.
We could take and start cutting this out, but I'm just going to go ahead and, as the belt and suspenders, use the pounce wheel again to go over this whole line. That way, should the paper peel off, you've got something to refer back to.
Drilling the Stitch Holes
Okay. So now I've got it all marked out both with the paper and with the pounce wheel. So now I want to do the stitch holes. So here, just a regular drill with a fine 1/16th-inch bit on there. And you see these little marks here — a little circle with a plus sign on it. That's just the target where we're going to drill the holes. So it doesn't need to be perfect.
I've got the plywood on a couple of scrap pine boards — cheap pine boards — just something to make a long worktop on some sawhorses. So it's just a matter of hitting that center of that target and going all the way through.
These stitch holes are every 6 inches on the boat. All my stitch and glue plans will come with these marks on the patterns. If you're building from plans that don't have the stitches pre-marked, you can take a scrap piece of wood, a little finish nail, use that, mark a place 6 inches away, and just use that to drill your holes. Now, these holes are about a half inch away from the edge of the line here. If you make your little jig accurately, you could have that all dialed into the jig. Then just move your way down the edge of the board.
Near the ends, you'll see I have the stitch holes closer together. They're approximately every 3 inches. There's just a lot more tension there on the wires. So adding a few more stitch holes so you can put some more wires in.
I have a few places where there are two stitch holes right next to each other. We want to drill both of them. That's where a form is going to be when we're setting up the shape of the boat. The forms will help hold the shape of the boat. So we're going to drill both of those.
Cutting Out the Panels
All right. So we've drilled all the holes. So, if you want to save your paper pattern, now is the time to peel it off. If you just did a light mist of that Super 77, it should peel right back and you should be left with your pounce wheel marks. We're going to cut outside that line. So leave the line — we'll be just right outside that line.
So we're going to use a jigsaw to cut this out. Some people will cut these for the straighter edges with a circular saw. If you're good and feel comfortable with that, have at it. This is going to be a little bit slower and require a little bit more cleanup afterwards, but a jigsaw is probably safer. So the blade I'm going to use right now — I've got a bi-metallic metal-cutting blade in there. So very fine teeth. Generally, you want to have three teeth in the material at all times. So you don't want to use a really big honking one. So something like this with really big teeth is probably not appropriate. You're going to rip things to shreds a bit. This is a wood-cutting blade. So these are 20 teeth per inch. These are 36 teeth per inch, the metal-cutting blades. And you know, this one with much fewer — you'll have like one tooth in the wood at any one time. It'll tend to make a bit more of a mess.
So we're just going to cut in here. I'm just making sure that I'm not going to be cutting into the pine. Not that I care about the pine — it just makes cutting harder.
If you don't mind cutting up your patterns, the line is much easier to see than the pounce wheel marks, so it'll make the cutting a little bit more accurate. The closer you're comfortable cutting to this line, the less work you're going to have later truing it up. So you want to be cautious. You don't want to go past the line. You're doing yourself a disservice if you're leaving a big space there.
Planing to the Line
We now want to trim back to this line. Going to use a block plane. A block plane is probably the most efficient. I know a lot of people dislike the block plane. It never seems to work for them. If you have not sharpened it today, it's dull. Sharpen it. It makes a world of difference. You might actually enjoy using it. If you've always been frustrated, make sure it's sharp. I don't care if you just bought it — sharpen it.
So we want to bring this back to that line. If we're working from our pattern here, just come right to that line. As you approach the line here, the paper tends to get pushed back. So cut down so you're trimming that paper back as you go. Bring it right up to that line. We want to make this square.
If you're cutting two pieces at once, if you don't have your plane square, one piece is going to be bigger than the other. So you want to keep the plane square to that edge. And again, the paper wants to get pushed back out of the way. So double-check that it's not just lifting up and getting pushed.
So again, if you're trying to save your patterns, they wouldn't be on here anymore. You'd just be using the pounce line marks to cut.
So in this section, if you hold the plane straight, you can see there's a gap there. It's not going to cut. There's no way for the blade to hit the wood right there. So we want to hold the plane skewed, making the foot shorter, and that way it has a chance to get in there.
If you're having trouble accessing that curved concave area with your plane, flip it over and use it on the smooth side. Again, we want to hold it square to the edge, and that'll get right in there.
Separating the Panels and Cutting the Bevel
So at this point, if you were building this yourself, you'd have two of these panels because you've held these together. And one thing I didn't go into is how to hold those together when you're cutting them apart. You have all these stitch holes in here. Drop some finish nails through those stitch holes, wrap a little bit of tape around the edges, and you can move the finish nails and take off the tape as you're in that area — then put it back. It'll only take like three or four finish nails in here. A couple of pieces of tape here and there just to keep everything lined up. And that way, when you're doing the planing here, everything will be precisely the same.
So once you have those done, you're going to separate them. And now you treat them a little bit differently. You've got to decide which side of these panels is going to be the outside of the boat and which is going to be the inside of the boat. Because the next thing we're going to do is bevel the inside edge. That way when the panels come together, they come together tight on the outside seams. We actually want them a little loose on the inside seam. And if you have that bevel such that it's open almost to the outside surface, that thickened epoxy is getting to the end grain of the boards and really binding things together.
Well, you could try to do a rolling bevel, but I don't bother. I just cut a 45° angle on each edge. That's going to be enough for anything wider than 90°. So this bevel is a 45° angle. And if you're getting a protractor out, you're thinking about this too much. We're just trying to sort of split the difference between 90° and flat. So somewhere halfway in between.
And we're just going to plane away. We see the first veneer. And just starting to see the second veneer. Now we see the second veneer. Now see here — we're just starting to see the third veneer. We can stop. We don't want to plane so far that we plane through that third veneer completely because then we're starting to change the outside shape of this panel. We want to maintain that shape. We went through a lot of effort to make this 90° because that's the shape we want it and the size we want it. If we plane too far, we'll start to change that outside edge, and we don't want to do that.
So that's what we're looking for. Nice, consistent, and it doesn't need to be perfect. This is all going to be covered with thickened epoxy when it's all done. So just try and get that 45° angle. Just start kissing that final veneer and you're all good.
Closing Thoughts
So that's how you make the panels for a stitch and glue kayak — any stitch and glue boat. So if a super-accurate CNC-machine-cut kit is available, why would you want to go through the process I just showed? Well, you just like the idea of doing everything yourself. Maybe you think the cost of the kit is too much. I will say the kit prices from Chesapeake Light Craft are very fair. You get very good material and again the accuracy is super good. But if you have unlimited funds — by all means. If you can find the plywood that you need to build the boat locally, you can save on shipping. You can save the cost of having somebody else cut those panels for you.
So then, if you can do all this at home, why would you want to get the kit? Again, they are going to be a little bit more accurate than you can cut yourself, and it may be hard to find a good source of quality marine plywood to cut your own pieces.
So, all that said, I wanted to put this video together to show you that process. I will be putting together a complete build video of the boat I'm building. So, until then, hit subscribe so you can see that video, and you know — all the good YouTube stuff. Hit like, notifications, all that stuff. So until the next time, thanks for watching and happy paddling.