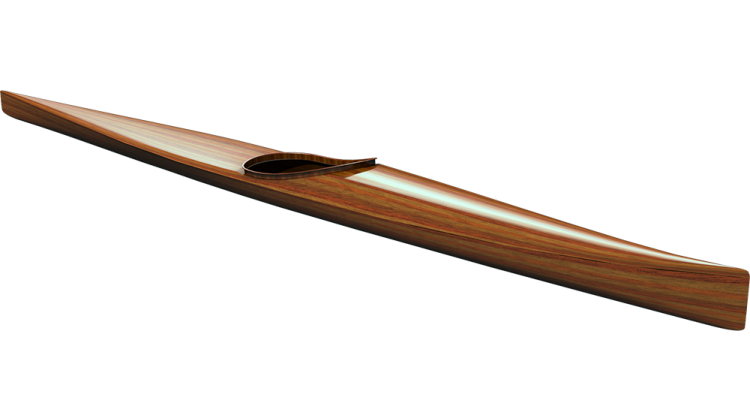
I'm working on a new strip-built sliding seat rowing boat. I'm really excited about the design and am impatient to get it on the water. Today was the 3rd day of stripping and I've got the hull covered. Most of the stripping went very quickly because no fitting was required. The strips just ran off the end and only needed to be cut to rough length. I stripped both sides and when I got to the knuckle on the stem where the strips stopped stacking vertically and started adding back along the keel line (shown below). At this point I stopped stripping one side and kept on stripping the bottom on one side only.
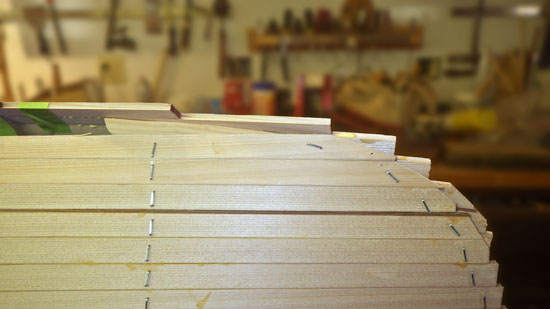
Stripping just one side, I only had to cut the strips long enough to assure that the crossed fully beyond the center or keel line. Still no fitting required. I was able to cover a lot surface area very quickly.
The next day I started filling in the remaining bottom area. First I had to trim off the ends of the strips on the first side. I extended the centerline from the forms up onto the top of the strips using a little jig that just has one straight edge and a gap to reach around the strips. I then clamped a scrap strip along the centerline marks and struck a line with a pencil.
I cut along the line with Japanese Pull Saw. Due to the width of the boat and the height of my strongback it was a little awkward, but I left about 1/16" to 1/8" (1-3 mm). To clean up the cut, straighten it out and bring the edge down to the centerline I used a Side Rabbet Plane. Once a straight centerline has been extablished, it is a matter of fitting strips. The ends are tapered to match the gap. I fitted seperate strips at each end and then cut the length to fit in the middle.
The third to last strip has the cove cut off so the gap has square edges all the way around. I could have gone one more strip, but the last strip was quite small, so it was easier to glue the last to strips together and fit them both at once to close the gap.

